Yamaha MT4X Owner's Manual - Page 23
Punch-in/out recording - user manual
 |
View all Yamaha MT4X manuals
Add to My Manuals
Save this manual to your list of manuals |
Page 23 highlights
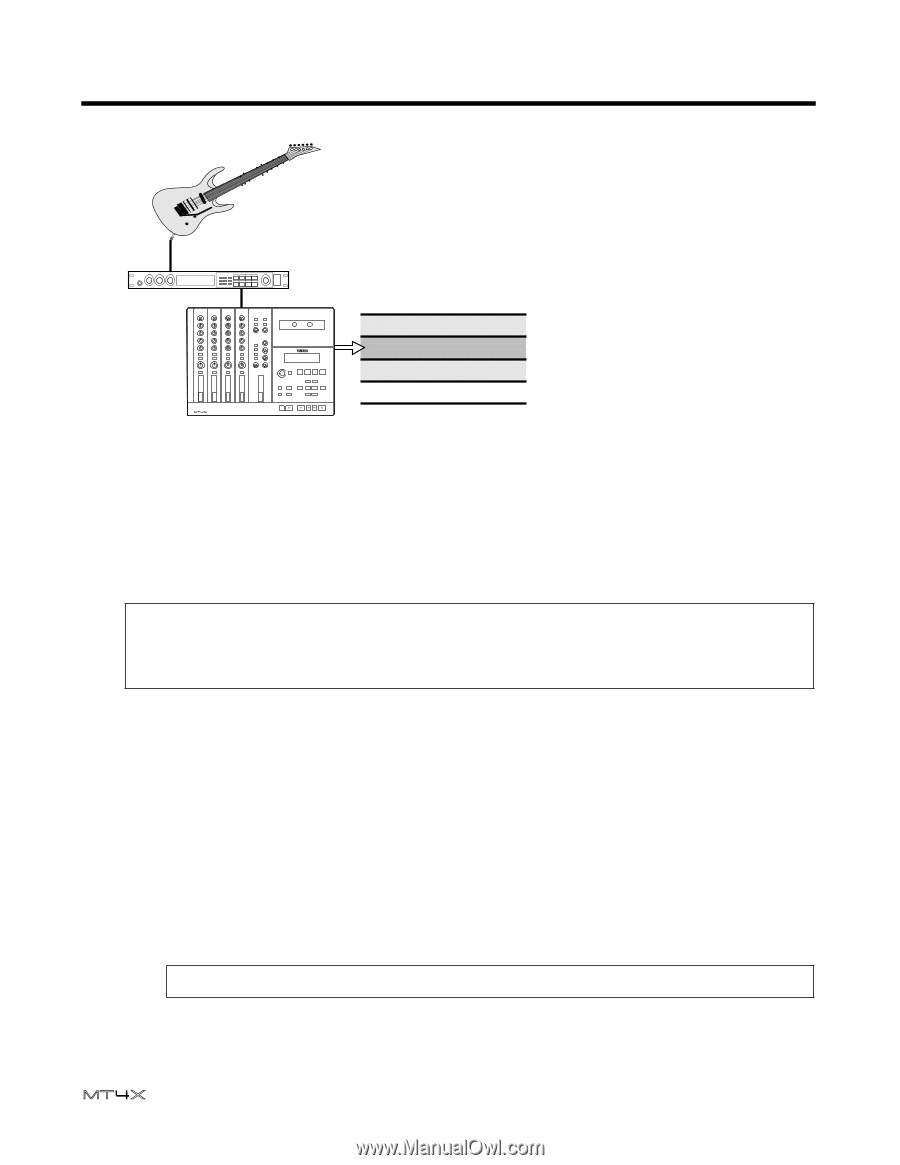
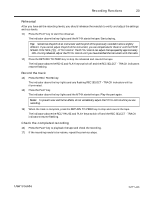
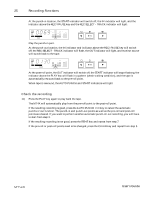
21 Recording Functions To overdub another part, simply repeat steps 1 to 17. Track 1 Track 2 Track 3 Track 4 Bassguitar track Track to be overdubbed Drum track Punch-in/out recording This technique is used to re-record short sections, correct mistakes, or add new sections to silent passages. You play your part while punching in and out to start and stop the recorder. For the greatest precision, you should use the advanced automatic punch-in/out features of the MT4X. However, it is reasonably easy to punch-in manually. If you have a footswitch, you can also punch in and out using your foot. This keeps your hands free for making music. Tip: You should ensure that the mixer and instrument settings are identical to the original recording. If you record a punch-in at a different volume level, for example, it will not blend into the previously-recorded track and your edit will be obvious. You will find keeping accurate track sheets invaluable to making invisible punch-in/out recordings. See "Tracking Sheet" on page 49. There are three basic methods for punch-in/out recording: • Using the automatic punch-in/out function. • Using the REC/PAUSE key and the PLAY key. • Using the optional footswitch. Using the automatic punch-in/out function With the automatic punch-in/out function, you specify the punch-in and punch-out locations. The operation is then carried out automatically. If you make a mistake, you can repeat the operation with precision. 1) Connect the input source, set the input select key, and adjust the GAIN control and channel fader so that the mixer setting is identical to the previous recording. Note: If you are using an optional FC5 footswitch, plug it into the PUNCH I/O footswitch connector. 2) Press the REC SELECT key for the track you want to punch-in. User's Guide
-
 1
1 -
2
-
3
-
4
-
5
-
6
-
7
-
8
-
9
-
10
-
11
-
12
-
13
-
14
-
15
-
16
-
17
-
 18
18 -
 19
19 -
 20
20 -
 21
21 -
 22
22 -
 23
23 -
 24
24 -
 25
25 -
 26
26 -
 27
27 -
 28
28 -
29
-
30
-
31
-
32
-
33
-
34
-
35
-
36
-
37
-
38
-
39
-
40
-
41
-
42
-
43
-
44
-
45
-
46
-
47
-
48
-
49
-
50
-
51
-
52
-
53
-
54
-
55
-
56
 |
 |