1994 Chevrolet Cavalier Owner's Manual - Page 150
1994 Chevrolet Cavalier Manual
Page 150 highlights
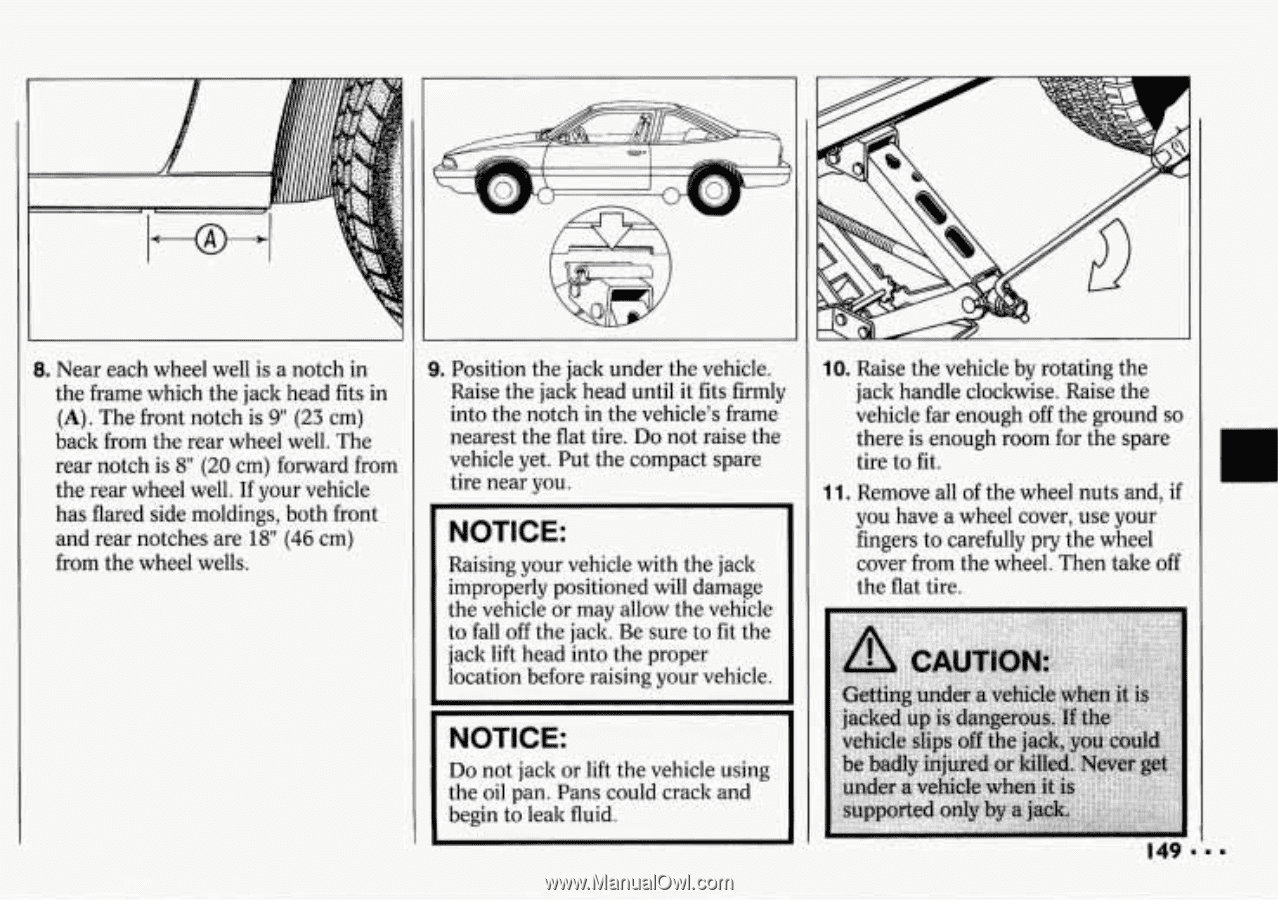
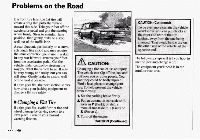
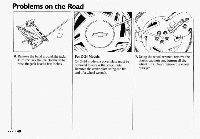
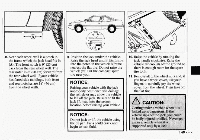
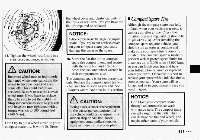
~~ ~ ~~ 8. Near each wheel wellis a notch in 9. Position the jack under the vehicle. 10. Raise the vehicle by rotating the the frame which the jack headfits in (A).The front notch is 9" (23 cm) back from the rear wheel well.The rear notch is 8" (20 cm) forward from the rearwheel well.If your vehicle has flared side moldings, both front and rear notches are 18" (46 cm) from the wheel wells. Raise the jack headuntil it fits firmly into thenotch in the vehicle's frame nearest the flat tire. Do not raise the vehicle yet. Put thecompact spare tire near you. NOTICE: Raising your vehicle with the jack improperly positioned will damage the vehicle or may allow the vehicle to fall off the jack. Be sure tofit the jack lift headinto theproper location before raisingyour vehicle. jack handle cloclnvise. Raisethe vehicle far enough off the ground so there isenough room forthe spare tire to fit. 11. Remove all of the wheel nuts and,if you have a wheel cover, your use fingers to carefully pry the wheel cover fromthe wheel. Then take off the flat tire. NOTICE: Do not jack or lift the vehicle using the oil pan. Pans could crack and begin to leak fluid. I 149 I
-
 1
1 -
2
-
3
-
4
-
5
-
6
-
7
-
8
-
9
-
10
-
11
-
12
-
13
-
14
-
15
-
16
-
17
-
18
-
19
-
20
-
21
-
22
-
23
-
24
-
25
-
26
-
27
-
28
-
29
-
30
-
31
-
32
-
33
-
34
-
35
-
36
-
37
-
38
-
39
-
40
-
41
-
42
-
43
-
44
-
45
-
46
-
47
-
48
-
49
-
50
-
51
-
52
-
53
-
54
-
55
-
56
-
57
-
58
-
59
-
60
-
61
-
62
-
63
-
64
-
65
-
66
-
67
-
68
-
69
-
70
-
71
-
72
-
73
-
74
-
75
-
76
-
77
-
78
-
79
-
80
-
81
-
82
-
83
-
84
-
85
-
86
-
87
-
88
-
89
-
90
-
91
-
92
-
93
-
94
-
95
-
96
-
97
-
98
-
99
-
100
-
101
-
102
-
103
-
104
-
105
-
106
-
107
-
108
-
109
-
110
-
111
-
112
-
113
-
114
-
115
-
116
-
117
-
118
-
119
-
120
-
121
-
122
-
123
-
124
-
125
-
126
-
127
-
128
-
129
-
130
-
131
-
132
-
133
-
134
-
135
-
136
-
137
-
138
-
139
-
140
-
141
-
142
-
143
-
144
-
 145
145 -
 146
146 -
 147
147 -
 148
148 -
 149
149 -
 150
150 -
 151
151 -
 152
152 -
 153
153 -
 154
154 -
 155
155 -
156
-
157
-
158
-
159
-
160
-
161
-
162
-
163
-
164
-
165
-
166
-
167
-
168
-
169
-
170
-
171
-
172
-
173
-
174
-
175
-
176
-
177
-
178
-
179
-
180
-
181
-
182
-
183
-
184
-
185
-
186
-
187
-
188
-
189
-
190
-
191
-
192
-
193
-
194
-
195
-
196
-
197
-
198
-
199
-
200
-
201
-
202
-
203
-
204
-
205
-
206
-
207
-
208
-
209
-
210
-
211
-
212
-
213
-
214
-
215
-
216
-
217
-
218
-
219
-
220
-
221
-
222
-
223
-
224
-
225
-
226
-
227
-
228
-
229
-
230
-
231
-
232
-
233
-
234
-
235
-
236
-
237
-
238
-
239
-
240
-
241
-
242
-
243
 |
 |