2012 Jeep Grand Cherokee User Guide - Page 109
2012 Jeep Grand Cherokee Manual

Page 109 highlights
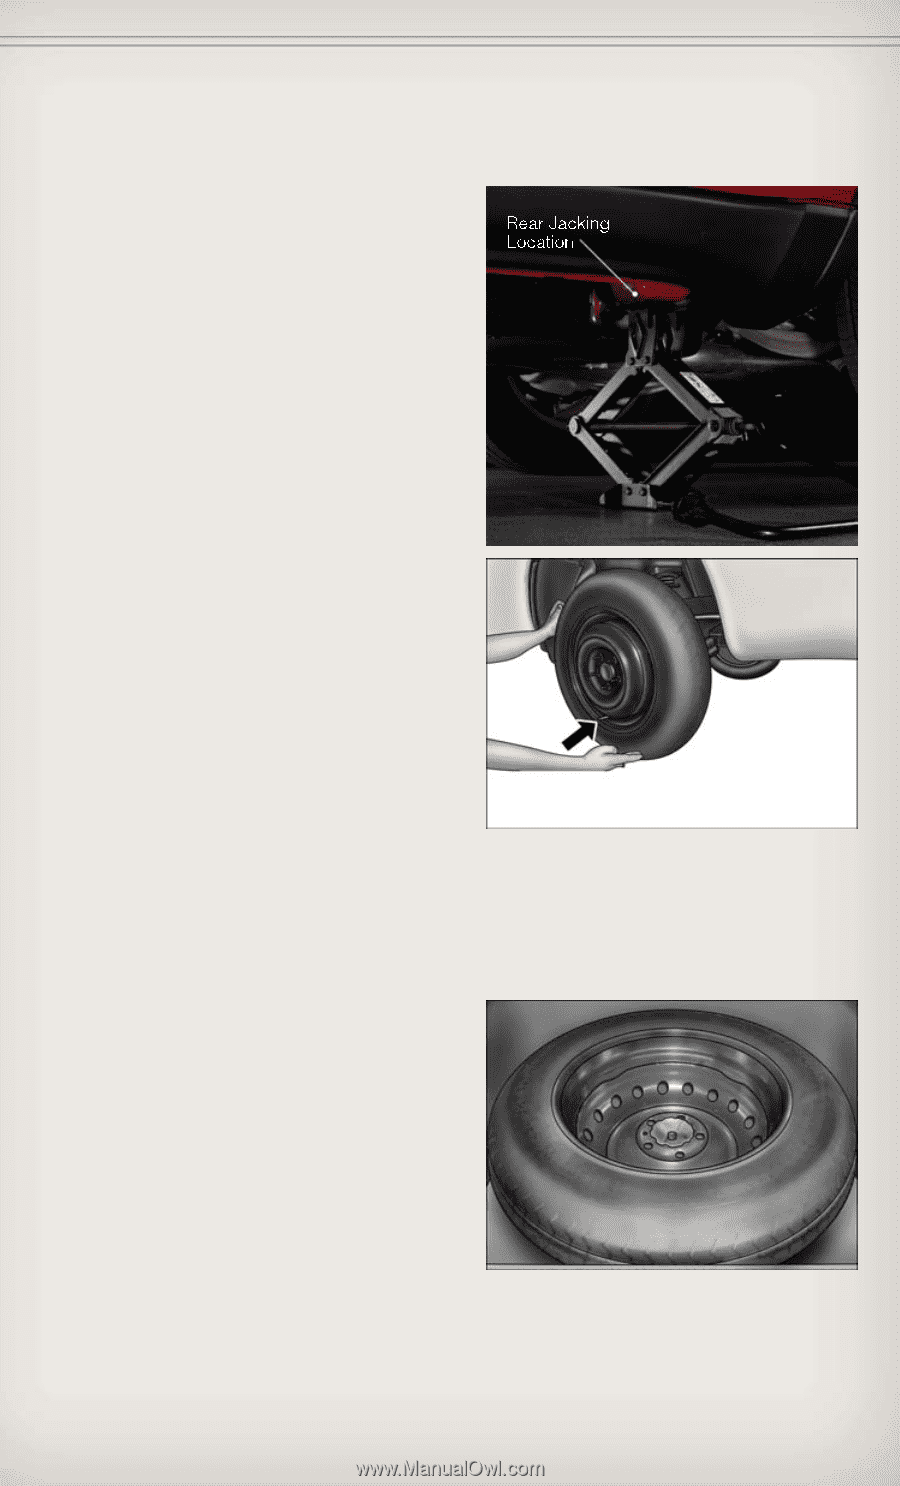
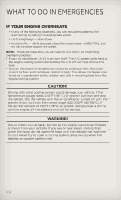
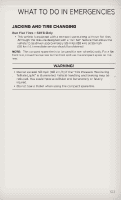
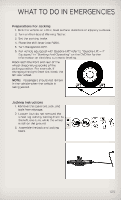
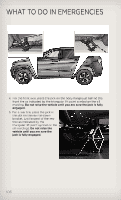
WHAT TO DO IN EMERGENCIES 6. Raise the vehicle by turning the jack screw clockwise. Raise the vehicle only until the tire just clears the surface and enough clearance is obtained to install the spare tire. Minimum tire lift provides maximum stability. 7. Remove the lug nuts and wheel. 8. Position the spare wheel/tire on the vehicle and install the lug nuts with the cone-shaped end toward the wheel. Lightly tighten the nuts. 9. Lower the vehicle by turning the jack screw counterclockwise, and remove the jack and wheel blocks. 10. Finish tightening the lug nuts. Push down on the wrench while at the end of the handle for increased leverage. Tighten the lug nuts in a star pattern until each nut has been tightened twice. The correct wheel nut tightness is 110 ft lbs (150 N·m). If in doubt about the correct tightness, have them checked with a torque wrench by your authorized dealer or at a service station. 11. Lower the jack to the fully closed position and return it and the tools to the proper positions in the foam tray. 12. Remove the small center cap and securely store the road wheel in the cargo area. 13. Have the aluminum road wheel and tire repaired as soon as possible, properly secure the spare tire with the special wing nut torqued to 3.7 ft-lbs (5 N·m), reinstall the jack and tool kit foam tray, and latch the rear load floor cover. 107
-
 1
1 -
2
-
3
-
4
-
5
-
6
-
7
-
8
-
9
-
10
-
11
-
12
-
13
-
14
-
15
-
16
-
17
-
18
-
19
-
20
-
21
-
22
-
23
-
24
-
25
-
26
-
27
-
28
-
29
-
30
-
31
-
32
-
33
-
34
-
35
-
36
-
37
-
38
-
39
-
40
-
41
-
42
-
43
-
44
-
45
-
46
-
47
-
48
-
49
-
50
-
51
-
52
-
53
-
54
-
55
-
56
-
57
-
58
-
59
-
60
-
61
-
62
-
63
-
64
-
65
-
66
-
67
-
68
-
69
-
70
-
71
-
72
-
73
-
74
-
75
-
76
-
77
-
78
-
79
-
80
-
81
-
82
-
83
-
84
-
85
-
86
-
87
-
88
-
89
-
90
-
91
-
92
-
93
-
94
-
95
-
96
-
97
-
98
-
99
-
100
-
101
-
102
-
103
-
 104
104 -
 105
105 -
 106
106 -
 107
107 -
 108
108 -
 109
109 -
 110
110 -
 111
111 -
 112
112 -
 113
113 -
 114
114 -
115
-
116
-
117
-
118
-
119
-
120
-
121
-
122
-
123
-
124
-
125
-
126
-
127
-
128
-
129
-
130
-
131
-
132
-
133
-
134
-
135
-
136
-
137
-
138
-
139
-
140
-
141
-
142
-
143
-
144
-
145
-
146
-
147
-
148
 |
 |