Bernina 1008 Owners Manual - Page 20
Vari-overlock Seam
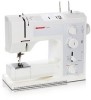 |
View all Bernina 1008 manuals
Add to My Manuals
Save this manual to your list of manuals |
Page 20 highlights
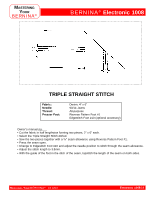
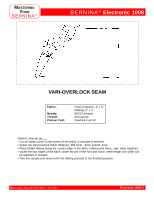
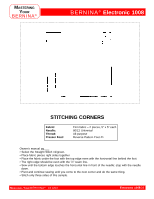
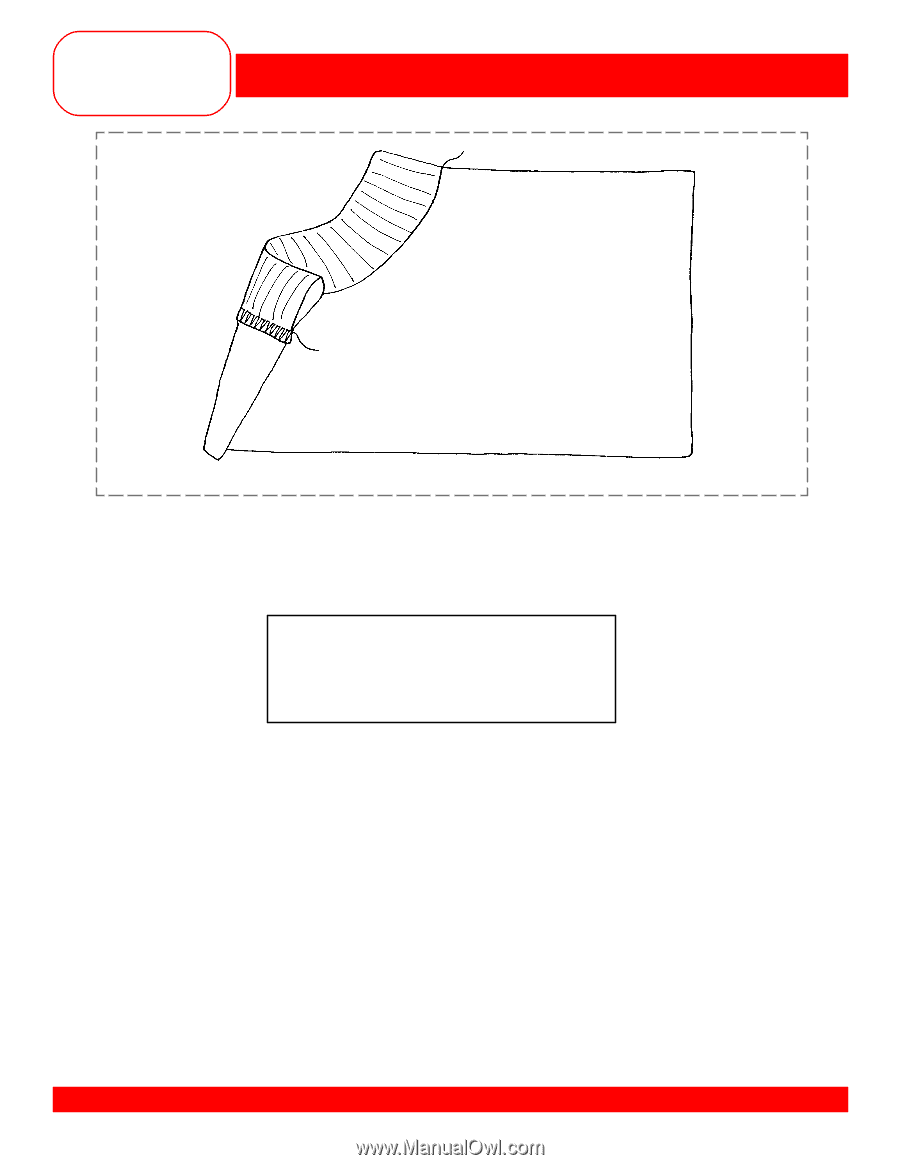
MASTERING YOUR BERNINA® BERNINA® Electronic 1008 VARI-OVERLOCK SEAM Fabric: Needle: Thread: Presser Foot: Cotton Interlock, 4" x 6" Ribbing, 2" x 4" 80/12 Univeral All-purpose Overlock Foot #2 Owner's manual pg.___ • Cut an inside curve in one corner of the fabric to simulate a neckline. • Select the Vari-Overlock Stitch #6/green; SW 4mm - 5mm and SL 1mm. • Place folded ribbing along the curved edge of the fabric (ribbing and fabric, right sides together). • Guide the raw edges of the fabric under the pin of the foot and stitch; stitch length and width can be adjusted, if needed. • Trim the sample and mount with the ribbing pressed to the finished position. MASTERING YOUR BERNINA® 1/10/02 Electronic 1008/20
-
 1
1 -
2
-
3
-
4
-
5
-
6
-
7
-
8
-
9
-
10
-
11
-
12
-
13
-
14
-
 15
15 -
 16
16 -
 17
17 -
 18
18 -
 19
19 -
 20
20 -
 21
21 -
 22
22 -
 23
23 -
 24
24 -
 25
25 -
26
-
27
-
28
-
29
-
30
-
31
-
32
-
33
-
34
-
35
-
36
-
37
-
38
-
39
-
40
-
41
-
42
-
43
-
44
-
45
-
46
-
47
-
48
-
49
-
50
-
51
-
52
-
53
-
54
-
55
-
56
-
57
-
58
-
59
-
60
-
61
 |
 |
M
ASTERING
Y
OUR
BERNINA
®
1/10/02
Electronic 1008
/20
BERNINA
®
Electronic 1008
M
ASTERING
Y
OUR
BERNINA
®
VARI-OVERLOCK SEAM
Fabric:
Cotton Interlock, 4” x 6”
Ribbing, 2” x 4”
Needle:
80/12 Univeral
Thread:
All-purpose
Presser Foot:
Overlock Foot #2
Owner’s manual pg.___
• Cut an inside curve in one corner of the fabric to simulate a neckline.
• Select the Vari-Overlock Stitch #6/green; SW 4mm - 5mm and SL 1mm.
• Place folded ribbing along the curved edge of the fabric (ribbing and fabric, right sides together).
• Guide the raw edges of the fabric under the pin of the foot and stitch; stitch length and width can
be adjusted, if needed.
• Trim the sample and mount with the ribbing pressed to the finished position.