Bernina 1008 Owners Manual - Page 55
Ruffler
 |
View all Bernina 1008 manuals
Add to My Manuals
Save this manual to your list of manuals |
Page 55 highlights
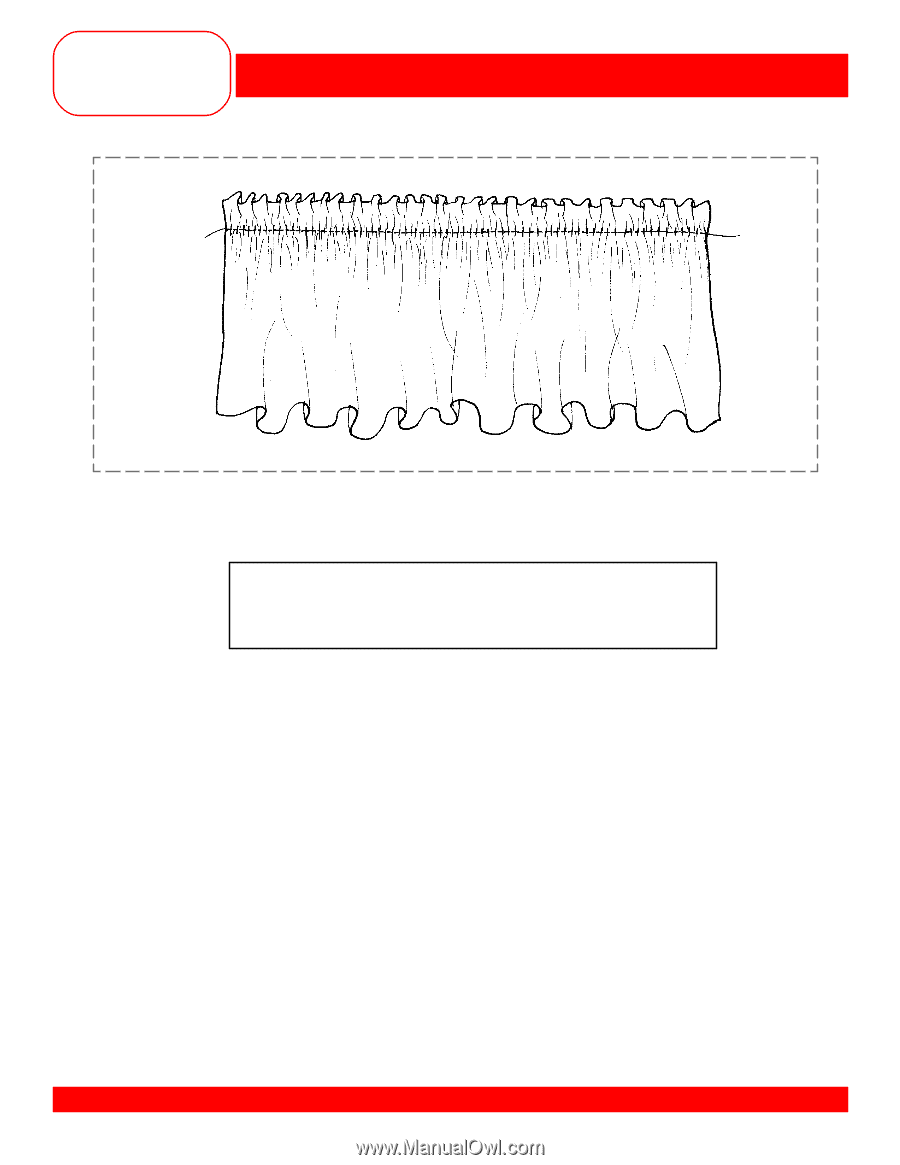
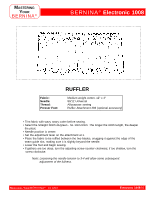
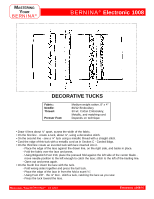
MASTERING YOUR BERNINA® BERNINA® Electronic 1008 Fabric: Needle: Thread: Presser Foot: RUFFLER Medium weight cotton, 12" x 4" 80/12 Universal All-purpose sewing Ruffler Attachment #86 (optional accessory) • Trim fabric with wavy rotary cutter before sewing. • Select the Straight Stitch #1/green - SL 1mm-5mm. The longer the stitch length, the deeper the pleat. • Needle position is center. • Set the adjustment lever on the attachment at 1. • Place the fabric to be ruffled between the two blades, snugging it against the edge of the seam guide slot, making sure it is slightly beyond the needle. • Lower the foot and begin sewing. • If gathers are too deep, turn the adjusting screw counter clockwise; if too shallow, turn the screw clockwise. Note: Loosening the needle tension to 3-4 will allow some subsequent adjustment of the fullness. MASTERING YOUR BERNINA® 1/10/02 Electronic 1008/55
-
 1
1 -
2
-
3
-
4
-
5
-
6
-
7
-
8
-
9
-
10
-
11
-
12
-
13
-
14
-
15
-
16
-
17
-
18
-
19
-
20
-
21
-
22
-
23
-
24
-
25
-
26
-
27
-
28
-
29
-
30
-
31
-
32
-
33
-
34
-
35
-
36
-
37
-
38
-
39
-
40
-
41
-
42
-
43
-
44
-
45
-
46
-
47
-
48
-
49
-
 50
50 -
 51
51 -
 52
52 -
 53
53 -
 54
54 -
 55
55 -
 56
56 -
 57
57 -
 58
58 -
 59
59 -
 60
60 -
61
 |
 |