Bernina 1008 Owners Manual - Page 37
Corded Buttonholes
 |
View all Bernina 1008 manuals
Add to My Manuals
Save this manual to your list of manuals |
Page 37 highlights
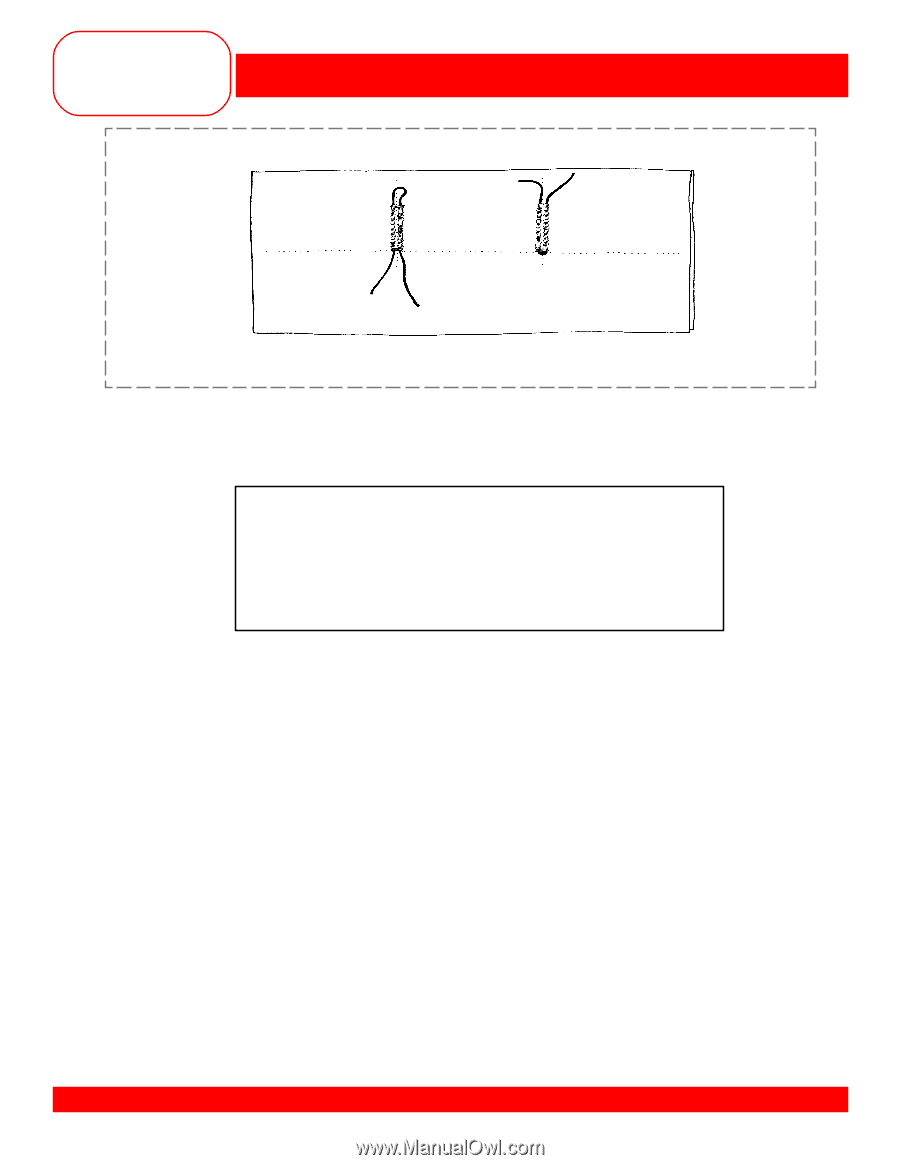
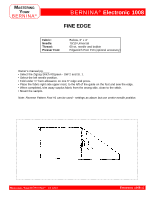
MASTERING YOUR BERNINA® BERNINA® Electronic 1008 Auto Buttonhole Foot with Slide #3A Standard Buttonhole Foot #3 CORDED BUTTONHOLES Fabric: Stabilizer: Needle: Thread: Presser Foot: Heavy flannel, 6" x 6" Two 10" lengths of gimp cprd 1 piece, 3" x 6" 90/14 Embroidery 30 weight cotton embroidery Standard Buttonhole Foot #3 and Buttonhole Foot with Slide #3B (optional) Owner's manual pg.____ • Fold the fabric in half to 3" x 6". Press and insert the stabilizer. • Mark a line 1½" from the fold and running the length of the fabric. • Mark two horizontal lines between the fold and the line, spaced about 2" apart. • Set the buttonhole knob at position #1. • Place the fold so it is on the 5/8" line behind the presser foot. • Lower the needle into the fabric on the first line. • Fold one piece of cord in half; place loop around prong of the Buttonhole Foot with Slide #3B. Note: The cord strengthens the buttonhole on wovens and prevents it from stretching on knits. The thickness of the cord depends on the fabric to be sewn. Suitable cords are perle cord #8, thick hand sewing thread, gimp cord, or crochet cotton. • Sew the buttonhole. • Pull the loop of gimp cord snug and cut tails close to bartack. Note: On knits, pull to back and tie a knot. • Sew another corded buttonhole using the optional Buttonhole Foot #3 on the second line. • The cord may come away from the prong of this foot. Therefore it is advisable to hold the loop of the gimp down lightly with the finger. • Pull the cord ends to the back with a large hand sewing needle and tie. • Trim and mount sample. MASTERING YOUR BERNINA® 1/10/02 Electronic 1008/37
-
 1
1 -
2
-
3
-
4
-
5
-
6
-
7
-
8
-
9
-
10
-
11
-
12
-
13
-
14
-
15
-
16
-
17
-
18
-
19
-
20
-
21
-
22
-
23
-
24
-
25
-
26
-
27
-
28
-
29
-
30
-
31
-
 32
32 -
 33
33 -
 34
34 -
 35
35 -
 36
36 -
 37
37 -
 38
38 -
 39
39 -
 40
40 -
 41
41 -
 42
42 -
43
-
44
-
45
-
46
-
47
-
48
-
49
-
50
-
51
-
52
-
53
-
54
-
55
-
56
-
57
-
58
-
59
-
60
-
61
 |
 |