Brother International BM-917B Instruction Manual - English - Page 20
Sewing, Caution
 |
View all Brother International BM-917B manuals
Add to My Manuals
Save this manual to your list of manuals |
Page 20 highlights
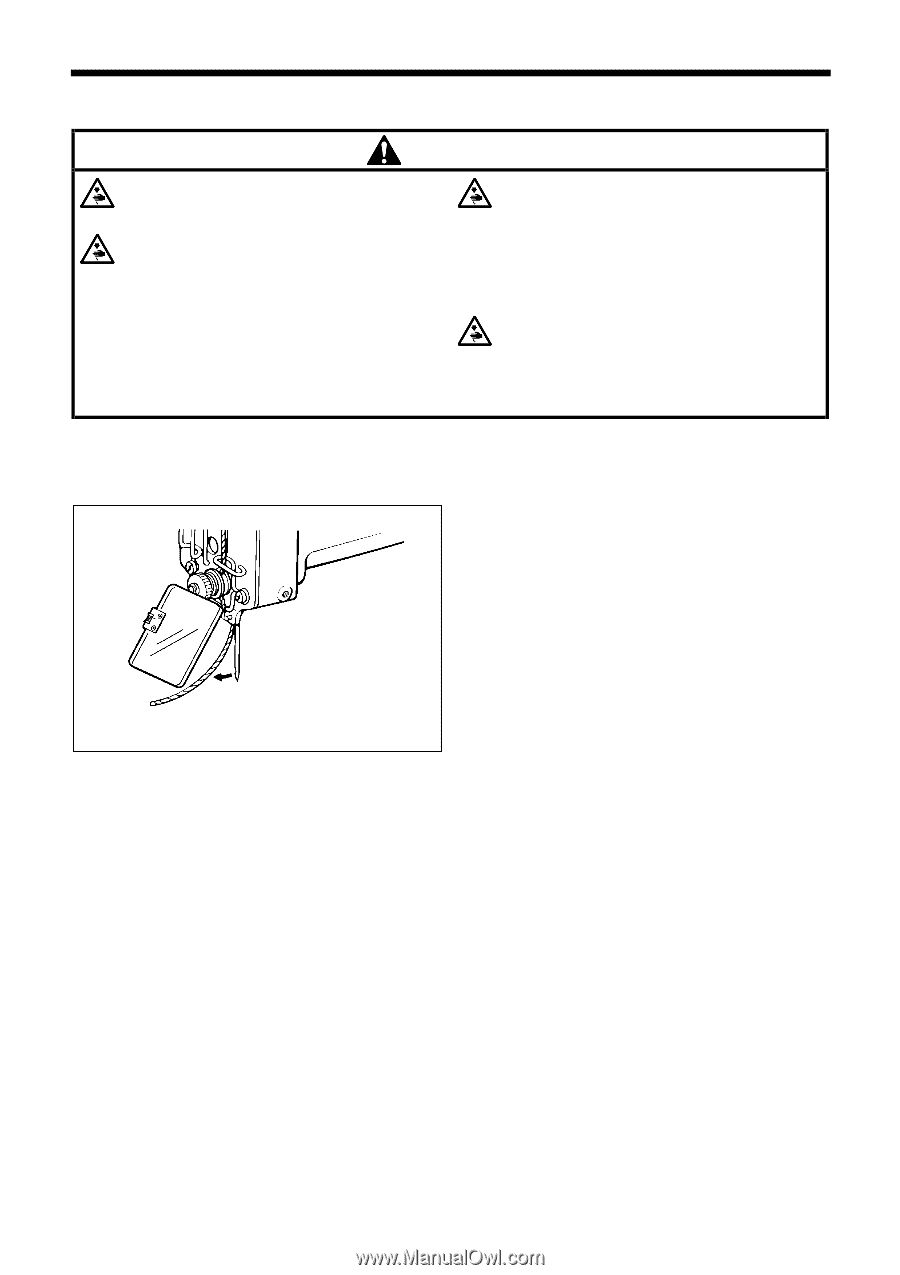
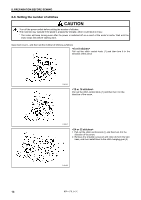
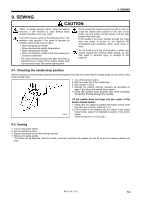
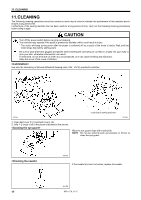
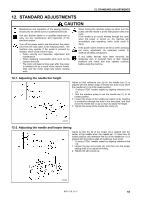
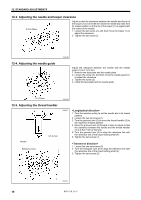
9. SEWING 9. SEWING CAUTION Attach all safety devices before using the sewing machine. If the machine is used without these devices attached, injury may result. Turn off the power switch at the following times. The machine may operate if the pedal is pressed by mistake, which could result in injury. ! When threading the needle ! When checking the needle drop position ! When replacing the needle ! When not using the machine and when leaving the machine unattended * The motor will keep turning even after the power is switched off as a result of the motor's inertia. Wait until the motor stops fully before starting work. When turning the machine pulley by hand in order to check the needle down position in the hole of the button, turn the pulley until the needle is at the final position after one cycle. If the needle is at a point midway through the cycle when the power is turned on, the machine will immediately start operating, which could result in injury. Do not touch any of the moving parts or press any objects against the machine while sewing, as this may result in personal injury or damage to the machine. 9-1. Checking the needle drop position Before carrying out actual sewing, operate the sewing machine manually and check that the needle drops into the center of the button thread holes. 1. Turn off the power switch. 2. Pull the thread out of the needle hole. 3. Set a button in place. 4. Operate the sewing machine manually as described on page 7 and check the needle drop position. 5. Once the needle drop position has been checked, thread the thread through the needle. 1994M 1. Check that the distance between the button thread holes has been set correctly. (Refer to p.11.) 2. If the needle is not dropping into the center of the button thread holes, adjust the installation position of the button clamp. (Refer to step 8 in 13-3 on p.25.) 9-2. Sewing 1. Turn on the power switch. 2. Set the material in place. 3. Depress the pedal to start the sewing machine. 4. Release the pedal quickly. The button will be attached, after the thread is trimmed, and then the presser arm will lift up and the sewing machine will stop. BM-917B, 917C 14
-
 1
1 -
2
-
3
-
4
-
5
-
6
-
7
-
8
-
9
-
10
-
11
-
12
-
13
-
14
-
 15
15 -
 16
16 -
 17
17 -
 18
18 -
 19
19 -
 20
20 -
 21
21 -
 22
22 -
 23
23 -
 24
24 -
 25
25 -
26
-
27
-
28
-
29
-
30
-
31
-
32
-
33
-
34
-
35
-
36
 |
 |