Brother International BM-917B Instruction Manual - English - Page 22
Adjusting the auxiliary tension, 5. Adjusting the rotor, 6. Adjusting the presser arm pressure
 |
View all Brother International BM-917B manuals
Add to My Manuals
Save this manual to your list of manuals |
Page 22 highlights
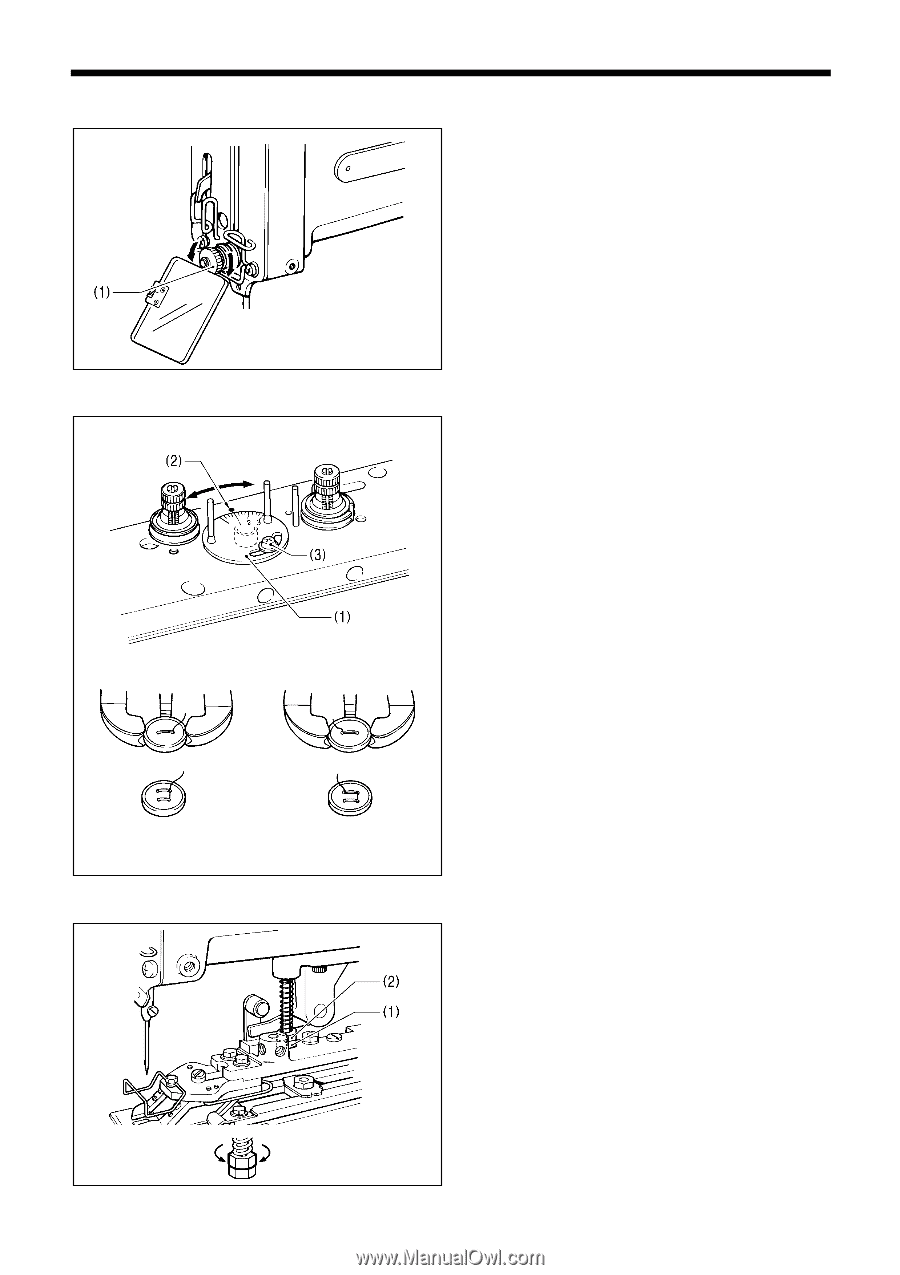
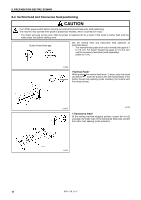
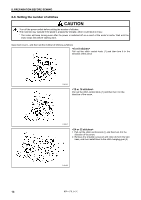
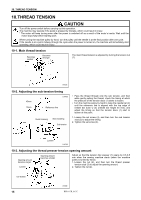
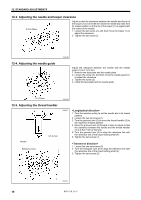
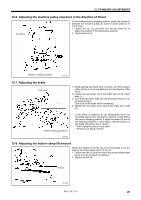
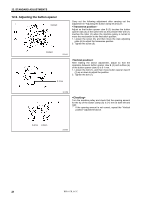
10-4. Adjusting the auxiliary tension 10. THREAD TENSION The auxiliary tension is adjusted by turning the tension nut (1). Becomes weaker Becomes stronger 10-5. Adjusting the rotor More Less 1999M 2000M The standard position for the rotor (1) at the sewing machine stopping position is the position where the scale indicator should be aligned with the index mark (2). 1. Loosen the screw (3), and turn the rotor (1) to adjust the position. 2. Tighten the screw (3). The higher the scale setting, the greater is the amount of thread take-up. ! If the thread end hangs out at the first stitch buttonhole, reduce the rotor (1) setting. (Fig.A) ! If the thread end hangs out at the second stitch buttonhole, increase the rotor (1) setting. (Fig.B)0 (Fig. A) (Fig. B) Thread remainder at first stitch Thread missed at first stitch 2001M 10-6. Adjusting the presser arm pressure Adjust the pressure to be as weak as possible so that the material does not slip when it is pulled gently. 1. Loosen the nut (1), and then turn the nut (2) to adjust the pressure. 2. Tighten the nut (1). BsBsterteorcocnonogmgmeeeerrss BwBweeeecacaokokmemereress 2002M BM-917B, 917C 16
-
 1
1 -
2
-
3
-
4
-
5
-
6
-
7
-
8
-
9
-
10
-
11
-
12
-
13
-
14
-
15
-
16
-
 17
17 -
 18
18 -
 19
19 -
 20
20 -
 21
21 -
 22
22 -
 23
23 -
 24
24 -
 25
25 -
 26
26 -
 27
27 -
28
-
29
-
30
-
31
-
32
-
33
-
34
-
35
-
36
 |
 |