Brother International LS-1717B Users Manual - Multi - Page 58
Blind Hem Stitch
 |
View all Brother International LS-1717B manuals
Add to My Manuals
Save this manual to your list of manuals |
Page 58 highlights
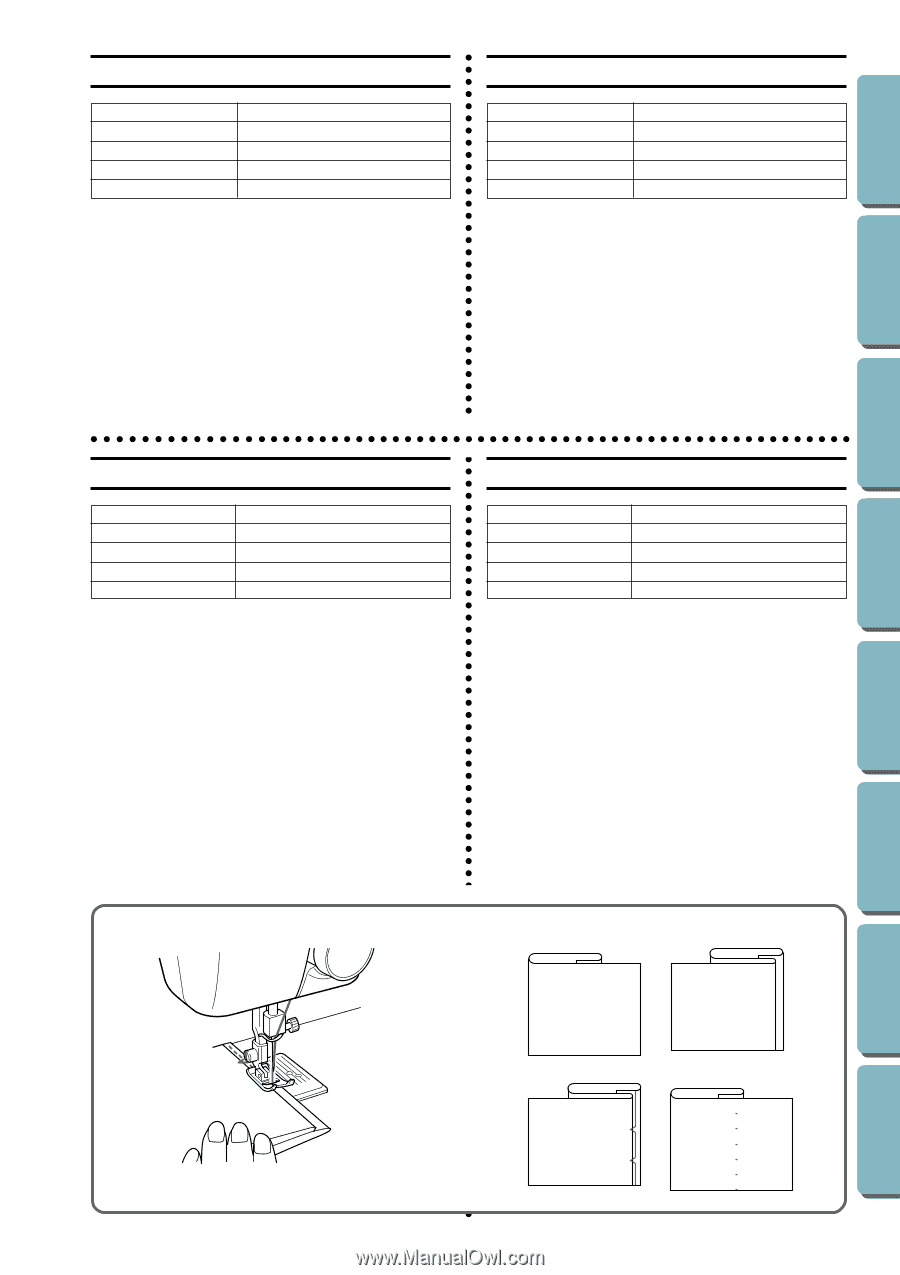
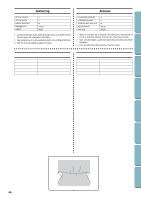
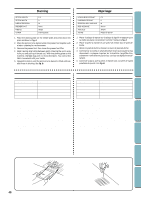
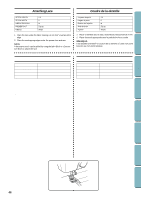
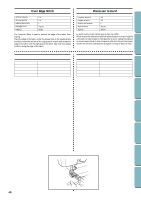
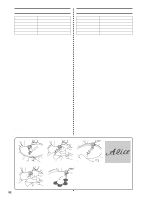
CONTENTS KNOWING YOUR SEWING MACHINE STRAIGHT AND ZIGZAG BUILT-IN STITCHES STITCHING Blind Hem Stitch Point d'ourlet invisible STITCH LENGTH STITCH WIDTH NEEDLE POSITION PRESSER FOOT NEEDLE 2-3 3-5 R Zigzag Single Longueur de point Largeur de point Position de l'aiguille Pied-de-biche Aiguille 2-3 3-5 R Zigzag Simple The Blind Hem Stitch is used to finish the edge of a project, like the bottom of a pair of pants, without the stitch showing. 1. Both the upper and lower threads should be the same color as the fabric. 2. Fold back the fabric to the desired location of the hem as shown in fig. A. Then, fold the edge of the fabric as in fig. B. Leave a 6 mm (1/4") overlap at the edge. 3. Sew 5-6 stitches on the fold as in fig. C using the R needle position, a straight stitch (0 width) and stitch length of 3-4. Quickly set the width to 2-3, sew 1 stitch and set the width back to 0. Repeat. 4. When the fabric is unfolded, you will have a Blind Stitch hem as shown in fig. D. Le point d'ourlet invisible sert à terminer le bord d'un ouvrage, par exemple l'ourlet d'un pantalon, sans que les points ne soient visibles. 1. Les fils supérieur et inférieur doivent être de la même couleur que le tissu. 2. Plier le tissu à l'endroit souhaité pour l'ourlet comme l'indique la fig. A. Puis replier le bord du tissu comme l'indique la fig. B. en faisant chevaucher de 6 mm . 3. Faire 5-6 points sur le repli comme l'indique la fig. C en utilisant la position d'aiguille R, un point droit (largeur 0) et une longueur de point de 3-4. Régler rapidement la largeur sur 2-3, faire un point et remettre la largeur sur 0. Refaire de même. 4. Lorsque le tissu est déplié, on obtient un ourlet invisible comme l'indique la fig. D. Puntadas invisibles Bainha com Ponto Invisível Largo de puntada Ancho de puntada Posición de la aguja Prensatelas Aguja 2-3 3-5 R Zigzag Simple La puntada de dobladillo invisible sirve para terminar la orilla de una obra, como puede ser el borde inferior de unos pantalones, sin que se vea la costura. 1. Los hilos superior e inferior deben ser del mismo color que el tejido. 2. Doble el tejido donde quiera hacer la costura como indica la fig. A. Luego, dele la vuelta como muestra la fig. B. Deje que se superpongan 6 mm (1/4") de tejido en la orilla. 3. Cosa 5 ó 6 puntadas en el pliegue como indica la fig. C usando la posición R para la aguja, una puntada recta (ancho 0) y un largo de puntada de 3 ó 4. Ajuste rápidamente el ancho en 2 ó 3, cosa una puntada y vuelva a poner el ancho en 0. Repita la operación. 4. Al desdoblar el tejido, tendrá un dobladillo con puntada invisible como el que muestra la fig. D. Comprimento do Ponto Largura do Ponto Posição da Agulha Pé Calcador Agulha 2-3 3-5 R Para Zigzag Simples A Bainha com Ponto Invisível é usada para o acabamento da borda de um projeto, tal como a barra de uma calça, sem que o ponto apareça. 1. Ambas as linhas superior e inferior devem ser da mesma cor do tecido. 2. Dobre de volta o tecido no local desejado para bainha, conforme mostra a fig. A. A seguir, dobre a borda do tecido como mostra a fig. B. Deixe um 6 mm (1/4") de tecido sobreposto na borda. 3. Costure 5-6 pontos na borda como mostra a fig. C, usando a posição de agulha R, um ponto reto (largura 0) e um comprimento de ponto de 3-4. Regule rapidamente a largura a 2-3, costure um ponto e regule a largura de volta a 0. Repita. 4. Quando o tecido for desdobrado, você obterá uma Bainha de Ponto Invisível conforme mostra a fig. D. A B C D BUTTONHOLE AND USING ATTACHMENTS BUTTON SEWING AND APPLICATIONS MAINTENANCE INDEX 48
-
 1
1 -
2
-
3
-
4
-
5
-
6
-
7
-
8
-
9
-
10
-
11
-
12
-
13
-
14
-
15
-
16
-
17
-
18
-
19
-
20
-
21
-
22
-
23
-
24
-
25
-
26
-
27
-
28
-
29
-
30
-
31
-
32
-
33
-
34
-
35
-
36
-
37
-
38
-
39
-
40
-
41
-
42
-
43
-
44
-
45
-
46
-
47
-
48
-
49
-
50
-
51
-
52
-
 53
53 -
 54
54 -
 55
55 -
 56
56 -
 57
57 -
 58
58 -
 59
59 -
 60
60 -
 61
61 -
 62
62 -
 63
63 -
64
-
65
-
66
-
67
-
68
-
69
-
70
-
71
-
72
-
73
-
74
-
75
-
76
-
77
-
78
-
79
-
80
-
81
-
82
 |
 |