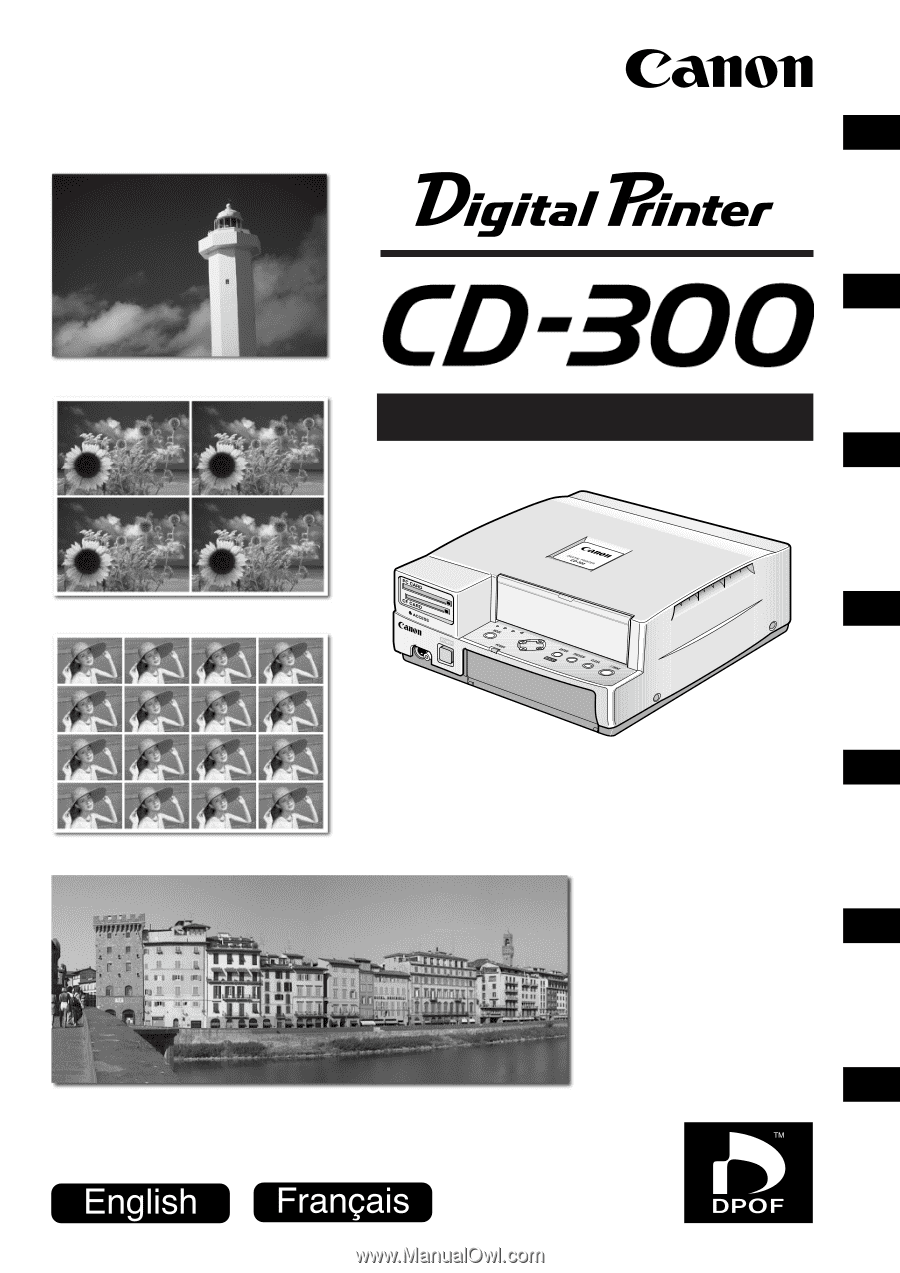
Canon CD 300 User Guide
Canon CD 300 Manual
 |
UPC - 082966161872
View all Canon CD 300 manuals
Add to My Manuals
Save this manual to your list of manuals |
Canon CD 300 manual content summary:
- Canon CD 300 | User Guide - Page 1
Canon Customer Support Appendix Other Features Printing from Video Printing from Memory Cards Getting Ready Introduction USER GUIDE - Canon CD 300 | User Guide - Page 2
Introduction Thank you for your purchase of the Canon Digital Printer CD-300. Please read this Guide and the Printer Driver User Guide carefully, and keep them handy for future reference. Please respect all copyrights. Images produced by this printer may be protected by copyright law, and use of - Canon CD 300 | User Guide - Page 3
Ready Controls and Components 7 Making Connections (Connecting to a Digital Camera, Video Camera, or VCR) . 10 Loading Paper 11 Inserting the Ink Cassette 13 Inserting a Memory Card 14 Print Modes 15 Menu Display 16 Printing from Memory Cards Automatic Printing from Memory Cards 17 Printing - Canon CD 300 | User Guide - Page 4
CF and PC Cards Flash memory cards from digital cameras install directly into the printer. CompactFlashTM cards (CF cards) from Canon cameras, and PC cards can be used. Three Print Sizes Prints standard postcard size, panorama size, and label size. Print from Your Computer Connects to Windows-based - Canon CD 300 | User Guide - Page 5
of the items shown below. CD-300 Digital Printer Paper Cassette for Standard / Label Paper Cassette for Panorama Guide Arm for Panorama Printer Driver Software (floppy disk) Power Cable Video Cable User Guide (this booklet) • Printer Driver User Guide •• Warranty Card Ink/paper sets are not included - Canon CD 300 | User Guide - Page 6
instruct you in the safe and correct operation of the printer to prevent injuries or damage to yourself, other persons and equipment. WARNINGS [Printer] If the printer Canon Customer Support Help Desk. If the printer is dropped or the printer distributeur ou le service d'assistance Canon le plus - Canon CD 300 | User Guide - Page 7
Check that voltage and outlet are correct before plugging in the printer. If the power cable becomes damaged (if internal wiring is exposed propreté de la prise. [Lieu d'installation] Ne placez pas l'imprimante sur un support instable ou un plan incliné. Elle risque de tomber et de blesser quelqu'un - Canon CD 300 | User Guide - Page 8
in injury. Wait for printing to finish completely before removing the cassette. Never reach your hand into the Paper Cassette Slot. Do not reach into internal parts of the printer except as specified in the operation instructions. Reaching into inappropriate parts of the printer may cause your hand - Canon CD 300 | User Guide - Page 9
Panel / Panneau de commande ] Controls and Components [Control Panel] DPOF Mode Lamp (green) On when the printer is running in DPOF mode. INDEX Lamp (green) On when the printer is ready for index printing. VIDEO Lamp (green) On when the printer is running in Video mode. ERROR Lamp (red) Flashes - Canon CD 300 | User Guide - Page 10
while the printer is reading data from a CF or PC card, and while it is receiving data from a computer. Also flashes twice when you insert or remove a CF or PC card. Never remove a card while this lamp is on or flashing. S-VIDEO IN Terminal Connects to a video device that supports S-Video. To make - Canon CD 300 | User Guide - Page 11
ink cassette. Paper Cassette Slot Set the paper cassette into this slot. The cassette feeds sheets into the printer and receives the printed sheets as they are ejected. [REAR] VIDEO OUT Terminal Connects to the Video à l'aide d'un câble de connexion PC en vente dans le commerce. Prise d'alimentation - Canon CD 300 | User Guide - Page 12
photo numérique (vendu séparément) Making Connections (Connecting to a Digital Camera, Video Camera, or VCR) 1. Plug the Power Cable into an electrical outlet. 2. Connect the CD-300 to a TV using the included Video cable. 3. Connect the input device to the CD-300. If connecting to the CD-300 - Canon CD 300 | User Guide - Page 13
CD-300 accepts any of the following (sold separately) color-ink/paper sets. Color Ink/Paper Set HS-36IP (standard paper) • Color Ink/Label Set HS-16IL (label paper) •• Color Ink/Panorama Set HP-18IP (panorama paper) The CD-300 into place. NOTE • Never touch the print surface with your hands. Be sure - Canon CD 300 | User Guide - Page 14
blank. The coating applied to the sheet as it passes through the printer makes it unsuitable for further use. Reused paper may stick to the ink sheet, resulting in printer breakdown. • Never remove the paper cassette while feeding, printing, or ejection is in progress. • Do not use any paper other - Canon CD 300 | User Guide - Page 15
that it comes with. • When you have used up an ink cassette, discard it and install a new one. Cassettes cannot be reused. Mise en place de la d'encre est incluse avec les encre couleur/kit papier HS-36IP, encre couleur/jeu d'étiquettes HS-16IL et encre couleur/kit panorama HP-18IP. Les jeux d'encre - Canon CD 300 | User Guide - Page 16
slot, and push it all the way in. The printer reads the image data from the card, and displays thumbnails of the images onto your TV. • If using a CF card, insert it into the CF Card slot. If using a PC card, insert it into the PC Card slot. Remember that you cannot install both types at the - Canon CD 300 | User Guide - Page 17
sheet). The Index lamp is on. Video mode The CD-300 prints images directly from a digital camera or video device. The Video lamp is on. PC mode The CD-300 operates under control from your computer. The CD-300 automatically enters this mode when you send instructions from the computer, except that it - Canon CD 300 | User Guide - Page 18
PC or CF card. If the printer is in Video mode, this area displays the received video image. You can also use this area to preview print de vignette. Si vous insérez une carte contenant de telles images dans la CD-300, il faudra beaucoup de temps pour afficher chaque image. Le temps nécessaire dépend - Canon CD 300 | User Guide - Page 19
control the printout. Printing in DPOF Mode The CD-300 automatically prints images that include DPOF print instructions or Camera Image File Format (CIFF) printing marks. 1. Insert an appropriate CF card or PC card into the card slot. The card must include recorded print instructions. The printer - Canon CD 300 | User Guide - Page 20
Mode The CD-300 automatically prints all images from the memory card. 1. Press the Mode button as necessary to select Index mode. The Index lamp comes on to indicate that the printer is in Index mode. 2. To print the images in index format (25 images per sheet), press the Print button. To print one - Canon CD 300 | User Guide - Page 21
printing to standard paper (Color-Ink/Paper Set). 1. Press the Mode button to move into Memory Card mode. All mode lamps should be off. The thumbnail area shows thumbnails of the images in the inserted CF or PC card . If the CD-300 is unable to papier suivant: encre couleur/kit papier (standard). 1. - Canon CD 300 | User Guide - Page 22
JPEG) that is not supported by the CD-300. 3. Move the to stop printing before all copies have been printed, press the Clear button. The printer will finish printing the whether to make a borderless print. For information, refer to "Borderless Printing". (¡ P.38) • Card images that are large in - Canon CD 300 | User Guide - Page 23
printing to standard paper or label paper (Color Ink/Paper Set or Color Ink/Label Set). 1. Press the Mode button to move into Memory Card mode. All mode lamps should be off. The Thumbnail area shows thumbnails of the images in the inserted CF or PC card printer will print encre couleur/ kit papier ou - Canon CD 300 | User Guide - Page 24
• If the memory card holds more than 16 images, you can view additional thumbnails by Now select the number of images per print for the Multi-Image. Then press the Enter/Memory button again. • If you are using an Ink Cassette for Label, the number of images per print is fixed at 16. 6. Move the - Canon CD 300 | User Guide - Page 25
return to the thumbnail display by pressing the Preview button a second time. • If you wish to stop printing before all copies have been printed, press the Clear button. The printer will finish printing the copy it is working on, and then stop. • You can make various adjustments to the image quality - Canon CD 300 | User Guide - Page 26
Printing from Video Input This Video Input feature lets you print images received from a digital camera or video device connected to the CD-300. This feature is available when you are printing to standard paper, label paper or panorama paper (Color Ink/Paper Set, Color Ink/Label Set or Color Ink - Canon CD 300 | User Guide - Page 27
return to the previous display by pressing the Preview button a second time. • If you wish to stop printing before all copies have been printed, press the clear button. The printer will finish printing the copy it is working on, and then stop. • You can make various adjustments to the image quality - Canon CD 300 | User Guide - Page 28
are printing to standard paper or label paper (Color Ink/Paper Set or Color Ink/Label Set). 1. Press the Mode button to move into Video mode. The Video impression sur du papier standard ou des étiquettes (encre couleur/ kit papier ou encre couleur/jeu d'étiquettes). 1. Appuyez, si nécessaire, - Canon CD 300 | User Guide - Page 29
on the screen, press the Enter/ Memory button. The printer stores the image into memory and displays it in the thumbnail of images per print for the multi-image. Then press the Enter/Memory button again. • If you are using an Ink Cassette for Labels, the number of images per print is fixed at - Canon CD 300 | User Guide - Page 30
return to the previous display by pressing the Preview button a second time. • If you wish to stop printing before all copies have been printed, press the Clear button. The printer will finish printing the copy it is working on, and then stop. • You can make various adjustments to the image quality - Canon CD 300 | User Guide - Page 31
sheet will extend out about 4.4 inches (11 cm) from the Paper Removal Port during printing. You need to install the guide to keep the paper from coming into contact with the cables attached to the rear of the printer. 2. Load Panorama paper into the Paper Cassette for Panorama. • You can load up to - Canon CD 300 | User Guide - Page 32
the Paper Cassette for Panorama and the Ink Cassette for Panorama into the printer. • Insert the cassette evenly so the printer to create and print panoramas. When working with 1600x1200-dot images, it takes the printer about 5 minutes to merge a 3 image panorama and about 10 minutes to print it. - Canon CD 300 | User Guide - Page 33
CD-300 may be somewhat different from results obtained using commercially available panorama software. • If you wish to merge and print a panorama image using a Ink Cassette for Standard, you need to follow a slightly different procedure. First, make sure that the printer is in Memory Card service, - Canon CD 300 | User Guide - Page 34
CD-300 lets you adjust the brightness, contrast, saturation, hue, and sharpness of images before you print them. These adjustments are available only when you are working in Memory Card or Video brightness and contrast. • If you want the printer to set the brightness and contrast automatically, set - Canon CD 300 | User Guide - Page 35
4. When you have finished making the ad- justments, press the Enter/Memory button. The image is updated in the Thumbnail area in accordance with your adjustments. • Automatic adjustment is available for brightness and contrast only. • If you wish to return an image back to its default adjustment - Canon CD 300 | User Guide - Page 36
standard Label Templates Cadre pour les étiquettes Printing with Templates The CD-300 includes within its memory a variety of preset in Memory Card or Video mode. This feature is available only when you are printing to standard paper or label paper (Color Ink/Paper Set or Color Ink/Label Set). - Canon CD 300 | User Guide - Page 37
1. With the printer in Memory Card mode, select the image that you want to compose with illustrations. Then press the Enter/Memory button. • If you want to add an illustration to an image obtained in Video mode, load the image by carrying out Steps 1 to 3 under "Printing from Video Input." (¡ P.24) - Canon CD 300 | User Guide - Page 38
may produce poor results. • Illustrated images can be printed just like regular images. You can set an arbitrary number of copies for your composed print, and you can use the Multi-Image printing feature. • If you are working with large card images, it may take a considerable time for illustration - Canon CD 300 | User Guide - Page 39
whether to print the date directly on your prints. This feature is available only in Memory Card mode. réglage change en [Date ON] (insertion de la date en service). • Pour revenir à un réglage pour lequel la date n' images possèdent l'instruction d'impression de la date, celle-ci est imprimée - Canon CD 300 | User Guide - Page 40
prints. Cropped prints completely fill the sheet, and tend to be more effective visually. This feature is available only in Memory Card and Video modes service, une bordure blanche de 0,28 pouce (7 mm) minimum apparaît des quatre côtés de la photo. Par défault, le mode de détourage est en service. - Canon CD 300 | User Guide - Page 41
P.17) • If you choose [Index], the screen shows you all images that include a DPOF "index" print instruction.(¡ P.17) • If none of the images in the Memory card include print instructions, the Message area displays the message "No DPOF/CIFF-compliant images." Vérification des réglages d'impression - Canon CD 300 | User Guide - Page 42
Windows) Ordinateur (Windows) Air Vents Évents de ventilation Air Vents Évents de ventilation Printing from a Computer You can connect the CD-300 to your computer and use it as a typical PC printer. To enable this type of use you must also install the printer driver (included in the CD-300 photos - Canon CD 300 | User Guide - Page 43
to cool down. Note that this does not mean that the printer has malfunctioned; it will begin printing normally again as soon as it cools down . Temporary stoppages are most likely to occur in the following cases. • When printing continuously for a protracted period. • If the room is unusually warm - Canon CD 300 | User Guide - Page 44
that falls through the vent may land on the ink sheet, resulting in poor print quality and possibly leading to printer breakdown. If the ink sheet becomes dusty, remove the ink cassette and replace it with a new one. Proper Handling of Ink Cassettes, Ink Sheets, Paper Cassette Slot and Paper • It is - Canon CD 300 | User Guide - Page 45
force or shocks on the paper cassette. • It may result in paper jams or printer breakdown. Never reuse a depleted ink cassette, and never print on the same sheet more than once. Reuse of ink cassettes or paper may result in printer • breakdown. Do not allow too many sheets to accumulate in the - Canon CD 300 | User Guide - Page 46
ink/paper set (color-ink/paper, color-ink/label, or color-ink des changements de couleur. • Ne conservez pas les photos imprimées dans un endroit trop chaud, trop poussiéreux encre/papier (encre couleur/kit papier, encre couleur/jeu d'étiquettes ou encre couleur/kit panorama), vérifiez le contenu - Canon CD 300 | User Guide - Page 47
Troubleshooting If the printer does not seem to be working properly, run through the chart below to see if you can identify and correct the problem. If you are not able to correct the problem, call your dealer or contact Canon Customer Support (see listing at back of this manual) for assistance. - Canon CD 300 | User Guide - Page 48
Video mode). Cause 1 : The memory card (CF or PC card) is not correctly inserted. Correction : Insert the card correctly. Cause 2 : The printer is set to Video de 9 feuilles de papier au format panorama). Correction : Retirez les photos accumulées avant que la zone d'éjection ne devienne trop pleine. - Canon CD 300 | User Guide - Page 49
is not installed (or is incorrectly installed) on your computer. Correction : Install the driver correctly. For information, refer to the Printer Driver User Guide. Correction : Ce n'est pas un mauvais fonctionnement. Attendez que l'image apparaisse. L'imprimante ne fonctionne pas avec l'ordinateur - Canon CD 300 | User Guide - Page 50
and insert the Paper Cassette into the slot. Printer re-starts automatically. Too many files / directories. The CD-300 cannot access memory cards containing more than 5,632 files or more than 64 directories. The CD-300 will be able to access the card if you delete the excess files or directories - Canon CD 300 | User Guide - Page 51
Input: Composite/S-Input NTSC (RCA pin jack, DIN 4-pin connector) Video Output: Composite NTSC Supported image formats JPEG baseline, JFIF, above Exif2.0 Supported image-file control methods Design rule for Camera File system, CIFF, DPOF Recommended cable Material AWG 28 or above Type - Canon CD 300 | User Guide - Page 52
Dimensions 9,8 x 3,7 x 10,3 po (249 x 94 x 262 mm) (sans les projections et la cassette) Poids Env. 2,7 kg (5,9 lb) Installation Horizontal Source d'alimentation Secteur 120V (50/60Hz) Consommation Env. 70 W pendant l'impression 50 - Canon CD 300 | User Guide - Page 53
Hotline: (1) 41 99 70 70 Tél: (1) 41 99 77 77 Télécopie: (1) 41 99 79 51 Canon S.A.V. Photo Video France Hotline: (01) 41 30 16 16 Télécopie: (01) 41 30 16 00 Canon Deutschland GmbH Canon-Hotline-Service Customer-Support: 02151/349-555 Telefax: 02151/349-588 Info-Desk: 02151/349-566 Info-Desk - Canon CD 300 | User Guide - Page 54
H-IM-020-V1 0999CP1 © 1999 CANON INC. PRINTED IN JAPAN IMPRIMÉ AU JAPON
-
 1
1 -
 2
2 -
 3
3 -
 4
4 -
 5
5 -
 6
6 -
 7
7 -
8
-
9
-
10
-
11
-
12
-
13
-
14
-
15
-
16
-
17
-
18
-
19
-
20
-
21
-
22
-
23
-
24
-
25
-
26
-
27
-
28
-
29
-
30
-
31
-
32
-
33
-
34
-
35
-
36
-
37
-
38
-
39
-
40
-
41
-
42
-
43
-
44
-
45
-
46
-
47
-
48
-
49
-
50
-
51
-
52
-
53
-
54
 |
 |
USER GUIDE
Introduction
Getting Ready
Printing from
Memory Cards
Printing from
Video
Other Features
Appendix
Canon Customer
Support