Canon PowerShot ELPH 110 HS User Guide - Page 38
Access the menu., Choose a tab., Choose a setting., Choose an option., Finish the setup process.
 |
View all Canon PowerShot ELPH 110 HS manuals
Add to My Manuals
Save this manual to your list of manuals |
Page 38 highlights
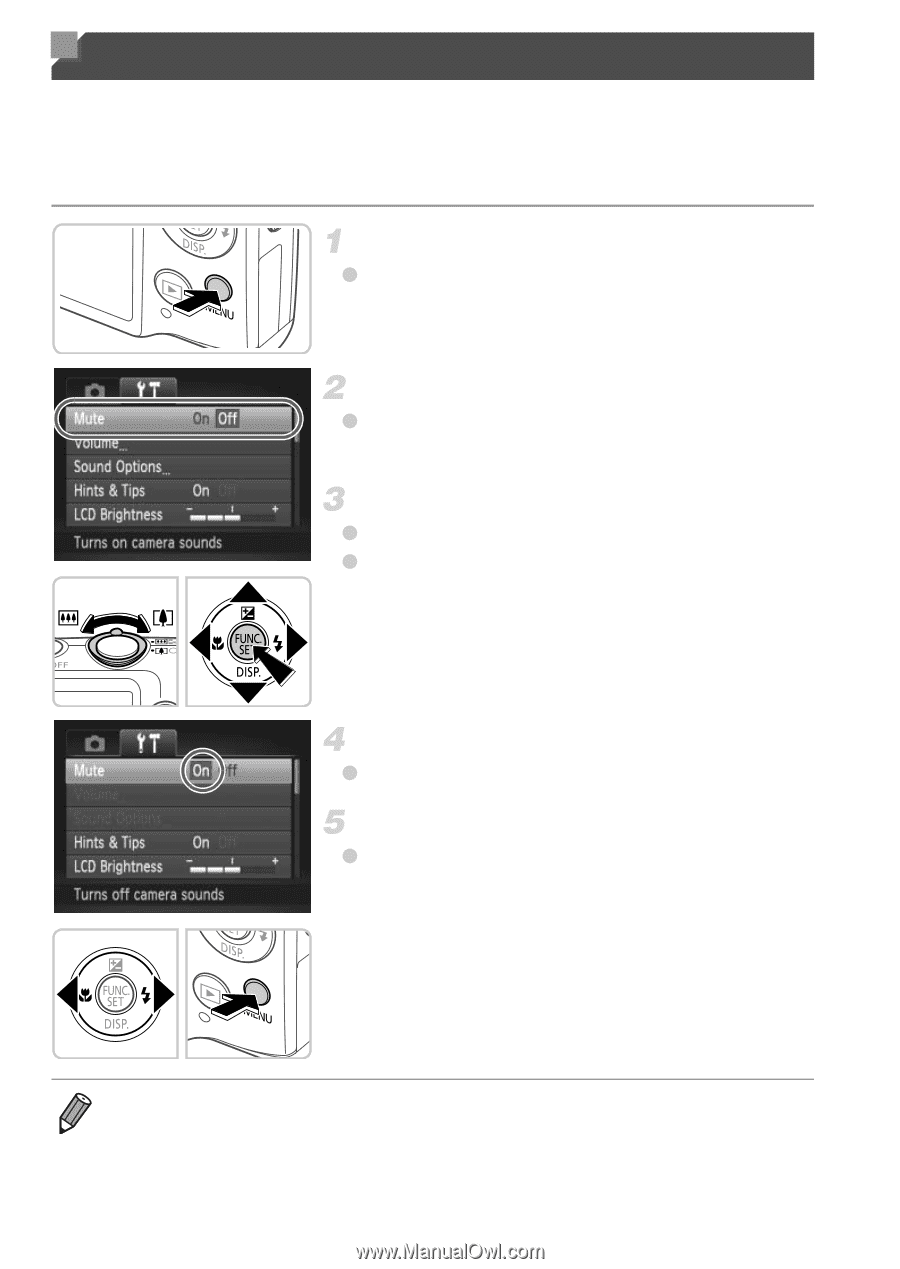
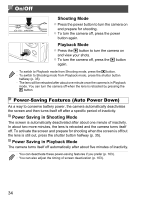
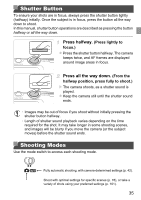
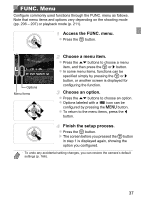
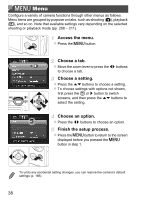
n Menu Configure a variety of camera functions through other menus as follows. Menu items are grouped by purpose on tabs, such as shooting (4), playback (1), and so on. Note that available settings vary depending on the selected shooting or playback mode (pp. 208 - 211). Access the menu. z Press the n button. Choose a tab. z Move the zoom lever or press the qr buttons to choose a tab. Choose a setting. z Press the op buttons to choose a setting. z To choose settings with options not shown, first press the m or r button to switch screens, and then press the op buttons to select the setting. Choose an option. z Press the qr buttons to choose an option. Finish the setup process. z Press the n button to return to the screen displayed before you pressed the n button in step 1. • To undo any accidental setting changes, you can restore the camera's default settings (p. 166). 38
-
 1
1 -
2
-
3
-
4
-
5
-
6
-
7
-
8
-
9
-
10
-
11
-
12
-
13
-
14
-
15
-
16
-
17
-
18
-
19
-
20
-
21
-
22
-
23
-
24
-
25
-
26
-
27
-
28
-
29
-
30
-
31
-
32
-
 33
33 -
 34
34 -
 35
35 -
 36
36 -
 37
37 -
 38
38 -
 39
39 -
 40
40 -
 41
41 -
 42
42 -
 43
43 -
44
-
45
-
46
-
47
-
48
-
49
-
50
-
51
-
52
-
53
-
54
-
55
-
56
-
57
-
58
-
59
-
60
-
61
-
62
-
63
-
64
-
65
-
66
-
67
-
68
-
69
-
70
-
71
-
72
-
73
-
74
-
75
-
76
-
77
-
78
-
79
-
80
-
81
-
82
-
83
-
84
-
85
-
86
-
87
-
88
-
89
-
90
-
91
-
92
-
93
-
94
-
95
-
96
-
97
-
98
-
99
-
100
-
101
-
102
-
103
-
104
-
105
-
106
-
107
-
108
-
109
-
110
-
111
-
112
-
113
-
114
-
115
-
116
-
117
-
118
-
119
-
120
-
121
-
122
-
123
-
124
-
125
-
126
-
127
-
128
-
129
-
130
-
131
-
132
-
133
-
134
-
135
-
136
-
137
-
138
-
139
-
140
-
141
-
142
-
143
-
144
-
145
-
146
-
147
-
148
-
149
-
150
-
151
-
152
-
153
-
154
-
155
-
156
-
157
-
158
-
159
-
160
-
161
-
162
-
163
-
164
-
165
-
166
-
167
-
168
-
169
-
170
-
171
-
172
-
173
-
174
-
175
-
176
-
177
-
178
-
179
-
180
-
181
-
182
-
183
-
184
-
185
-
186
-
187
-
188
-
189
-
190
-
191
-
192
-
193
-
194
-
195
-
196
-
197
-
198
-
199
-
200
-
201
-
202
-
203
-
204
-
205
-
206
-
207
-
208
-
209
-
210
-
211
-
212
-
213
-
214
-
215
-
216
-
217
-
218
 |
 |