Denon AVR5700 Owners Manual - Page 38
Example: Stereo
 |
UPC - 081757503778
View all Denon AVR5700 manuals
Add to My Manuals
Save this manual to your list of manuals |
Page 38 highlights
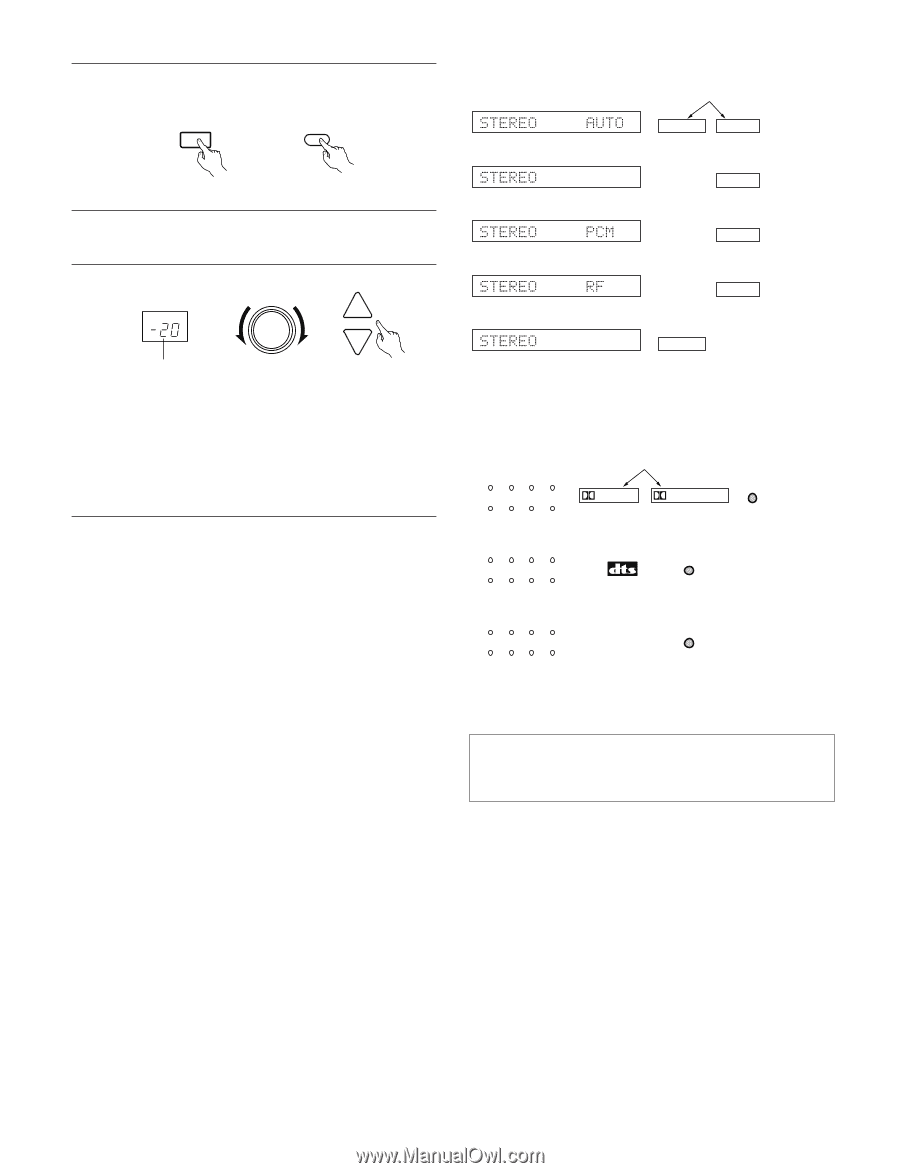
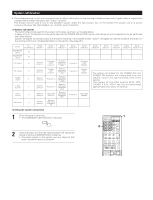
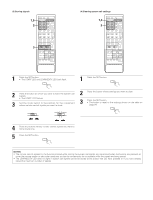
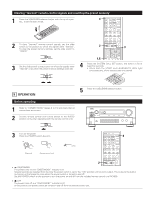
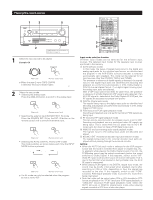
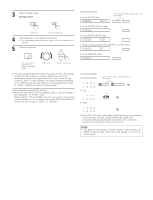
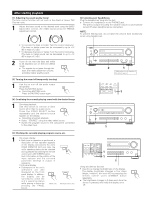
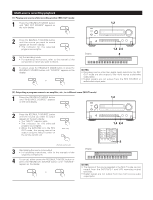
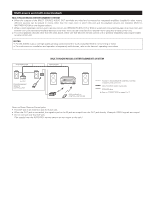
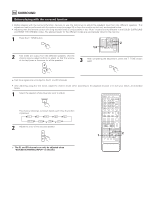
3 Select the play mode. Example: Stereo STEREO STEREO (Main unit) (Remote control unit) 4 Start playback on the selected component. • For operating instructions, refer to the component's manual. 5 Adjust the volume. MASTER VOLUME MASTER VOL. The volume level is displayed on the master volume level display. (Main unit) (Remote control unit) 2 The volume can be adjusted within the range of -60 to 0 to 18 dB, in steps of 1 dB. However, when the channel level is set as described on page 22 or pages 43 and 44, if the volume for any channel is set at +1 dB or greater, the volume cannot be adjusted up to 18 dB. (In this case the maximum volume adjustment range is "18 dB - (Maximum value of channel level)".) Input mode when playing DTS sources • Noise will be output if DTS-compatible CDs or LDs are played in the "ANALOG" or "PCM" mode. When playing DTS-compatible sources, be sure to connect the source component to the digital input jacks (OPTICAL/COAXIAL) and set the input mode to "AUTO" or "DIGITAL". Input mode display • In the AUTO mode One of these lights, depending on the input signal. ANALOG DIGITAL • In the DIGITAL AUTO mode DIGITAL • In the DIGITAL PCM mode DIGITAL • When switched to RF in the VDP RF or AUTO mode DIGITAL • In the ANALOG mode ANALOG Input signal display • DOLBY DIGITAL CH INDICATOR L C R LOCK SL S SR LFE One of these lights, depending on the input signal. DIGITAL LOCK PRO LOGIC • DTS CH INDICATOR L C R LOCK SL S SR LFE Lit LOCK • PCM CH INDICATOR L C R LOCK SL S SR LFE LOCK 2 The LOCK LED lights when digital signals are being input properly. If the LED does not light, check whether the digital input component setup (page 25) and connections are correct and whether the component's power is turned on. NOTE: • The digital input indicator will light (green) when playing CD- ROMs containing data other than audio signals, but no sound will be heard. 38
-
 1
1 -
2
-
3
-
4
-
5
-
6
-
7
-
8
-
9
-
10
-
11
-
12
-
13
-
14
-
15
-
16
-
17
-
18
-
19
-
20
-
21
-
22
-
23
-
24
-
25
-
26
-
27
-
28
-
29
-
30
-
31
-
32
-
 33
33 -
 34
34 -
 35
35 -
 36
36 -
 37
37 -
 38
38 -
 39
39 -
 40
40 -
 41
41 -
 42
42 -
 43
43 -
44
-
45
-
46
-
47
-
48
-
49
-
50
-
51
-
52
-
53
-
54
-
55
-
56
-
57
-
58
-
59
-
60
-
61
-
62
-
63
-
64
 |
 |