Dymo LabelManager® Wireless PnP User Guide 1 - Page 17
Adding the Label Maker as a Wireless Printer, The Add Network Printer tool starts.
 |
View all Dymo LabelManager® Wireless PnP manuals
Add to My Manuals
Save this manual to your list of manuals |
Page 17 highlights
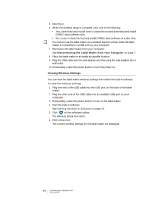
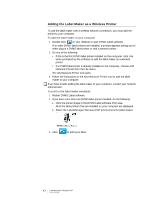
Adding the Label Maker as a Wireless Printer To use the label maker over a wireless network connection, you must add the printer to your computer. To add the label maker to your computer 1 Double-click on your desktop to start DYMO Label software. If no other DYMO label printers are installed, a prompt appears asking you to either plug in a DYMO label printer or add a network printer. 2 Do one of the following: • If this is the first DYMO label printer installed on the computer, click Yes when prompted by the software to add the label maker as a wireless printer. • If a DYMO label printer is already installed on the computer, choose Add Network Printer from the File menu. The Add Network Printer tool starts. 3 Follow the instructions in the Add Network Printer tool to add the label maker to your computer. If you have trouble adding the label maker to your computer, contact your network administrator. To print to the label maker wirelessly 1 Restart DYMO Label software. 2 If you have more than one DYMO label printer installed, do the following: a Click the printer image in the DYMO Label software Print area. All of the label printers that are installed on your computer are displayed. b Select the LabelManager Wireless PnP (nnnnnnnnnnnn) label maker. 3 Click to print your label. 17 LabelManager® Wireless PnP User Guide
-
 1
1 -
2
-
3
-
4
-
5
-
6
-
7
-
8
-
9
-
10
-
11
-
 12
12 -
 13
13 -
 14
14 -
 15
15 -
 16
16 -
 17
17 -
 18
18 -
 19
19 -
 20
20 -
 21
21 -
 22
22 -
23
-
24
-
25
 |
 |
