Epson 6100i Operation Guide - EasyMP Monitor v4.40 - Page 20
If the projector name or IP address changes after registration
 |
UPC - 010343858176
View all Epson 6100i manuals
Add to My Manuals
Save this manual to your list of manuals |
Page 20 highlights
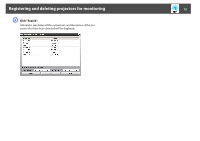
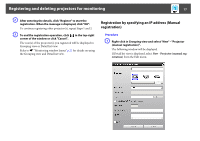
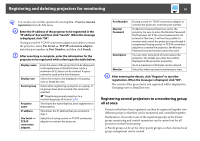
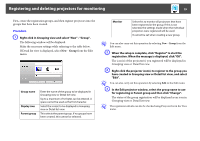
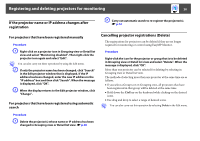
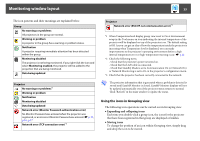
Registering and deleting projectors for monitoring 20 If the projector name or IP address changes after registration B Carry out automatic search to re-register the projector(s). s p.12 For projectors that have been registered manually Procedure A Right-click on a projector icon in Grouping view or Detail list view and select "Monitoring disabled". Then right-click the projector icon again and select "Edit". q You can also carry out these operations by using the Edit menu. B If only the projector name has been changed, click "Search" in the Edit projector window that is displayed. If the IP address has been changed, enter the new IP address in the "IP address" box and then click "Search". When the message is displayed, click "OK". C When the display returns to the Edit projector window, click "Change". For projectors that have been registered using automatic search Cancelling projector registrations (Delete) The registrations for projectors can be deleted if they are no longer required for monitoring or control using EasyMP Monitor. Procedure Right-click the icon for the projector or group that is to be deleted in Grouping view or Detail list view and select "Delete". When the message is displayed, click "OK". More than one projector can be selected for deleting by selecting in Grouping view or Detail list view. The methods of selecting more than one projector at the same time are as follows. • If you select a Group icon in Grouping view, all projectors that have been registered in that group will be deleted at the same time. • Hold down the Ctrl key on the keyboard while clicking on the desired icons. • Use drag and drop to select a range of desired icons. q You can also carry out this operation by selecting Delete in the Edit menu. Procedure A Delete the projector(s) whose name or IP address has been changed in Grouping view or Detail list view. s p.20
-
 1
1 -
2
-
3
-
4
-
5
-
6
-
7
-
8
-
9
-
10
-
11
-
12
-
13
-
14
-
 15
15 -
 16
16 -
 17
17 -
 18
18 -
 19
19 -
 20
20 -
 21
21 -
 22
22 -
 23
23 -
 24
24 -
 25
25 -
26
-
27
-
28
-
29
-
30
-
31
-
32
-
33
-
34
-
35
-
36
-
37
-
38
-
39
-
40
-
41
-
42
-
43
-
44
-
45
-
46
-
47
 |
 |