Epson 836XL User Setup Information - Page 57
Installing the Auto Document Feeder, in the back of
 |
UPC - 010343820098
View all Epson 836XL manuals
Add to My Manuals
Save this manual to your list of manuals |
Page 57 highlights
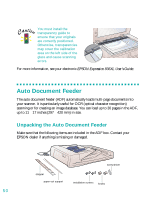
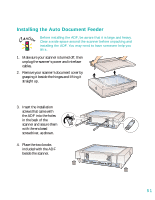
Installing the Auto Document Feeder Before installing the ADF, be aware that it is large and heavy. Clear a wide space around the scanner before unpacking and installing the ADF. You may need to have someone help you lift it. 1. Make sure your scanner is turned off, then unplug the scanner's power and interface cables. 2. Remove your scanner's document cover by grasping it beside the hinges and lifting it straight up. 3. Insert the installation screws that came with the ADF into the holes in the back of the scanner and secure them with the enclosed screwdriver, as shown. 4. Place the two knobs included with the ADF beside the scanner. 51
-
 1
1 -
2
-
3
-
4
-
5
-
6
-
7
-
8
-
9
-
10
-
11
-
12
-
13
-
14
-
15
-
16
-
17
-
18
-
19
-
20
-
21
-
22
-
23
-
24
-
25
-
26
-
27
-
28
-
29
-
30
-
31
-
32
-
33
-
34
-
35
-
36
-
37
-
38
-
39
-
40
-
41
-
42
-
43
-
44
-
45
-
46
-
47
-
48
-
49
-
50
-
51
-
 52
52 -
 53
53 -
 54
54 -
 55
55 -
 56
56 -
 57
57 -
 58
58 -
 59
59 -
 60
60 -
 61
61 -
 62
62 -
63
-
64
-
65
-
66
-
67
-
68
-
69
-
70
-
71
-
72
-
73
 |
 |
51
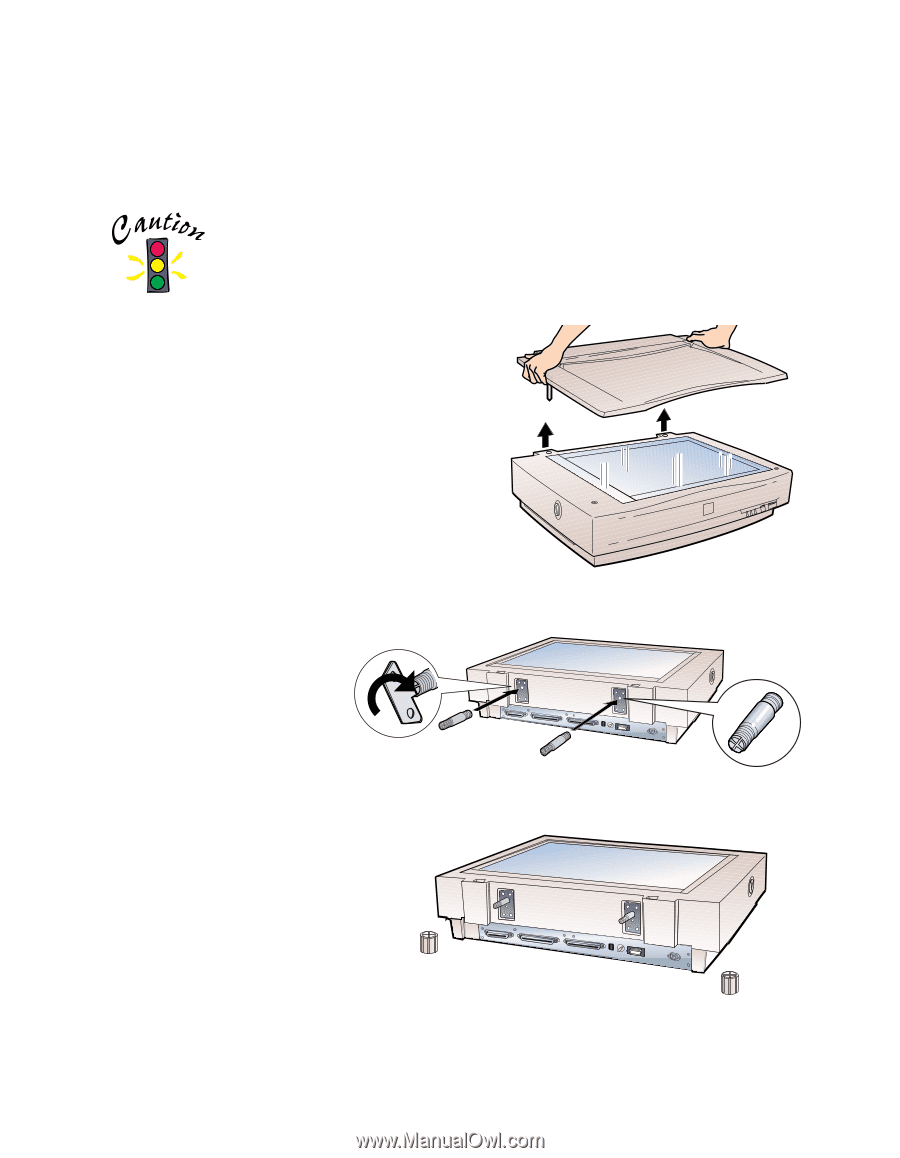
Installing the Auto Document Feeder
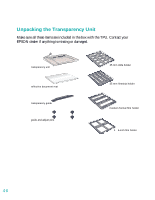
Before installing the ADF, be aware that it is large and heavy.
Clear a wide space around the scanner before unpacking and
installing the ADF. You may need to have someone help you
lift it.
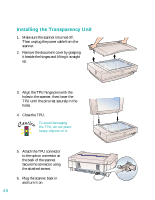
1.
Make sure your scanner is turned off, then
unplug the scanner’s power and interface
cables.
2.
Remove your scanner’s document cover by
grasping it beside the hinges and lifting it
straight up.
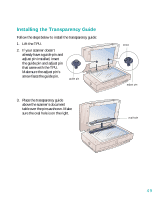
3.
Insert the installation
screws that came with
the ADF into the holes
in the back of the
scanner and secure them
with the enclosed
screwdriver, as shown.
4.
Place the two knobs
included with the ADF
beside the scanner.