Epson B-510DN User's Guide - Page 31
Draft, Text & Image, Portrait, Landscape - printer driver
 |
View all Epson B-510DN manuals
Add to My Manuals
Save this manual to your list of manuals |
Page 31 highlights
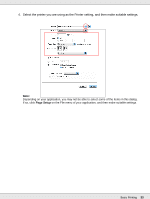
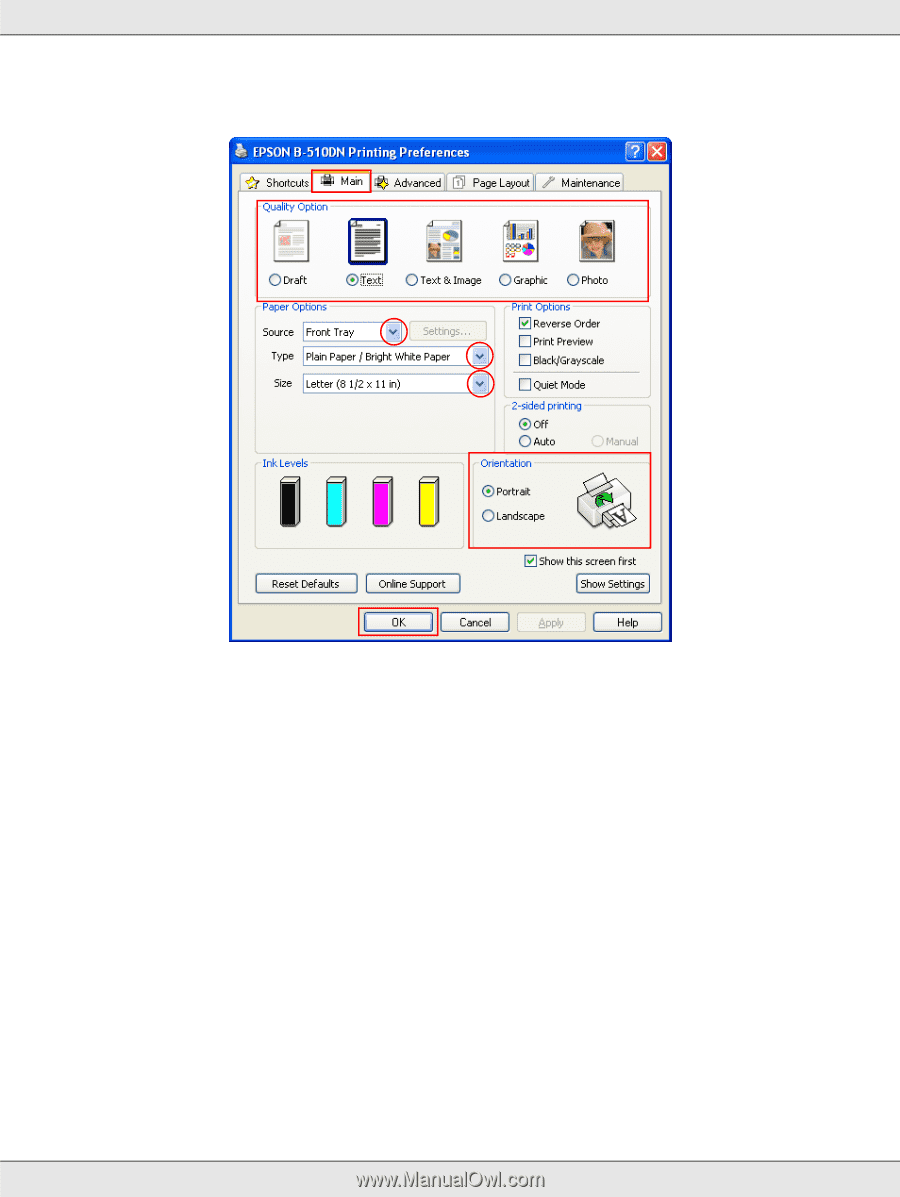
& See "Accessing the Printer Driver for Windows" on page 14. 3. Click the Main tab, then select one of the following Quality Option settings: ❏ Draft for rough drafts with reduced print quality ❏ Text for text-only documents with higher text quality ❏ Text & Image for higher quality documents with text and images 4. Select the paper source as the Source setting. 5. Select the appropriate Type setting. & See "Selecting the Correct Paper Type or Media Type" on page 28. 6. Select the appropriate Size setting. You can also define a custom paper size. For details, see the online help. 7. Select Portrait (tall) or Landscape (wide) to change the orientation of your printout. 8. Click OK to close the printer settings window. Basic Printing 31
-
 1
1 -
2
-
3
-
4
-
5
-
6
-
7
-
8
-
9
-
10
-
11
-
12
-
13
-
14
-
15
-
16
-
17
-
18
-
19
-
20
-
21
-
22
-
23
-
24
-
25
-
 26
26 -
 27
27 -
 28
28 -
 29
29 -
 30
30 -
 31
31 -
 32
32 -
 33
33 -
 34
34 -
 35
35 -
 36
36 -
37
-
38
-
39
-
40
-
41
-
42
-
43
-
44
-
45
-
46
-
47
-
48
-
49
-
50
-
51
-
52
-
53
-
54
-
55
-
56
-
57
-
58
-
59
-
60
-
61
-
62
-
63
-
64
-
65
-
66
-
67
-
68
-
69
-
70
-
71
-
72
-
73
-
74
-
75
-
76
-
77
-
78
-
79
-
80
-
81
-
82
-
83
-
84
-
85
-
86
-
87
-
88
-
89
-
90
-
91
-
92
-
93
-
94
-
95
-
96
-
97
-
98
-
99
-
100
-
101
-
102
-
103
-
104
-
105
-
106
-
107
-
108
-
109
-
110
-
111
-
112
-
113
-
114
-
115
-
116
-
117
-
118
-
119
-
120
-
121
-
122
-
123
-
124
-
125
-
126
-
127
-
128
-
129
-
130
-
131
-
132
-
133
-
134
-
135
-
136
-
137
-
138
-
139
-
140
-
141
-
142
-
143
-
144
-
145
-
146
-
147
-
148
-
149
-
150
-
151
-
152
-
153
-
154
-
155
-
156
-
157
-
158
-
159
-
160
-
161
-
162
-
163
-
164
-
165
-
166
-
167
-
168
-
169
-
170
-
171
-
172
-
173
-
174
-
175
-
176
-
177
-
178
-
179
-
180
-
181
-
182
-
183
-
184
-
185
-
186
-
187
-
188
-
189
-
190
 |
 |
Basic Printing
31
&
See “Accessing the Printer Driver for Windows” on page 14.
3.
Click the
Main
tab, then select one of the following Quality Option settings:
❏
Draft
for rough drafts with reduced print quality
❏
Text
for text-only documents with higher text quality
❏
Text & Image
for higher quality documents with text and images
4.
Select the paper source as the Source setting.
5.
Select the appropriate Type setting.
&
See “Selecting the Correct Paper Type or Media Type” on page 28.
6.
Select the appropriate Size setting. You can also define a custom paper size. For
details, see the online help.
7. Select
Portrait
(tall) or
Landscape
(wide) to change the orientation of your printout.
8. Click
OK
to close the printer settings window.