Gigabyte GA-X58-USB3 Manual - Page 75
SMART Recovery, SMART DualBIOS, Instructions, ery Preference, Smart Recovery Preference
 |
UPC - 818313011282
View all Gigabyte GA-X58-USB3 manuals
Add to My Manuals
Save this manual to your list of manuals |
Page 75 highlights
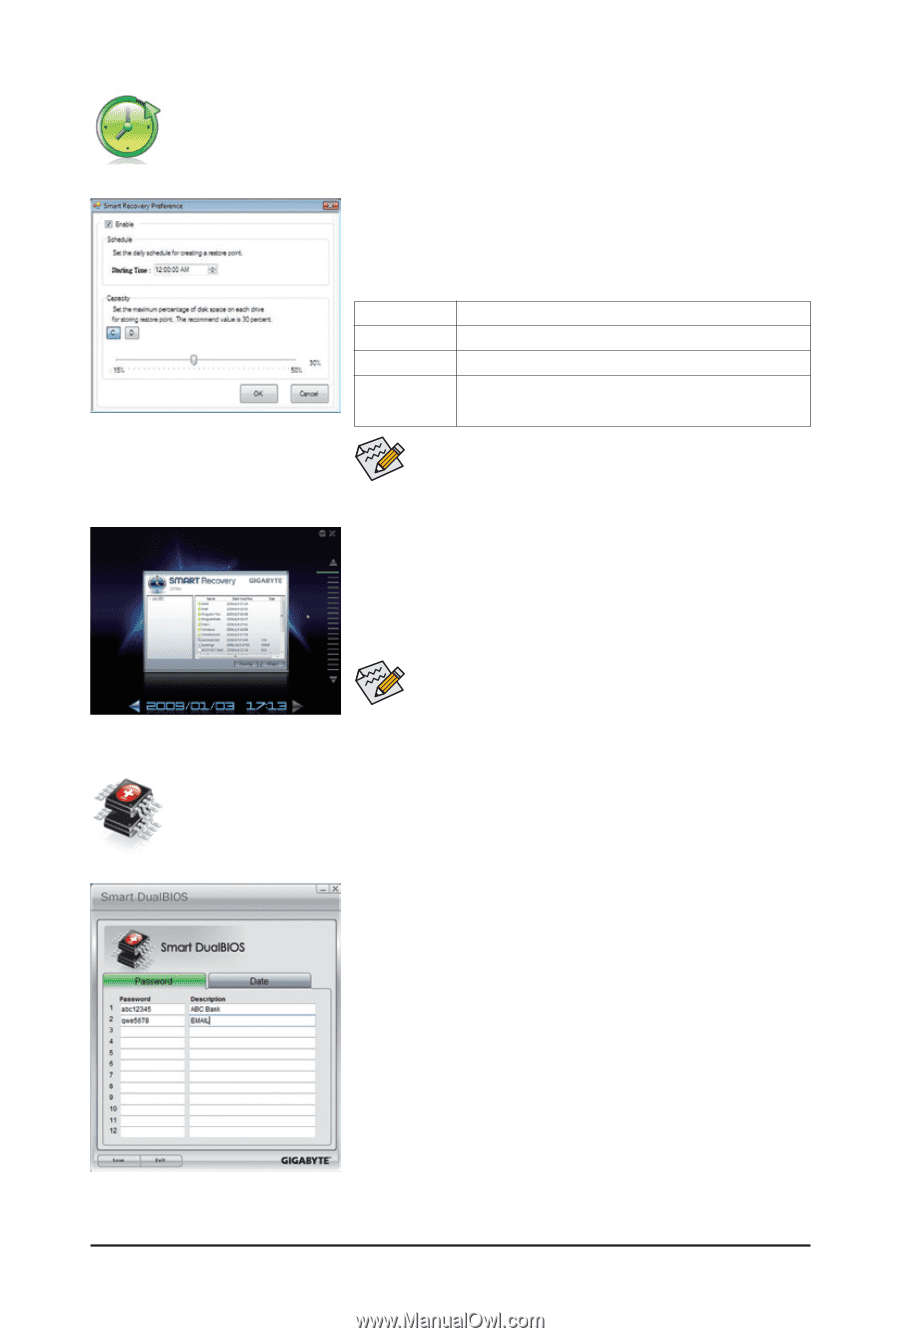
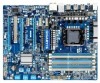
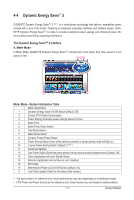
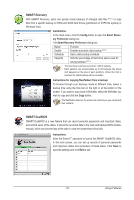
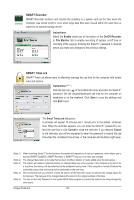
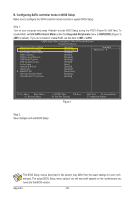
SMART Recovery With SMART Recovery, users can quickly create backups of changed data files (Note 2) or copy files from a specific backup on PATA and SATA hard drives (partitioned on NTFS file system) in Windows Vista. Instructions: In the main menu, click the Config button to open the Smart Recovery Preference dialog box. The Smart Recovery Preference dialog box: Button Enable Schedule Capacity Function Enables automatic daily backup (Note 3) Sets a daily backup schedule Sets the percentage of hard drive space used for saving backups (Note 4) • The hard drive must have more than 1 GB of capacity. • Each partition can accommodate up to 64 backups (the actual limit depends on the size of each partition). When this limit is reached, the oldest backup will be ovewritten. Instructions for copying files/folders from a backup: To browse through your backups made at different time, select a backup time using the time bar on the right or at the bottom of the screen. If you want to copy back a file/folder, select the file/folder you wish to copy and click the Copy button. The files/folders listed on the screen are read-only so you cannot edit their contents. SMART DualBIOS SMART DualBIOS is a new feature that can record personal passwords and important dates, and remind users of the dates. It stores the recorded data in the main and backup BIOS simultaneously, which can prevent loss of the data in case the system/hard drive fails. Instructions: Enter the Smart 6™ password to launch the SMART DualBIOS utility. In the main screen, you can set up records of personal passwords and important dates and reminders of these dates. Click Save to save the settings and click Exit to exit. - 75 - Unique Features
-
 1
1 -
2
-
3
-
4
-
5
-
6
-
7
-
8
-
9
-
10
-
11
-
12
-
13
-
14
-
15
-
16
-
17
-
18
-
19
-
20
-
21
-
22
-
23
-
24
-
25
-
26
-
27
-
28
-
29
-
30
-
31
-
32
-
33
-
34
-
35
-
36
-
37
-
38
-
39
-
40
-
41
-
42
-
43
-
44
-
45
-
46
-
47
-
48
-
49
-
50
-
51
-
52
-
53
-
54
-
55
-
56
-
57
-
58
-
59
-
60
-
61
-
62
-
63
-
64
-
65
-
66
-
67
-
68
-
69
-
 70
70 -
 71
71 -
 72
72 -
 73
73 -
 74
74 -
 75
75 -
 76
76 -
 77
77 -
 78
78 -
 79
79 -
 80
80 -
81
-
82
-
83
-
84
-
85
-
86
-
87
-
88
-
89
-
90
-
91
-
92
-
93
-
94
-
95
-
96
-
97
-
98
-
99
-
100
-
101
-
102
-
103
-
104
-
105
-
106
-
107
-
108
-
109
-
110
-
111
-
112
 |
 |