HP Dc7100 HP ProtectTools Embedded Security Guide - Page 13
Initializing the Embedded Security Chip, HP ProtectTools Embedded Security Initialization
 |
UPC - 829160356877
View all HP Dc7100 manuals
Add to My Manuals
Save this manual to your list of manuals |
Page 13 highlights
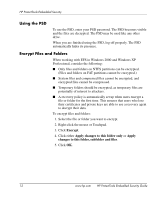
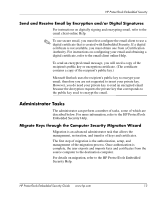
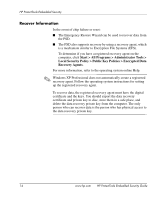
HP ProtectTools Embedded Security 4. Use the left or right arrow key to select the Security menu, then use the up or down arrow key to select Setup Password. Press Enter, enter and confirm a new setup password, and press F10 to accept. ✎ Type carefully; for security reasons, the characters typed do not appear on the screen. 5. In the Security menu, use the up or down arrow key to select Embedded Security Device, then press Enter. 6. If the selection in the dialog box is Embedded Security Device-Disable, use the left or right arrow key to change it to Embedded Security Device-Enable. 7. Press F10 to accept the changes to the Embedded Security configuration. 8. To save your preferences and exit Computer Setup, press F10 to go to Save Changes and Exit. Press Enter, then press F10 to confirm. Initializing the Embedded Security Chip ✎ In most cases, the IT System Administrator initializes the Embedded Security chip. 1. Right-click the HP ProtectTools icon in the system tray, then left-click Embedded Security Initialization. The HP ProtectTools Embedded Security Initialization Wizard appears. 2. Click Next. 3. Type and confirm a Take Ownership password, then click Next. ✎ Type carefully; for security reasons, the characters typed do not appear on the screen. 4. Click Next to accept the default Recovery archive location. 5. Type and confirm an Emergency Recovery Token password, then click Next. HP ProtectTools Embedded Security Guide www.hp.com 9
-
 1
1 -
2
-
3
-
4
-
5
-
6
-
7
-
 8
8 -
 9
9 -
 10
10 -
 11
11 -
 12
12 -
 13
13 -
 14
14 -
 15
15 -
 16
16 -
 17
17 -
 18
18 -
19
-
20
-
21
-
22
-
23
-
24
-
25
-
26
-
27
-
28
 |
 |
