Hoover U5780900 Owners Manual
Hoover U5780900 - WindTunnel Cyclonic Bagless Upright Vacuum Cleaner Manual
 |
UPC - 073502028438
View all Hoover U5780900 manuals
Add to My Manuals
Save this manual to your list of manuals |
Hoover U5780900 manual content summary:
- Hoover U5780900 | Owners Manual - Page 1
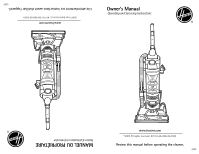
Owner's Manual Operating and Servicing Instructions ® www.hoover.com ©2007 All rights reserved. #17-01-58-058-00-H301 Review this manual before operating the cleaner. 6/07 MANUEL DU PROPRIÉTAIRE Notice d'utilisation et d'entretien ® www.hoover.com 2007 Tous droits réservés. #17-01-58-058-00-H301 - Hoover U5780900 | Owners Manual - Page 2
Conseil: Il est recommandé de joindre votre Æ www.hoover.com Æ CLEANER/ASPIRATEUR/ASPIRADORA MODEL/MOD»LE/MODELO U5180-900 SERIES/S...RIE/SERIE ZC12.0 120 V. 60 Hz. 12.0 A. SAMPLE 7 19881 15677 4 BELT/COURROIE/CORREA 38528040 FILTERS/FILTROS/FILTRES 93001633 C UÆ L US HOUSEHOLD TYPE/TYPE - Hoover U5780900 | Owners Manual - Page 3
, use cord as a handle, close door on cord or pull cord around sharp edges or corners. Do not run appliance over cord. Keep cord away from heated surfaces. • Use vacuum cleaner only for its intended use as described in the instructions. Use only attachments recommended by Hoover; others may cause - Hoover U5780900 | Owners Manual - Page 4
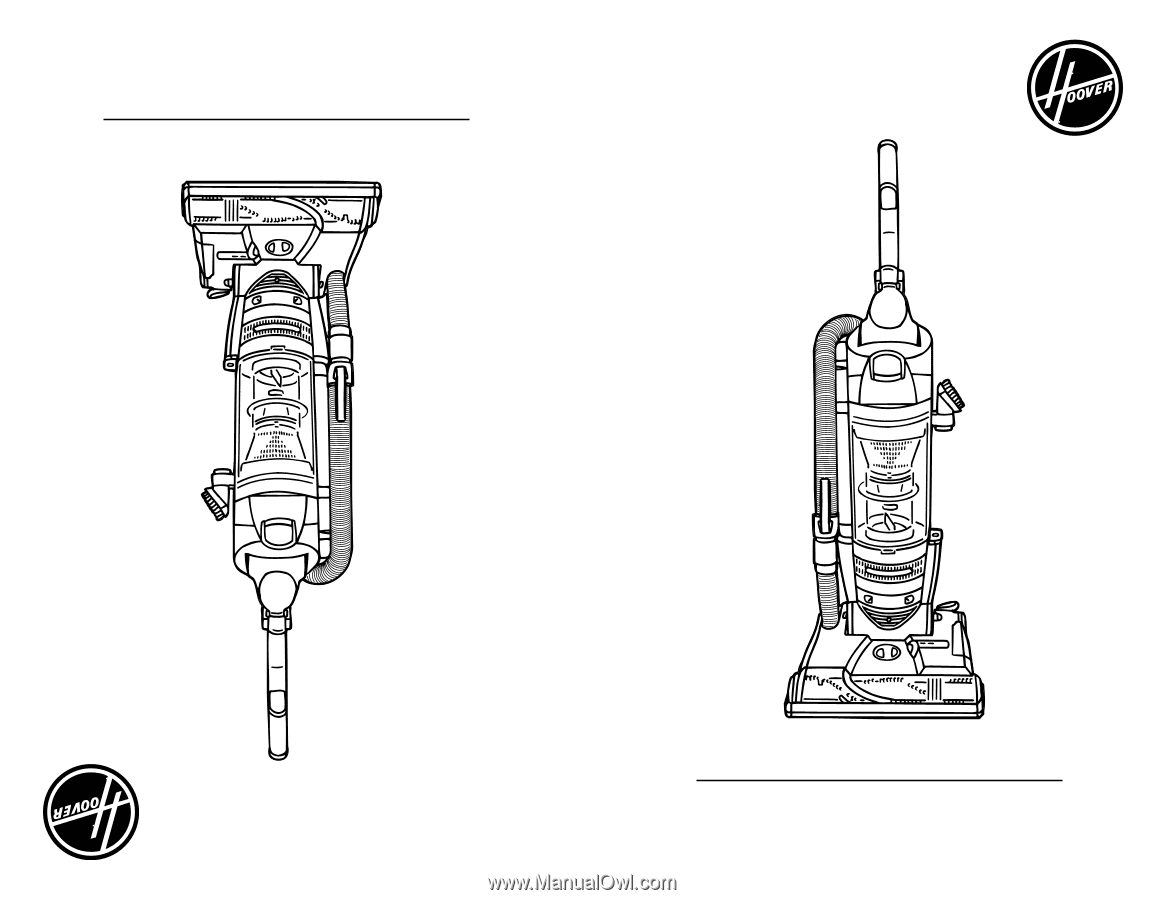
de part et d'autre de la base de la poignée. Emplacement des accessoires 1-5 Placer la petite extrémité de la rallonge (A) dans la base du support. B A. Handle section B. Cleaner base and upper housing assembly C. Cleaning tools and wands D. Powered Hand Tool Remove all parts from carton and - Hoover U5780900 | Owners Manual - Page 5
cleaner from marking furniture. 11. Agitator brush roll shut-off pedal 12. Agitator brush roll shut-off indicator 13. Final filter access 14. Combination tool 15. Powered hand tool 16. Crevice tool 17. Hose/tool holder 18. Wands 19. Cord reel 20. Soft TouchTM wheels 21. Handle release pedal Support - Hoover U5780900 | Owners Manual - Page 6
lock into position. Transporting Cleaner 2-5 To move your cleaner from room to room, put handle in upright position, tilt cleaner back on rear wheels and push forward. release lever to lower handle. under low furniture. Step on handle carpet and floors; low for reaching position for general - Hoover U5780900 | Owners Manual - Page 7
. B handle in the upright A place cleaner 3-1 When using cleaning tools, 3-2 B Removing Hose Select Proper Tool 3. CLEANING TOOLS Tools allow for cleaning surfaces above the floor and for reaching hard to clean areas. The cleaner is ready for tool use when handle is in upright position - Hoover U5780900 | Owners Manual - Page 8
les filtres plus souvent. Extra Reach™ Hose (available at additional cost) The Extra Reach™ hose provides easier cleaning of stairs and hard to reach places. Follow the steps below for attaching and detaching the Extra Reach™ hose. Slide brush to remove. To replace brushes, align bottom of - Hoover U5780900 | Owners Manual - Page 9
filtres ne sont pas en place. 4-6 A 4-7 A B Filters Cyclonic Filter Assembly: How to Clean Disconnect cleaner from electrical outlet. Do not use cleaner without dirt cup or filters in place. Press on dirt cup release button while firmly pressing on dirt cup. Release button in order for it to - Hoover U5780900 | Owners Manual - Page 10
10 Press handle release pedal and place handle in low position. Using a Phillips screwdriver, remove the the screw as shown and lift off lens. Headlight: What to buy This cleaner uses a 13 volt, T-3 114 wedge base bulb, When purchasing a new lightbulb, ask for Hoover part No. 27313-107. Pull old - Hoover U5780900 | Owners Manual - Page 11
. Flat Belt: What to Buy Use only genuine HOOVER belts with your cleaner. When purchasing a new belt, ask for Flat belt - HOOVER part No. 4-14 4-15 Plate Removing Belt Positioning Belt Removing Bottom Replace belt if it is stretched, cut or broken. To check the flat belt, refer to Fig. 4-13 - Hoover U5780900 | Owners Manual - Page 12
replaced. Replacing Agitator Brush Roll Powered Hand Tool A Agitator Brush Roll: What to Buy When purchasing a new Agitator Brush Roll, ask for HOOVER part No. 93002361. Reposition flat belt the belt into the rectangular slot (A) on side of cleaner. 4-21 4-22 Positioning V-Belt Installing - Hoover U5780900 | Owners Manual - Page 13
Figs. 4-23 to 4-24). B Grasp turbine (A) and pull firmly to remove. Remove belt from turbine pulley (B). Replace with new belt. Powered Hand Tool Belt: What to Buy When purchasing a new Powered Hand Tool Belt, ask for HOOVER part No. 38528-037. B as described in Figs. 4-25 through 4-28. A guard - Hoover U5780900 | Owners Manual - Page 14
, your cleaner may need servicing (see "Service" section). Service To obtain approved HOOVER service and genuine HOOVER parts, locate the nearest Hoover Sales and Service Center or Authorized Hoover Warranty Service Dealer (Depot) by: • checking the Yellow Pages under "Vacuum Cleaners - Household - Hoover U5780900 | Owners Manual - Page 15
cup - Pg. 9. 3. Replace Agitator Brush Roll - Pg. 10. 3. Replace belt - Pg. 12. 5. Remove filter and clean - Pg. 9-10. 4. Thermal Protector activated. PROBLEM Cleaner won't run POSSIBLE REASON 1. Power cord not firmly plugged into outlet. 2. Blown fuse or tripped breaker. 5. TROUBLESHOOTING 15 - Hoover U5780900 | Owners Manual - Page 16
. Check for suction at end of hose (A). If there is suction turn cleaner OFF and unplug. Check connection at hose tube (B); remove any blockage. Check fullness of dirt cup; empty if needed Remove and clean secondary filter (Fig. 4-8, p. 10). Replace filter. A B Vérifier si le videpoussière est - Hoover U5780900 | Owners Manual - Page 17
of purchase will be required before service is rendered. 1. Hoover Sales and Service Centers. 2. Hoover Authorized Warranty Service Dealers. Item Description HEPA Final Filter Secondary filter cartridge Foam filter (secondary filter) Headlight Flat Belt V-Belt Garantie complète de un an - Hoover U5780900 | Owners Manual - Page 18
❏ Discover Number Exp. Date Name on Card Day Phone Signature (req Replacement parts and accessory items may be purchased from your Authorized Hoover Dealer, Leading Retailers, Hoover Sales & Service Centers, on-line at www.hoover.com, or by completing this order form. Mail orders limited to - Hoover U5780900 | Owners Manual - Page 19
/ No.de Paqte. Paqte. Paqte. Total Cartucho de filtro final HEPA 93002360 1 $ 8.99 Conjunto del filtro secundario 93002517 1 $ 6. nea en hoover.ca. Dé un plazo por favor de 3-4 semanas para la entrega. E18 ✃ MANUAL DEL PROPIETARIO Instrucciones de Funcionamiento y Servicio ® www.hoover.com © - Hoover U5780900 | Owners Manual - Page 20
los espacios provistos. Modelo Número de serie Æ www.hoover.com Æ CLEANER/ASPIRATEUR/ASPIRADORA MODEL/MOD»LE/MODELO U5180-900 SERIES/S...RIE/SERIE ZC12.0 120 V. 60 Hz. 12.0 A. SAMPLE 7 19881 15677 4 BELT/COURROIE/CORREA 38528040 FILTERS/FILTROS/FILTRES 93001633 C UÆ L US HOUSEHOLD TYPE - Hoover U5780900 | Owners Manual - Page 21
la ropa holgada, los dedos de las manos y pies y todas las partes del cuerpo alejados de las aberturas, del agitador rotatorio y otras piezas en se describe en las instrucciones. Use solamente los accesorios recomendados por Hoover; el uso de otros accesorios puede ser peligroso. • Sujete el - Hoover U5780900 | Owners Manual - Page 22
los tubos de extensión. Encaje el accesorio combinado (C) en las áreas de almacenamiento al costado de la aspiradora como se muestra. 1-6 E4 A Encaje el accesorio manual (A) en la hendidura que se encuentra en la parte delantera de la aspiradora. Gírelo hacia el asa para que encaje en su lugar. - Hoover U5780900 | Owners Manual - Page 23
se encuentra en su parte posterior. 16. Accesorio cleaner OFF, push switch again. Interruptor del cepillo giratorio 2-3 B La aspiradora es enviada con el rodillo de escobillas A del agitador en la posición de apagado (OFF). Para activar el rodillo de escobillas del agitador, pise el pedal - Hoover U5780900 | Owners Manual - Page 24
enchufe y presione el botón (A) en la parte superior de la bobina para el cordón. pedal nuevamente. El indicador se verá rojo en la ventana de "encendido del rodillo de escobillas". 5. TROUBLESHOOTING al 1-800-944-9200 para encontrar al Distribuidor Hoover® más cercano a su domicilio. 1. Coloque el - Hoover U5780900 | Owners Manual - Page 25
, bajo "Vacuum Cleaners-Household" ("Aspiradoras - Artículos del hogar") - O - • consultando la sección "Service" (Servicio) de Hoover en línea en hoover.com - completo de modelo. (El número de modelo figura en la parte posterior de la aspiradora.) E14 3. ACCESORIOS DE LIMPIEZA Los accesorios le - Hoover U5780900 | Owners Manual - Page 26
parte inferior de la escobilla con las acanaladuras (A) del accesorio. Deslice la escobilla en su lugar. Manguera con alcance adicional Extra Reach™ (disponible a un costo adicional) La manguera con alcance adicional Extra Reach plana-pieza No. 48414-088 de HOOVER. Reemplazo de la correa La correa - Hoover U5780900 | Owners Manual - Page 27
Desenchufe la aspiradora antes de voltearla. Replacing Agitator Brush Roll El rodillo de compre un agitador nuevo, pida la pieza No. 93002361 de HOOVER. Tire del otro lado del B rodillo de escobillas A 4-23 Voltéelo de manera que la parte inferior mire hacia arriba. Presione las trabas - Hoover U5780900 | Owners Manual - Page 28
en la parte superior del HEPA, pida la pieza No. 93002360 de HOOVER. Deslícelo para volver a colocarlo en la aspiradora. La luz Desconecte la aspiradora de la toma de corriente eléctrica. Para instalar el Para sacar la lente bombillo 4-10 4-11 Para reemplazar la lente 4-12 Presione el pedal
-
 1
1 -
 2
2 -
 3
3 -
 4
4 -
 5
5 -
 6
6 -
 7
7 -
8
-
9
-
10
-
11
-
12
-
13
-
14
-
15
-
16
-
17
-
18
-
19
-
20
-
21
-
22
-
23
-
24
-
25
-
26
-
27
-
28
 |
 |
Lire attentivement ces instructions avant d’utiliser l’appareil.
www.hoover.com
MANUEL DU PROPRIÉTAIRE
Notice d’utilisation et d’entretien
®
2007 Tous droits réservés. #17-01-58-058-00-H301
6/07
Review this manual before operating the cleaner.
www.hoover.com
Owner’s Manual
Operating and Servicing Instructions
®
©2007 All rights reserved. #17-01-58-058-00-H301
6/07