Intel ISP2150 Quick Start Guide - Page 19
Installing the Rail Kit and Racking Your System Optional Accessory
 |
UPC - 735858134668
View all Intel ISP2150 manuals
Add to My Manuals
Save this manual to your list of manuals |
Page 19 highlights
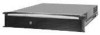
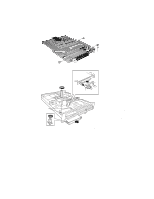
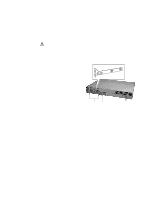
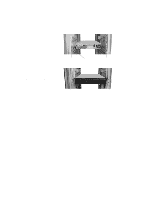
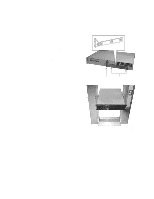
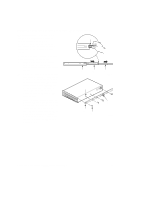
Installing the Rail Kit and Racking Your System (Optional Accessory) The rail kit that comes with your system allows you to install it into a four-post, network server cabinet (e.g. APC Netshelter). If the cabinet is not of this general type, you will have to purchase a separate rail kit that is specific to your cabinet. Follow these steps to install the rail kit and place your system into the cabinet. 1. Assemble tools and miscellaneous parts. You will need a Phillips screwdriver and assorted lock washers and nuts. 2. Remove the inside piece (C) from both sides of the rail system. To remove an inside piece of the rail system, slide the part as far out as you can. This action reveals a brass colored finger tab (D) that when depressed allows you to completely separate the inside rail piece from the outer (A) and middle (B) rail pieces. 3. Align each inside rail (A) to a side of the chassis. Be sure that the flat end of the inside rail is toward the front of the chassis and that the brass colored finger tab (D) is facing outward. With the holes in the chassis (C) aligned with the holes in the rail, fasten the rail using the largest screws (B) supplied with the rail kit. D D A B C A B C OM09132 D OM09133 ISP2150 2U Rack Server Platform Quick Start Guide 21
-
 1
1 -
2
-
3
-
4
-
5
-
6
-
7
-
8
-
9
-
10
-
11
-
12
-
13
-
 14
14 -
 15
15 -
 16
16 -
 17
17 -
 18
18 -
 19
19 -
 20
20 -
 21
21 -
 22
22 -
 23
23 -
 24
24 -
25
-
26
-
27
-
28
 |
 |
