LG P930 Owner's Manual - Page 36
Working with Account Folders, Adding and Editing Email Accounts, To delete an email account - phone case
 |
View all LG P930 manuals
Add to My Manuals
Save this manual to your list of manuals |
Page 36 highlights
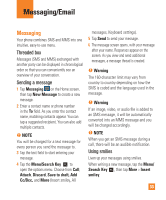
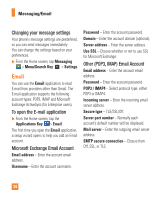
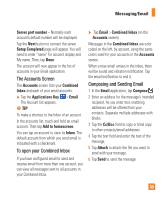
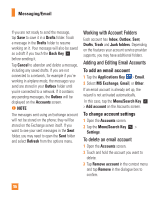
Messaging/Email If you are not ready to send the message, tap Save to save it in a Drafts folder. Touch a message in the Drafts folder to resume working on it. Your message will also be saved as a draft if you touch the Back Key before sending it. Tap Cancel to abandon and delete a message, including any saved drafts. If you are not connected to a network, for example if you're working in airplane mode, the messages you send are stored in your Outbox folder until you're connected to a network. If it contains any pending messages, the Outbox will be displayed on the Accounts screen. n NOTE The messages sent using an Exchange account will not be stored on the phone; they will be stored on the Exchange server itself. If you want to see your sent messages in the Sent folder, you may need to open the Sent folder and select Refresh from the options menu. Working with Account Folders Each account has Inbox, Outbox, Sent, Drafts, Trash and Junk folders. Depending on the features your account service provider supports, you may have additional folders. Adding and Editing Email Accounts To add an email account 1 Tap the Applications Key > Email. 2 Select MS Exchange, Gmail, or Other. If an email account is already set up, the wizard is not activated automatically. In this case, tap the Menu/Search Key > Add account on the Accounts screen. To change account settings 1 Open the Accounts screen. 2 Tap the Menu/Search Key > Settings. To delete an email account 1 Open the Accounts screen. 2 Touch and hold the account you want to delete. 3 Tap Remove account in the context menu and tap Remove in the dialogue box to confirm. 36
-
 1
1 -
2
-
3
-
4
-
5
-
6
-
7
-
8
-
9
-
10
-
11
-
12
-
13
-
14
-
15
-
16
-
17
-
18
-
19
-
20
-
21
-
22
-
23
-
24
-
25
-
26
-
27
-
28
-
29
-
30
-
 31
31 -
 32
32 -
 33
33 -
 34
34 -
 35
35 -
 36
36 -
 37
37 -
 38
38 -
 39
39 -
 40
40 -
 41
41 -
42
-
43
-
44
-
45
-
46
-
47
-
48
-
49
-
50
-
51
-
52
-
53
-
54
-
55
-
56
-
57
-
58
-
59
-
60
-
61
-
62
-
63
-
64
-
65
-
66
-
67
-
68
-
69
-
70
-
71
-
72
-
73
-
74
-
75
-
76
-
77
-
78
-
79
-
80
-
81
-
82
-
83
-
84
-
85
-
86
-
87
-
88
-
89
-
90
-
91
-
92
-
93
-
94
-
95
-
96
-
97
-
98
-
99
-
100
-
101
-
102
-
103
 |
 |
