Magnavox 50ML6200D User Manual - Page 15
Installation - manual
 |
View all Magnavox 50ML6200D manuals
Add to My Manuals
Save this manual to your list of manuals |
Page 15 highlights
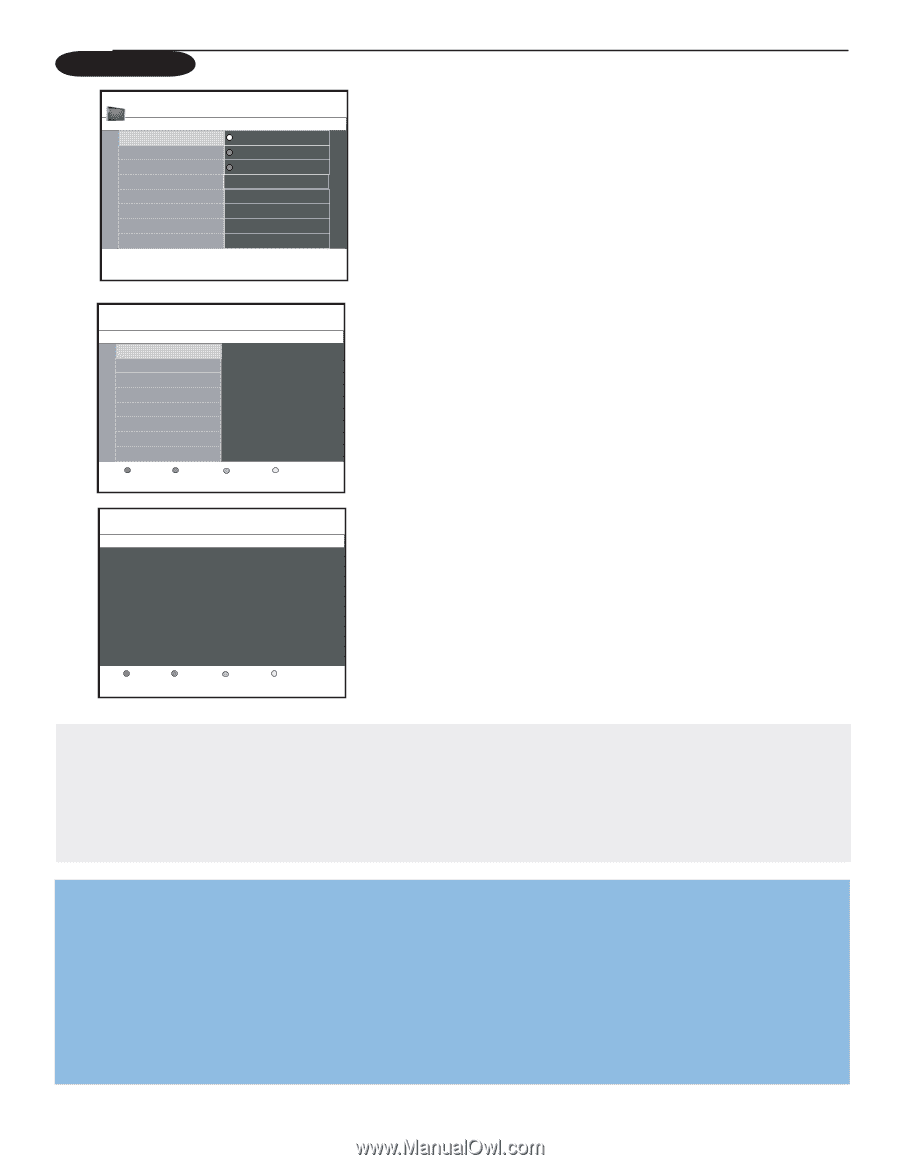
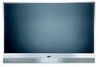
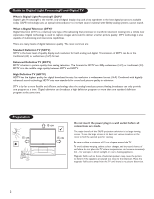
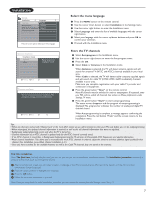
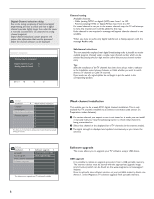
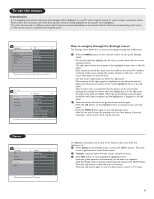
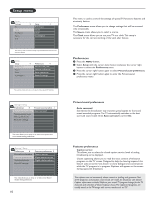
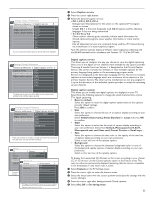
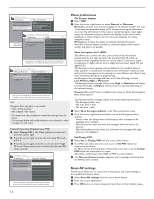
Installation Settings Installation 4 Language 3 Language English Autoprogram Francais Weak channel installation Espanol Software upgrade Press the cursor right to select your menu language. Select the menu language & Press the MENU button on the remote control. é Use the cursor down button to select Installation in the Settings menu. " Use the cursor right button to enter the Installation menu. ' Select Language and enter the list of available languages with the cursor right button. ( Select your language with the cursor up/down buttons and press OK to confirm your selection. § Proceed with the Installation menu. Television installation Installation mode Antenna Cable Please select your installation mode. Previous Next Television installation You can now start automatic installation.This procedure can take more than half an hour. Previous Start Store the TV channels & Select Autoprogram in the Installation menu. é Use the cursor right button to enter the Autoprogram menu. " Press the OK. ' Select Cable or Antenna in the Installation mode. When Antenna is selected, the TV will detect antenna signals and will search for antenna TV (NTSC and ATSC) channels available in your local area. When Cable is selected, the TV will detect cable company supplied signals and will search for cable TV (NTSC, ATSC, QAM modulated) channels available in your area. Make sure you complete registration with your cable TV provider and connection of equipment. ( Press the green button "Next" on the remote control. Note: All channels must be unlocked in order to autoprogram. If requested, enter your PIN code to unlock all channels. See section on Menu preferences under Settings,TV menu. § Press the green button "Start" to start autoprogramming. The menu screen disappears and the progress of autoprogramming is displayed. The progress bar indicates the number of analog and digital TV channels found. When Autoprogramming is complete, a message appears confirming the completion. Press the red button "Finish" and the screen returns to the Installation menu. Tips: • When any channel is locked with 'Channel Lock' or the 'Lock After' turned on, you will be prompt to enter your PIN code before you can do autoprogramming. • When interrupted, the updated channel information is retained as well as the old channel information that were not updated. • Background autoprogramming occurs only when the TV is turned on. • Channel information of an ATSC channel is updated only for the ATSC channel currently tuned. • If an NTSC channel is tuned, then in Background Autoprogramming the TV will scan all the possible ATSC frequencies and update information. • Weak channel installation :This allows you to manually tune weak ATSC channels in order to adjust the antenna and thus optimize signal quality for that channel. (See Installation menu,Weak channel installation, p. 8.) • Once you have searched for the available Antenna as well as the Cable TV channels, they are stored in the memory. First time installation Note: The first time (and only the first time) you turn on your set you see an installation introduction screen. The Installation procedure consists of a series of screens that guide you through the process. & After an introduction screen, you are asked to select a language of the TV's on-screen-menus. (The text of the header and the info on screen continuously change language.) é Press the cursor up/down to highlight your language. " Press the OK button. ' Follow the on-screen instructions to proceed. Note: Once you completed the initial installation procedure you can access the screens from the Settings menu. See p. 9. 7
-
 1
1 -
2
-
3
-
4
-
5
-
6
-
7
-
8
-
9
-
 10
10 -
 11
11 -
 12
12 -
 13
13 -
 14
14 -
 15
15 -
 16
16 -
 17
17 -
 18
18 -
 19
19 -
 20
20 -
21
-
22
-
23
-
24
-
25
-
26
-
27
-
28
-
29
-
30
-
31
-
32
-
33
-
34
-
35
-
36
-
37
-
38
-
39
-
40
-
41
 |
 |