Magnavox 50ML6200D User Manual - Page 21
Source, Clock
 |
View all Magnavox 50ML6200D manuals
Add to My Manuals
Save this manual to your list of manuals |
Page 21 highlights
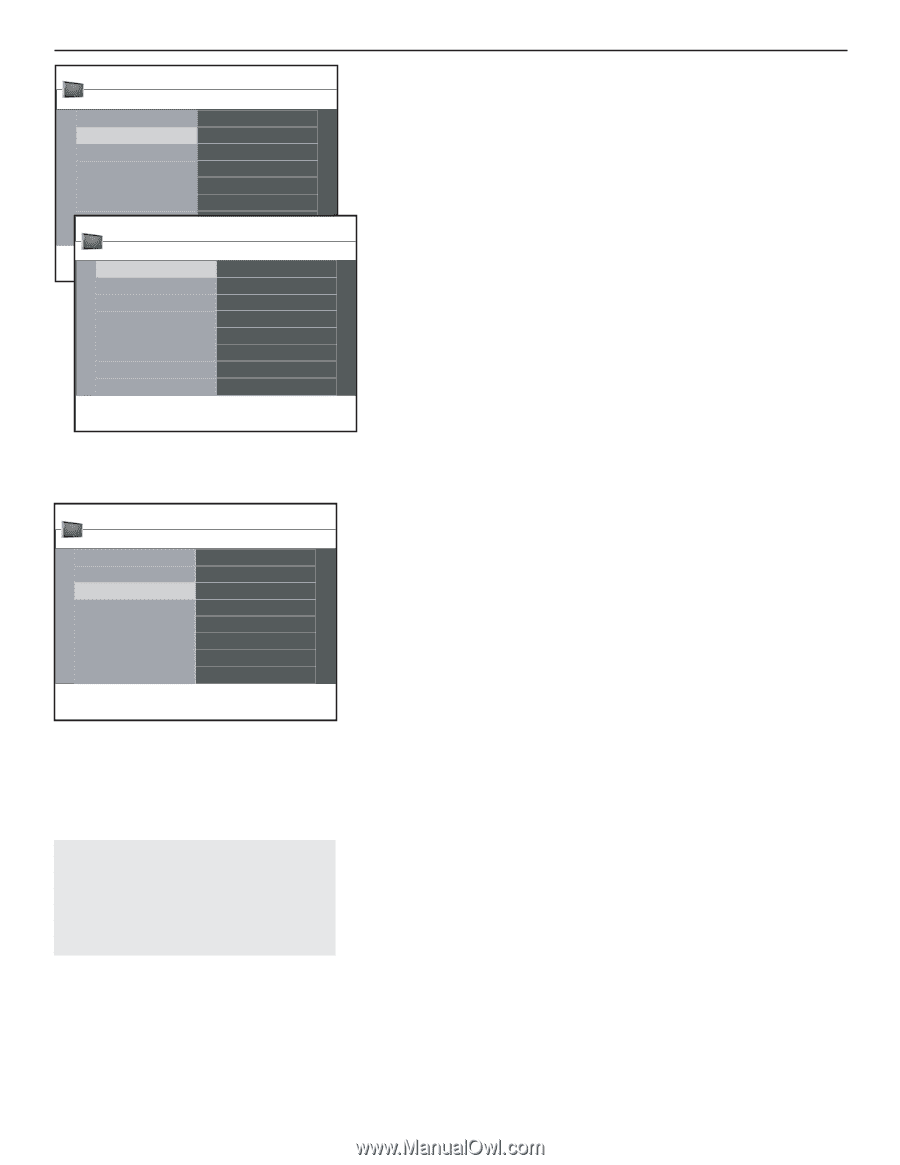
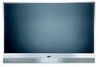
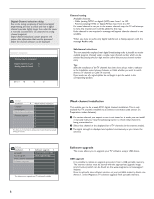
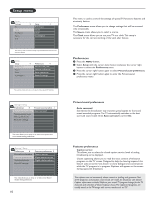
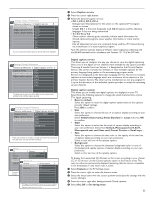
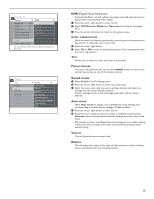
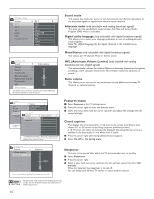
Settings Setup Preferences Source Clock Convergence 4 Source 6 AV 1 AV 2 AV 3 HDMI Side Analog Audio In Settings | Setup Source 6 AV 1 8 AV 1 AV 2 AV 3 HDMI Side Analog Audio In DVD SAT Game Digital STB PVR HD Cable Other Source This menu allows you to identify the accessory devices you have connected to the external input/output. & Select Source in the Setup menu. é Press the cursor right button to enter the list of types of devices connected to the selected input. " Select the accessory device with the cursor up/down buttons. When you select AV1, AV2, AV3, HDMI, Side or Analog Audio In, a list appears allowing you to identify which type of accessory device is attached to this input.The TV detects the presence of the connected device and the signal is routed accordingly. Once you have selected the source type, e.g. DVD, this source will automatically be selected when you press the AV button on the remote control. The TV can output Digital audio via the DIGITAL AUDIO OUT(SPDIF OUT) connector to an external amplifier or receiver. If your amplifier or receiver has a matching connector for Digital Audio In, you can connect it with a single cable to the TV's DIGITAL AUDIO OUT(SPDIF OUT). See section on Digital Surround Receiver. Settings Setup Preferences Source Clock Convergence 4 Clock 6 Auto clock mide Auto clock channel Time Day Time zone Daylight saving Most of the TV channels do not transmit clock information.There are a few cable channels that do but they are at the end of the channel ring.There is no clock transmission in antenna channels. In such cases, either clock extraction takes a long time, or there is no clock. Clock This allows you to use your TV as a clock. - Adjusting the clock is necessary for the correct working of Lock after features. (See section on TV settings, under Channels menu) - Closed captioning will not be displayed when the clock is being displayed. Press the clock button again to switch off the clock if you want to see closed caption. Auto clock mode & Select Clock in the Setup menu. é Press the cursor right button to select the Auto clock mode. " Press the cursor right button to instruct the TV to get the time automatically or manually. Auto clock channel (only available when Auto clock mode is set to Automatic) With the cursor buttons, select the channel number where time can be found by the TV.Typically time can be found on PBS as well as some other channels. Note: If Manual has been selected in the Auto clock mode, the Auto clock channel menu item can not be selected. Time - Day (only available when Auto clock mode is set to Manual) With the cursor buttons, select and enter the correct time and day. If Auto clock mode Manual has been selected, and no clock search has been done, the system will retain the entered time and day. Time zone (only available when Auto clock mode is set to Automatic) This function allows you to select your local time zone. Broadcast time information will auto correct the clock display for your local time. & Select Time zone with the cursor down button. é Press the cursor right button to select your local time zone. Daylight saving (only available when Auto clock mode is set to Automatic) Daylight saving time is automatically set by specially broadcast signals. This menu item allows you to disable the automatic setting of daylight saving time.This is useful if you live in an area or state where daylight saving is not applied, but you receive channels from other areas where daylight saving signals are broadcast. & Select Daylight saving with the cursor down button. é Press the cursor right button to select Automatic for automatic clock correction for daylight saving time, based on specially broadcast signals. " Select Off to disable automatic clock correction based on the specially broadcast signals. 13
-
 1
1 -
2
-
3
-
4
-
5
-
6
-
7
-
8
-
9
-
10
-
11
-
12
-
13
-
14
-
15
-
 16
16 -
 17
17 -
 18
18 -
 19
19 -
 20
20 -
 21
21 -
 22
22 -
 23
23 -
 24
24 -
 25
25 -
 26
26 -
27
-
28
-
29
-
30
-
31
-
32
-
33
-
34
-
35
-
36
-
37
-
38
-
39
-
40
-
41
 |
 |