Nokia N93 User Guide - Page 28
Flash, Setup settings—adjust color and lighting, Shooting modes, Options, Self timer, seconds
 |
View all Nokia N93 manuals
Add to My Manuals
Save this manual to your list of manuals |
Page 28 highlights
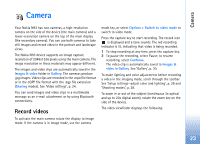
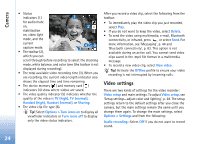
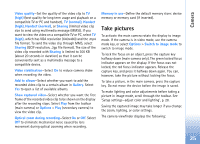
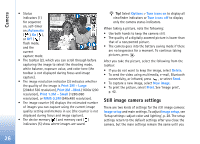
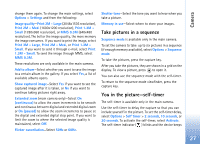
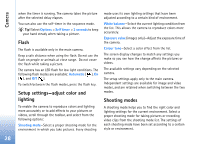
Camera when the timer is running. The camera takes the picture after the selected delay elapses. You can also use the self-timer in the sequence mode. Tip! Select Options > Self timer > 2 seconds to keep your hand steady when taking a picture. Flash The flash is available only in the main camera. Keep a safe distance when using the flash. Do not use the flash on people or animals at close range. Do not cover the flash while taking a picture. The camera has an LED flash for low light conditions. The following flash modes are available: Automatic ( ), On ( ), and Off ( ). To switch between the flash modes, press the flash key. Setup settings-adjust color and lighting To enable the camera to reproduce colors and lighting more accurately or to add effects to your pictures or videos, scroll through the toolbar, and select from the following options: Shooting mode-Select a proper shooting mode for the environment in which you take pictures. Every shooting mode uses its own lighting settings that have been adjusted according to a certain kind of environment. White balance-Select the current lighting condition from the list. This allows the camera to reproduce colors more accurately. Exposure value (images only)-Adjust the exposure time of the camera. Colour tone-Select a color effect from the list. The screen display changes to match any settings you make so you see how the change affects the pictures or videos. The available settings vary depending on the selected camera. The setup settings apply only to the main camera. Independent settings are available for image and video modes, and are retained when switching between the two modes. Shooting modes A shooting mode helps you to find the right color and lighting settings for the current environment. Select a proper shooting mode for taking pictures or recording video clips from the shooting mode list. The settings of each shooting mode have been set according to a certain style or environment. 28
-
 1
1 -
2
-
3
-
4
-
5
-
6
-
7
-
8
-
9
-
10
-
11
-
12
-
13
-
14
-
15
-
16
-
17
-
18
-
19
-
20
-
21
-
22
-
 23
23 -
 24
24 -
 25
25 -
 26
26 -
 27
27 -
 28
28 -
 29
29 -
 30
30 -
 31
31 -
 32
32 -
 33
33 -
34
-
35
-
36
-
37
-
38
-
39
-
40
-
41
-
42
-
43
-
44
-
45
-
46
-
47
-
48
-
49
-
50
-
51
-
52
-
53
-
54
-
55
-
56
-
57
-
58
-
59
-
60
-
61
-
62
-
63
-
64
-
65
-
66
-
67
-
68
-
69
-
70
-
71
-
72
-
73
-
74
-
75
-
76
-
77
-
78
-
79
-
80
-
81
-
82
-
83
-
84
-
85
-
86
-
87
-
88
-
89
-
90
-
91
-
92
-
93
-
94
-
95
-
96
-
97
-
98
-
99
-
100
-
101
-
102
-
103
-
104
-
105
-
106
-
107
-
108
-
109
-
110
-
111
-
112
-
113
-
114
-
115
-
116
-
117
-
118
-
119
-
120
-
121
-
122
-
123
-
124
-
125
-
126
-
127
-
128
-
129
-
130
-
131
 |
 |
