Panasonic WJ-ND400K Setup Information - Page 12
Press the [SET] button., Use the arrow buttons left or right to display
 |
View all Panasonic WJ-ND400K manuals
Add to My Manuals
Save this manual to your list of manuals |
Page 12 highlights
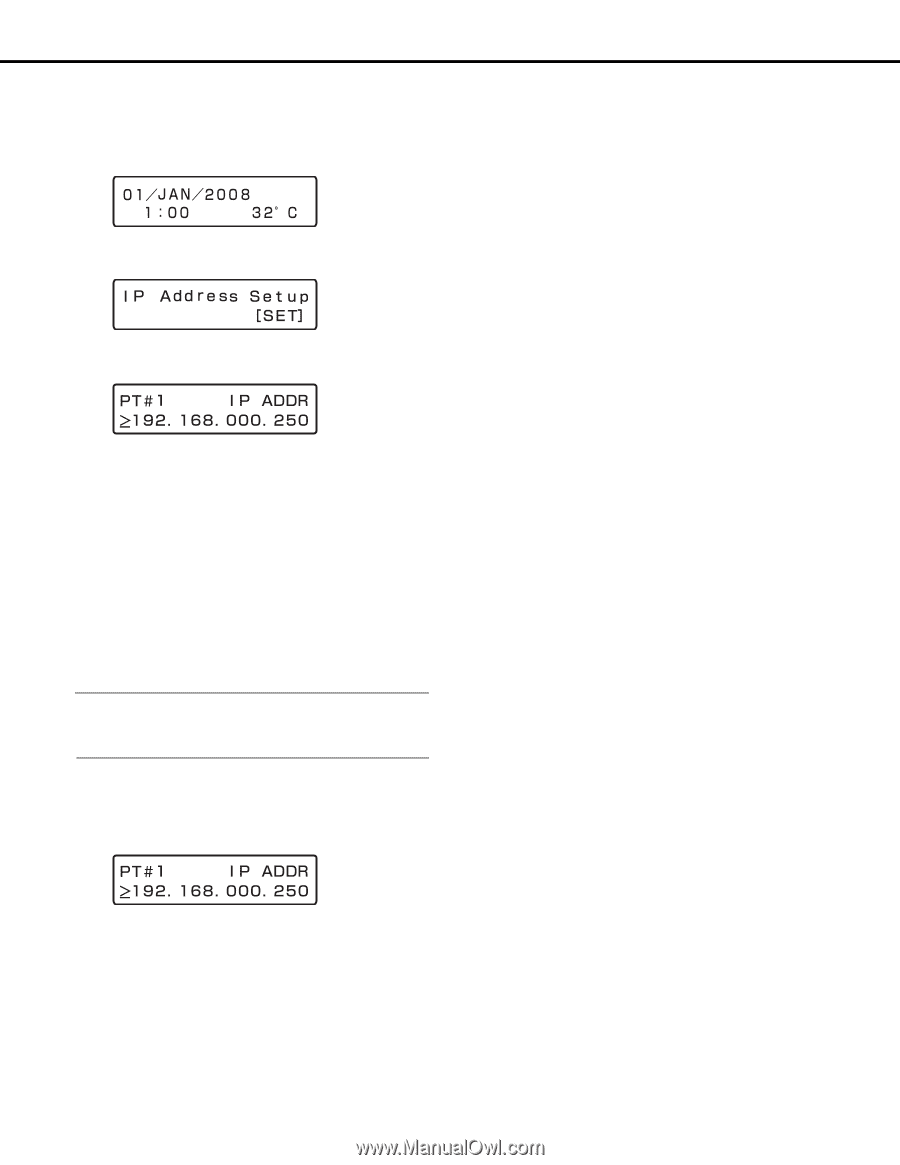
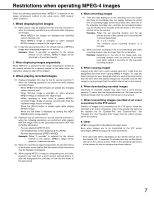
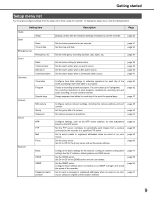
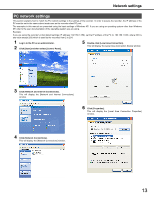
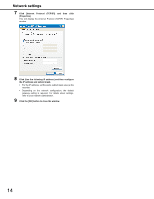
Network settings The following is the procedure for configuring network settings. 1 Make sure that the Date display screen (standby screen) is displayed on the LCD. If display is different, press the [ESC] button to display the standby screen. 2 Use the arrow buttons (up or down) to display the IP address settings screen. 8 Press the [ESC] button to move the cursor to ">" and check the settings. 9 To configure the setting of another item, use the arrow buttons (up or down) to change the screen. 10 Repeat steps 5 through 8 to configure the settings for each item. 3 Press the [SET] button. This will display the [PT#1 IP ADDR] setting screen. 4 Use the arrow buttons (left or right) to display the network port setting screen. • PT#1 • PT#2 • PT#3 : Camera port : Client PC port : Maintenance port 5 Use the arrow buttons (up or down) to display the screen of the item you want to set. • DHCP • IP address • Subnet mask • Default gateway • HTTP port Note: • You can only set the DHCP, the gateway, and the HTTP port to PT#2. 6 After confirming that the cursor is [>], press the [SET] button. The cursor moves to the number area. • The cursor is shown as an underscore (_). 7 Use the arrow buttons to change the setting. • To move the cursor : Arrow buttons (left or right) • To input a value : Arrow buttons (up or down) 12
-
 1
1 -
2
-
3
-
4
-
5
-
6
-
 7
7 -
 8
8 -
 9
9 -
 10
10 -
 11
11 -
 12
12 -
 13
13 -
 14
14 -
 15
15 -
 16
16 -
 17
17 -
18
-
19
-
20
-
21
-
22
-
23
-
24
-
25
-
26
-
27
-
28
-
29
-
30
-
31
-
32
-
33
-
34
-
35
-
36
-
37
-
38
-
39
-
40
-
41
-
42
-
43
-
44
-
45
-
46
-
47
-
48
-
49
-
50
-
51
-
52
-
53
-
54
-
55
-
56
-
57
-
58
-
59
-
60
-
61
-
62
-
63
-
64
-
65
-
66
-
67
-
68
-
69
-
70
-
71
-
72
-
73
-
74
-
75
-
76
-
77
-
78
-
79
-
80
-
81
-
82
-
83
-
84
-
85
-
86
-
87
-
88
-
89
-
90
-
91
-
92
-
93
-
94
-
95
-
96
-
97
-
98
-
99
-
100
-
101
-
102
 |
 |