Pfaff ClassicStyle 2027 Owner's Manual - Page 29
Explanation of the sewing recommendations table, Sewing in zippers, Straight stitch
 |
View all Pfaff ClassicStyle 2027 manuals
Add to My Manuals
Save this manual to your list of manuals |
Page 29 highlights
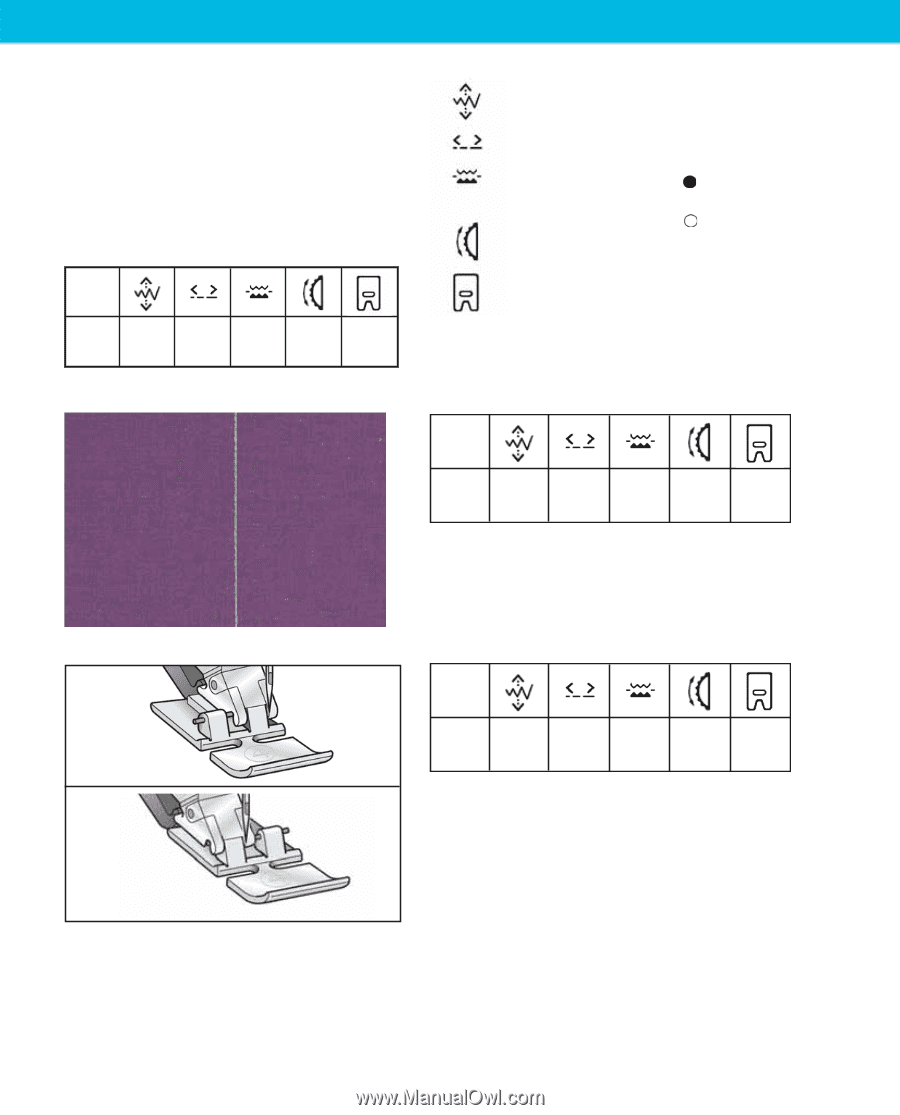
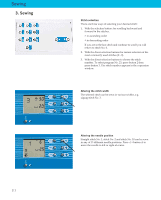
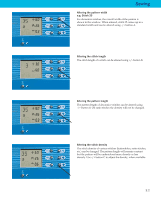
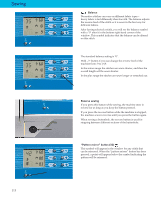
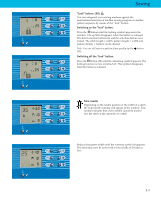
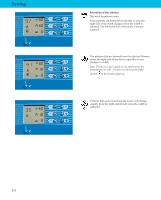
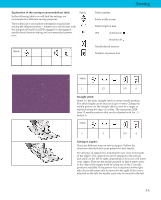
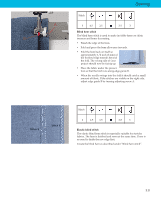
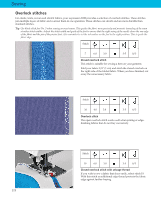
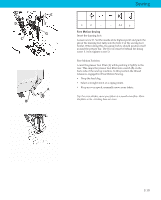
Explanation of the sewing recommendations table In the following table you will Ànd the settings we recommend for different sewing purposes. These tables give you further information required for sewing the selected stitches - whether you should sew with the Integrated Dual Feed (IDT) engaged or disengaged, needle thread tension setting and recommended presser foot,. Stitch Stitch Stitch number Stitch width in mm Stitch length in mm IDT switched on switched off Needle thread tension Number of presser foot Sewing Stitch 1 2.5 3-5 0 Straight stitch Stitch 1 is the basic straight stitch in center needle position. The stitch length can be increased up to 6 mm. Change the needle position of the straight stitch to sew in a zipper or topstitch along the edge of a collar. The expression 2028 have 13 needle positions that can be adjusted with the -/+ button A. Stitch 1 3 3-5 4 Sewing in zippers There are different ways to sew in zippers. Follow the directions included with your pattern for best results. For all types of zippers it is important to sew close to the teeth of the zipper. The zipper foot can be snapped to the presser foot ankle on the left or right, depending on how you will insert your zipper. Then set the needle position so that it enters close to the edge of the zipper teeth by using one of the 13 needle positions available. If the presser foot is attached on the right side, the needle must only be moved to the right. If the foot is attached on the left, the needle must only be moved to the left. 3:6
-
 1
1 -
2
-
3
-
4
-
5
-
6
-
7
-
8
-
9
-
10
-
11
-
12
-
13
-
14
-
15
-
16
-
17
-
18
-
19
-
20
-
21
-
22
-
23
-
 24
24 -
 25
25 -
 26
26 -
 27
27 -
 28
28 -
 29
29 -
 30
30 -
 31
31 -
 32
32 -
 33
33 -
 34
34 -
35
-
36
-
37
-
38
-
39
-
40
-
41
-
42
-
43
-
44
-
45
-
46
-
47
-
48
-
49
-
50
-
51
-
52
 |
 |