Pioneer DEHP7900BT Owner's Manual - Page 40
Audio Adjustments, Operating this unit, Selecting the incoming call screen
 |
UPC - 012562853215
View all Pioneer DEHP7900BT manuals
Add to My Manuals
Save this manual to your list of manuals |
Page 40 highlights
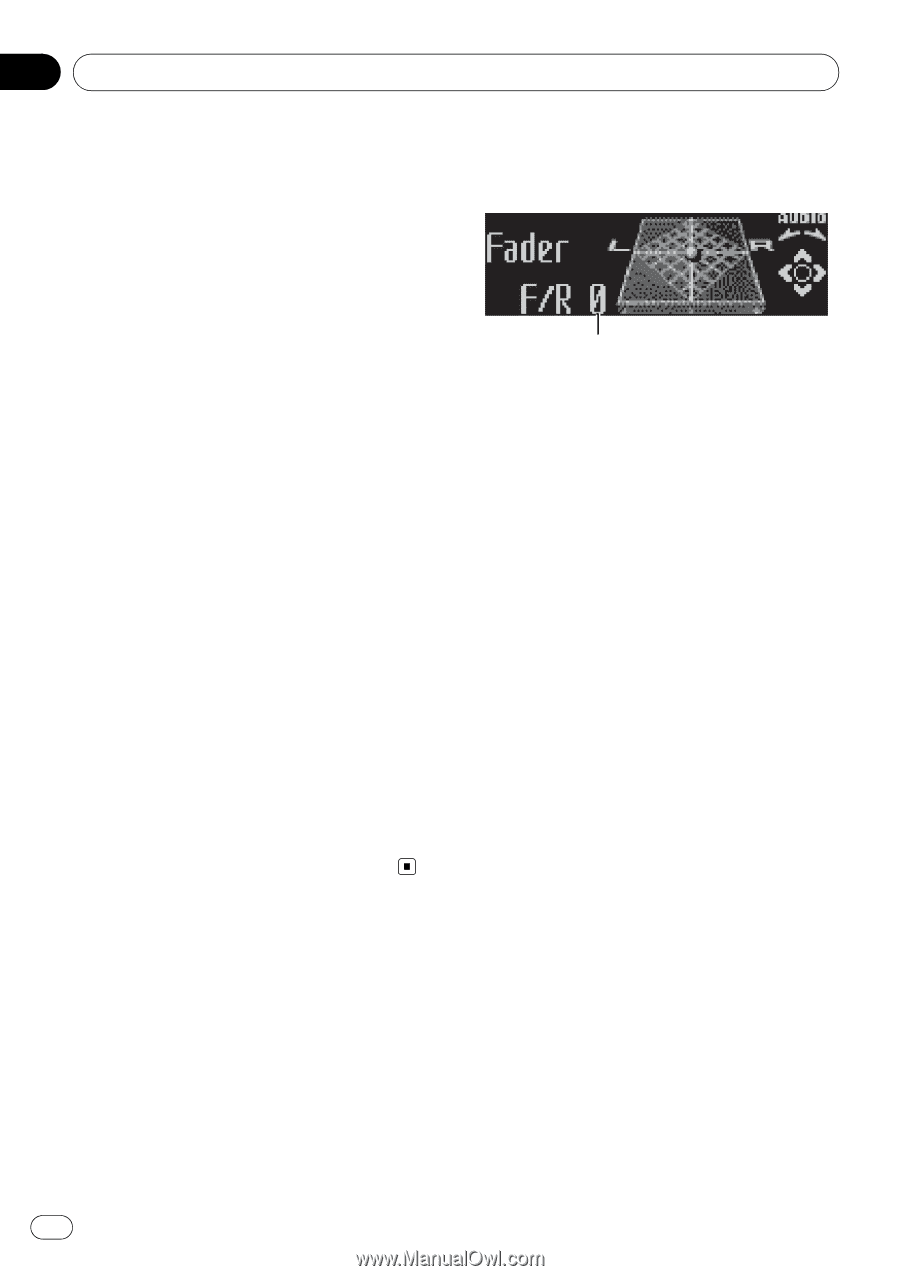
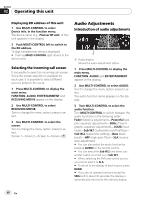
Section 02 Operating this unit Displaying BD address of this unit 1 Use MULTI-CONTROL to select Device info. in the function menu. The device name (e.g., Pioneer BT unit) of this unit appears in the display. 2 Push MULTI-CONTROL left to switch to the BD address. 12-digit hexadecimal string is displayed. # Pushing MULTI-CONTROL right returns to the device name. Selecting the incoming call screen It is possible to select an incoming call screen. Since the screen selection is available for each user, it is possible to select different screens between the users. 1 Press MULTI-CONTROL to display the main menu. FUNCTION, AUDIO, ENTERTAINMENT and RECEIVING MOVIE appear on the display. 2 Use MULTI-CONTROL to select RECEIVING MOVIE. Turn to change the menu option; press to select. 3 Use MULTI-CONTROL to select the screen. Turn to change the menu option; press to select. Screen 1-Sceen 2-Screen 3-Screen 4 Audio Adjustments Introduction of audio adjustments 1 1 Audio display Shows the audio adjustment status. 1 Press MULTI-CONTROL to display the main menu. FUNCTION, AUDIO and ENTERTAINMENT appear on the display. 2 Use MULTI-CONTROL to select AUDIO. Turn to change the menu option; press to select. The audio function name appears on the display. 3 Turn MULTI-CONTROL to select the audio function. Turn MULTI-CONTROL to switch between the audio functions in the following order: Fader (balance adjustment)-Powerful (graphic equalizer adjustment)-50Hz (7-band graphic equalizer adjustment)-LOUD (loudness)-Sub W.1 (subwoofer on/off setting)- Sub W.2 (subwoofer setting)-Bass (bass boost)-HPF (high pass filter)-SLA (source level adjustment) # You can also select the audio function by pressing AUDIO on the remote control. # You can select the Sub W.2 only when subwoofer output is turned on in Sub W.1. # When selecting the FM tuner as the source, you cannot switch to SLA. # To return to the display of each source, press BAND. # If you do not operate functions except for 50Hz within about 30 seconds, the display is automatically returned to the ordinary display. 40 En
-
 1
1 -
2
-
3
-
4
-
5
-
6
-
7
-
8
-
9
-
10
-
11
-
12
-
13
-
14
-
15
-
16
-
17
-
18
-
19
-
20
-
21
-
22
-
23
-
24
-
25
-
26
-
27
-
28
-
29
-
30
-
31
-
32
-
33
-
34
-
 35
35 -
 36
36 -
 37
37 -
 38
38 -
 39
39 -
 40
40 -
 41
41 -
 42
42 -
 43
43 -
 44
44 -
 45
45 -
46
-
47
-
48
-
49
-
50
-
51
-
52
-
53
-
54
-
55
-
56
-
57
-
58
-
59
-
60
-
61
-
62
-
63
-
64
-
65
-
66
-
67
-
68
-
69
-
70
-
71
-
72
-
73
-
74
-
75
-
76
-
77
-
78
-
79
-
80
-
81
-
82
-
83
-
84
-
85
-
86
-
87
-
88
-
89
-
90
-
91
-
92
-
93
-
94
-
95
-
96
-
97
-
98
-
99
-
100
-
101
-
102
-
103
-
104
-
105
-
106
-
107
-
108
-
109
-
110
-
111
-
112
-
113
-
114
-
115
-
116
-
117
-
118
-
119
-
120
-
121
-
122
-
123
-
124
-
125
-
126
-
127
-
128
-
129
-
130
-
131
-
132
-
133
-
134
-
135
-
136
-
137
-
138
-
139
-
140
-
141
-
142
-
143
-
144
-
145
-
146
-
147
-
148
-
149
-
150
 |
 |