Samsung FPT5894 User Manual (ENGLISH) - Page 34
Selecting the Film Mode, Setting the Blue Screen Mode, Setting the HDMI Black Level, HDMI Black Level
 |
UPC - 036725258945
View all Samsung FPT5894 manuals
Add to My Manuals
Save this manual to your list of manuals |
Page 34 highlights
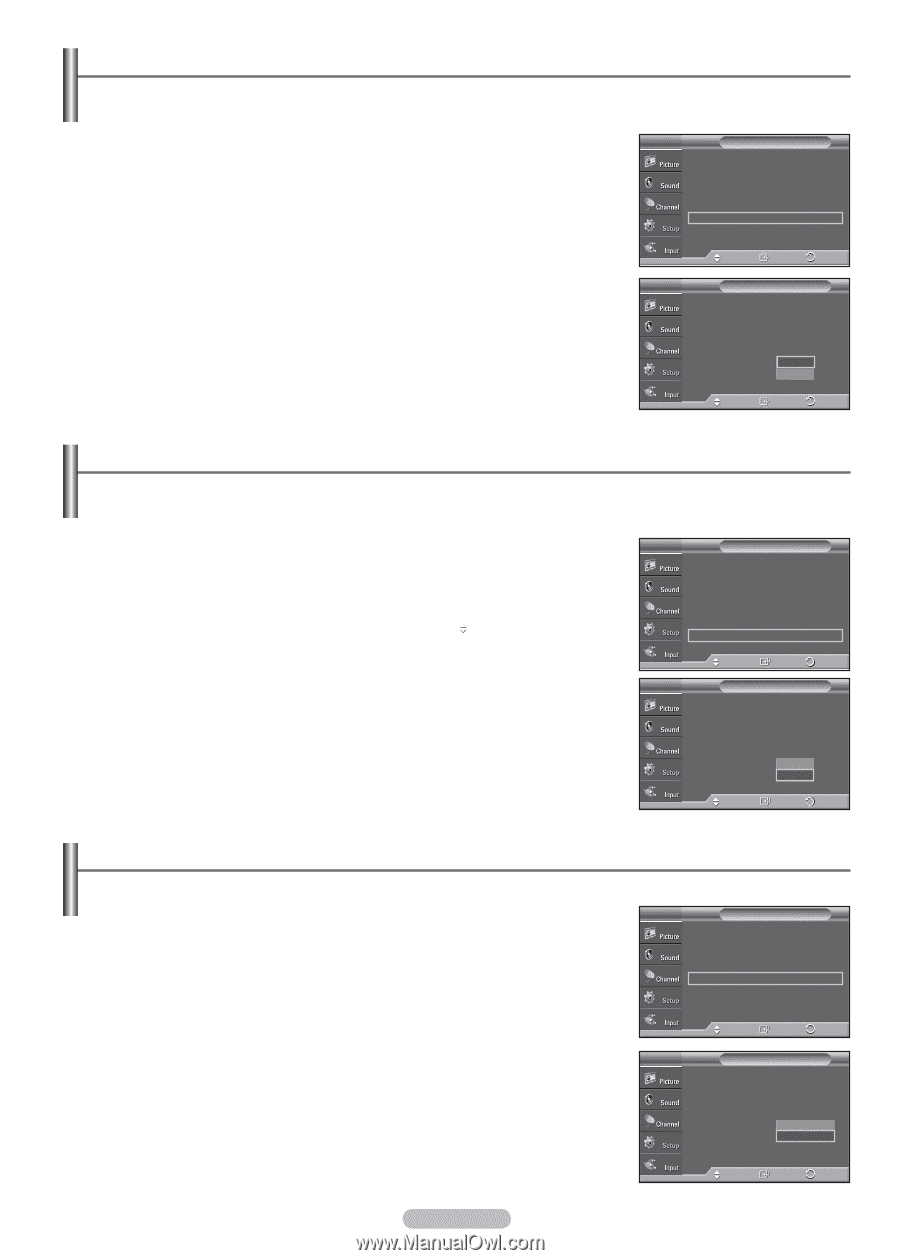
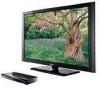
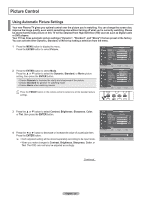
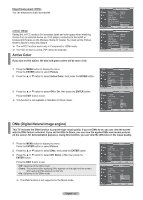
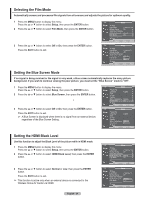
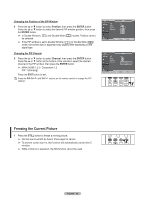
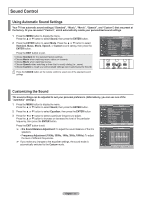
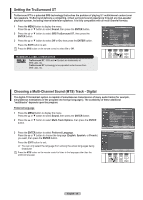
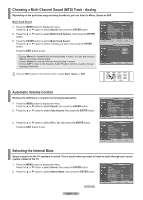
Selecting the Film Mode Automatically senses and processes film signals from all sources and adjusts the picture for optimum quality. 1 Press the MENU button to display the menu. Press the ▲ or ▼ button to select Setup, then press the ENTER button. 2 Press the ▲ or ▼ button to select Film Mode, then press the ENTER button. 3 Press the ▲ or ▼ button to select Off or On, then press the ENTER button. Press the EXIT button to exit. T V Setup ▲ More Light Effect : In Watching TV ► Energy Saving : Off ► Screen Burn Protection ► HDMI Black Level : Normal ► Film Mode : Off ► Wall-Mount Adjustment ► ▼ More Move Enter Return T V Setup ▲ More Light Effect : In Watching TV Energy Saving : Off Screen Burn Protection HDMI Black Level : Normal Film Mode : OOfff Wall-Mount Adjustment On ▼ More Move Enter Return Setting the Blue Screen Mode If no signal is being received or the signal is very weak, a blue screen automatically replaces the noisy picture background. If you wish to continue viewing the poor picture, you must set the "Blue Screen" mode to "Off". 1 Press the MENU button to display the menu. Press the ▲ or ▼ button to select Setup, then press the ENTER button. 2 Press the ▲ or ▼ button to select Blue Screen, then press the ENTER button. 3 Press the ▲ or ▼ button to select Off or On, then press the ENTER button. Press the EXIT button to exit. ➢ A Blue Screen is displayed when there is no signal from an external device, regardless of the Blue Screen Setting. T V Setup Plug & Play ► Language : English ► Time ► V-Chip ► Caption ► Menu Transparency : Medium ► Blue Screen : Off ► ▼ More Move Enter Return T V Setup Plug & Play Language : English Time V-Chip Caption Menu Transparency : MOeffdium Blue Screen : OOfnf ▼ More Move Enter Return Setting the HDMI Black Level Use this function to adjust the Black Level of the picture while in HDMI mode. 1 Press the MENU button to display the menu. Press the ▲ or ▼ button to select Setup, then press the ENTER button. 2 Press the ▲ or ▼ button to select HDMI Black Level, then press the ENTER button. 3 Press the ▲ or ▼ button to select Normal or Low, then press the ENTER button. Press the EXIT button to exit. ➢ This function is active only when an external device is connected to the Wireless Home AV Center via HDMI. English - 34 T V Setup ▲ More Light Effect : In Watching TV ► Energy Saving : Off ► Screen Burn Protection ► HDMI Black Level : Normal ► Film Mode : Off ► Wall-Mount Adjustment ► ▼ More Move Enter Return T V Setup ▲ More Light Effect : In Watching TV Energy Saving : Off Screen Burn Protection HDMI Black Level : NNoormrmaal l Film Mode : OLfof w Wall-Mount Adjustment ▼ More Move Enter Return
-
 1
1 -
2
-
3
-
4
-
5
-
6
-
7
-
8
-
9
-
10
-
11
-
12
-
13
-
14
-
15
-
16
-
17
-
18
-
19
-
20
-
21
-
22
-
23
-
24
-
25
-
26
-
27
-
28
-
 29
29 -
 30
30 -
 31
31 -
 32
32 -
 33
33 -
 34
34 -
 35
35 -
 36
36 -
 37
37 -
 38
38 -
 39
39 -
40
-
41
-
42
-
43
-
44
-
45
-
46
-
47
-
48
-
49
-
50
-
51
-
52
-
53
-
54
-
55
-
56
-
57
-
58
-
59
-
60
-
61
-
62
-
63
-
64
-
65
-
66
-
67
-
68
-
69
-
70
-
71
-
72
-
73
-
74
-
75
-
76
-
77
-
78
-
79
-
80
 |
 |