Schwinn Tango Tandem Seven IPS Schwinn Owner's Manual - Page 45
Front Derailleur
 |
View all Schwinn Tango Tandem Seven IPS manuals
Add to My Manuals
Save this manual to your list of manuals |
Page 45 highlights
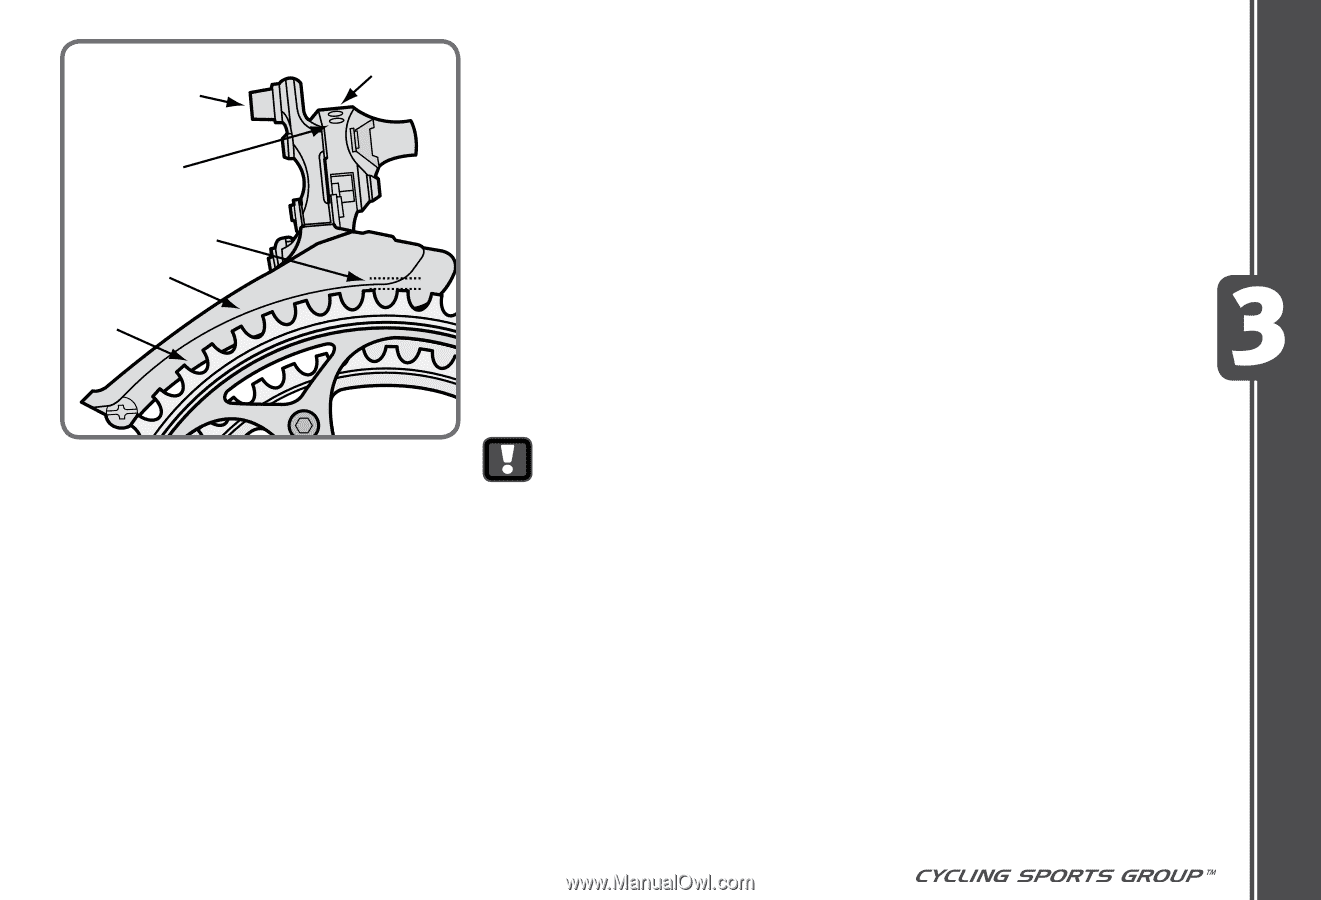
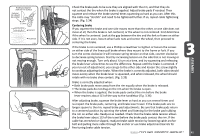
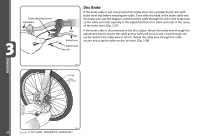
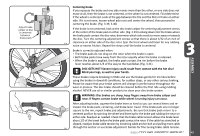
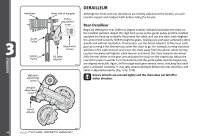
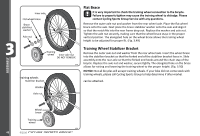
Cable anchor bolt High adjusƟng screw Chainguide clearance of 1-3mm Outer chainguide Inner chainguide Low adjusƟng screw 3.44 Front Derailleur (Fig. 3.44) Shift both shifters to the smallest number indicated and place the chain on the corresponding cog and chainwheel. Disconnect the front derailleur cable from the cable anchor bolt. Check the position of the front derailleur; it should be parallel with the outer chainwheel and clear the largest chainwheel by 1-3mm when fully engaged. With the chain on the smallest chainwheel in front and the largest cog in back, adjust the Low limit screw so the chain is centered in the front derailleur cage. Reconnect the cable, pull any slack out, and tighten the anchor bolt securely. Shift the front shifter to the largest chainwheel. If the chain does not go onto the largest chainwheel, turn the high limit screw in 1/4 turn increments counter-clockwise until the chain engages the largest chainwheel. If the chain falls off the largest chainwheel, and into the pedals, you will need to turn the High limit screw in 1/4 turn increments clockwise until the chain no longer falls off. Shift through every gear, using the barrel adjusters to fine tune each transition. The barrel adjuster for the front derailleur is located on the front shifter where the cable comes out of the shifter. Clockwise will loosen the cable tension and direct the chain closer to the frame while counter-clockwise will tighten the cable tension and direct the chain away from the frame. Do not ride a bicycle that is not shifting properly. Overlooking proper adjustments may cause irreparable damage to the bicycle and/or bodily injury. Never move the shifter while pedaling standing up, or under heavy load, nor pedal backwards after having moved the shifter. This could jam the chain and cause serious damage to the bicycle and/or rider. ASSEMBLY ©2010 45
-
 1
1 -
2
-
3
-
4
-
5
-
6
-
7
-
8
-
9
-
10
-
11
-
12
-
13
-
14
-
15
-
16
-
17
-
18
-
19
-
20
-
21
-
22
-
23
-
24
-
25
-
26
-
27
-
28
-
29
-
30
-
31
-
32
-
33
-
34
-
35
-
36
-
37
-
38
-
39
-
 40
40 -
 41
41 -
 42
42 -
 43
43 -
 44
44 -
 45
45 -
 46
46 -
 47
47 -
 48
48 -
 49
49 -
 50
50 -
51
-
52
-
53
-
54
-
55
-
56
-
57
-
58
-
59
-
60
-
61
-
62
-
63
-
64
-
65
-
66
-
67
 |
 |