Sony DCR-TRV39 Operating Instructions (primary manual) - Page 62
Focusing manually
 |
View all Sony DCR-TRV39 manuals
Add to My Manuals
Save this manual to your list of manuals |
Page 62 highlights
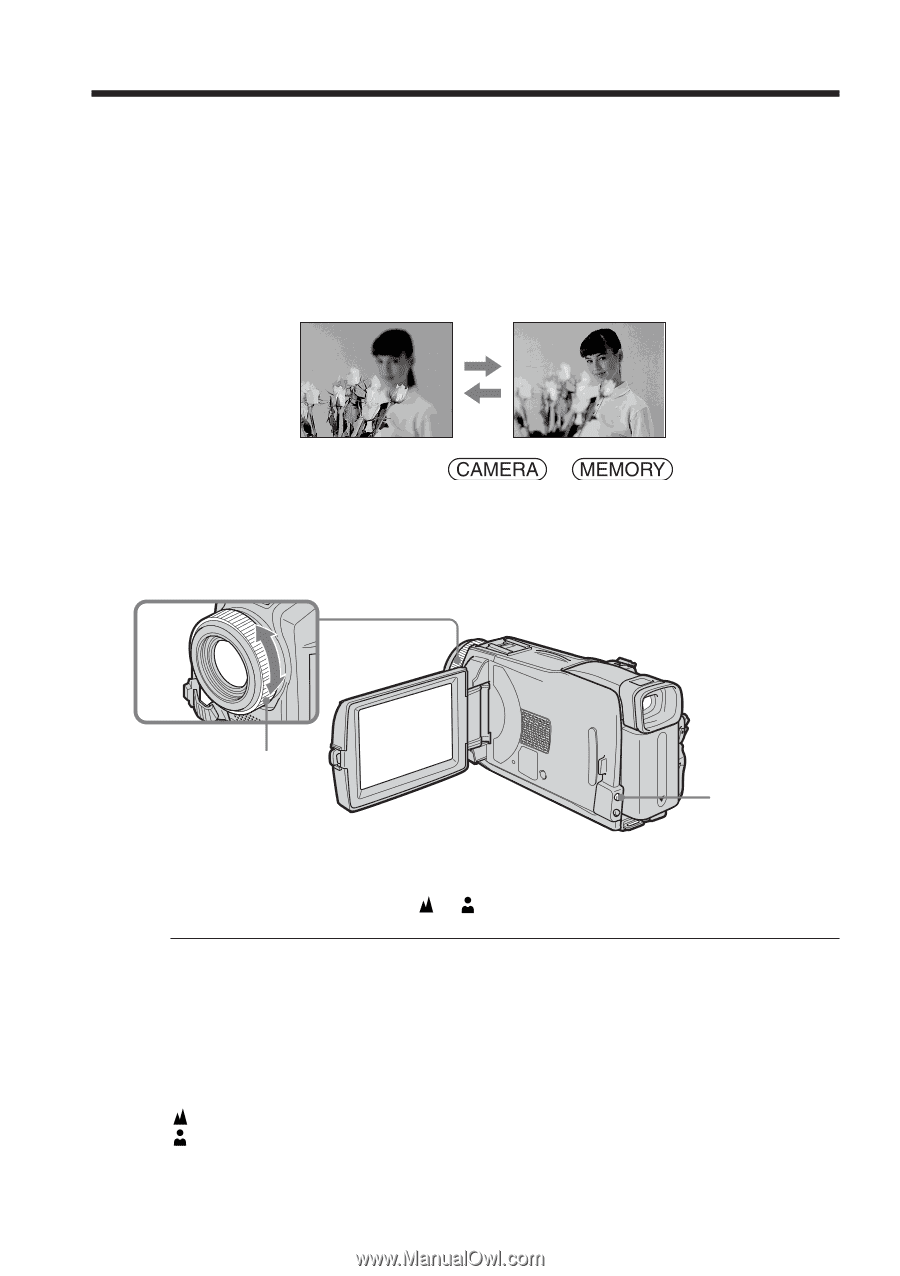
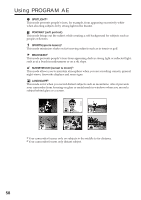
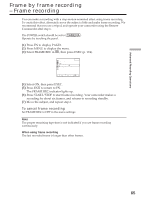
Focusing manually You can gain better results by manually adjusting the focus in the following cases. Normally, focus is automatically adjusted. •The autofocus mode is not effective when shooting: - Subjects through glass coated with water droplets - Horizontal stripes - Subjects with little contrast with backgrounds such as walls or the sky •When you want to change the focus from a subject in the foreground to a subject in the background •Shooting a stationary subject when using a tripod The POWER switch should be set to or . (1) Press FOCUS. The 9 (focus) indicator appears on the screen. (2) Turn the focus ring to sharpen focus. 2 Focus ring FOCUS To return to the autofocus Press FOCUS to turn off the 9, or indicator. To focus precisely It is easier to focus on the subject if you adjust the zoom to shoot at the "W" (wideangle) position after focusing at the "T" (telephoto) position. When you shoot close to the subject Focus at the end of the "W" (wide-angle) position. 9 changes as follows: when recording a distant subject when the subject is too close to focus on 62
-
 1
1 -
2
-
3
-
4
-
5
-
6
-
7
-
8
-
9
-
10
-
11
-
12
-
13
-
14
-
15
-
16
-
17
-
18
-
19
-
20
-
21
-
22
-
23
-
24
-
25
-
26
-
27
-
28
-
29
-
30
-
31
-
32
-
33
-
34
-
35
-
36
-
37
-
38
-
39
-
40
-
41
-
42
-
43
-
44
-
45
-
46
-
47
-
48
-
49
-
50
-
51
-
52
-
53
-
54
-
55
-
56
-
 57
57 -
 58
58 -
 59
59 -
 60
60 -
 61
61 -
 62
62 -
 63
63 -
 64
64 -
 65
65 -
 66
66 -
 67
67 -
68
-
69
-
70
-
71
-
72
-
73
-
74
-
75
-
76
-
77
-
78
-
79
-
80
-
81
-
82
-
83
-
84
-
85
-
86
-
87
-
88
-
89
-
90
-
91
-
92
-
93
-
94
-
95
-
96
-
97
-
98
-
99
-
100
-
101
-
102
-
103
-
104
-
105
-
106
-
107
-
108
-
109
-
110
-
111
-
112
-
113
-
114
-
115
-
116
-
117
-
118
-
119
-
120
-
121
-
122
-
123
-
124
-
125
-
126
-
127
-
128
-
129
-
130
-
131
-
132
-
133
-
134
-
135
-
136
-
137
-
138
-
139
-
140
-
141
-
142
-
143
-
144
-
145
-
146
-
147
-
148
-
149
-
150
-
151
-
152
-
153
-
154
-
155
-
156
-
157
-
158
-
159
-
160
-
161
-
162
-
163
-
164
-
165
-
166
-
167
-
168
-
169
-
170
-
171
-
172
-
173
-
174
-
175
-
176
-
177
-
178
-
179
-
180
-
181
-
182
-
183
-
184
-
185
-
186
-
187
-
188
-
189
-
190
-
191
-
192
-
193
-
194
-
195
-
196
-
197
-
198
-
199
-
200
-
201
-
202
-
203
-
204
-
205
-
206
-
207
-
208
-
209
-
210
-
211
-
212
 |
 |