Sony DVP-NC800H/S Operating Instructions - Page 22
L1AC - Step 6: Quick Setup, Press ENTER. - 5 disc
 |
View all Sony DVP-NC800H/S manuals
Add to My Manuals
Save this manual to your list of manuals |
Page 22 highlights
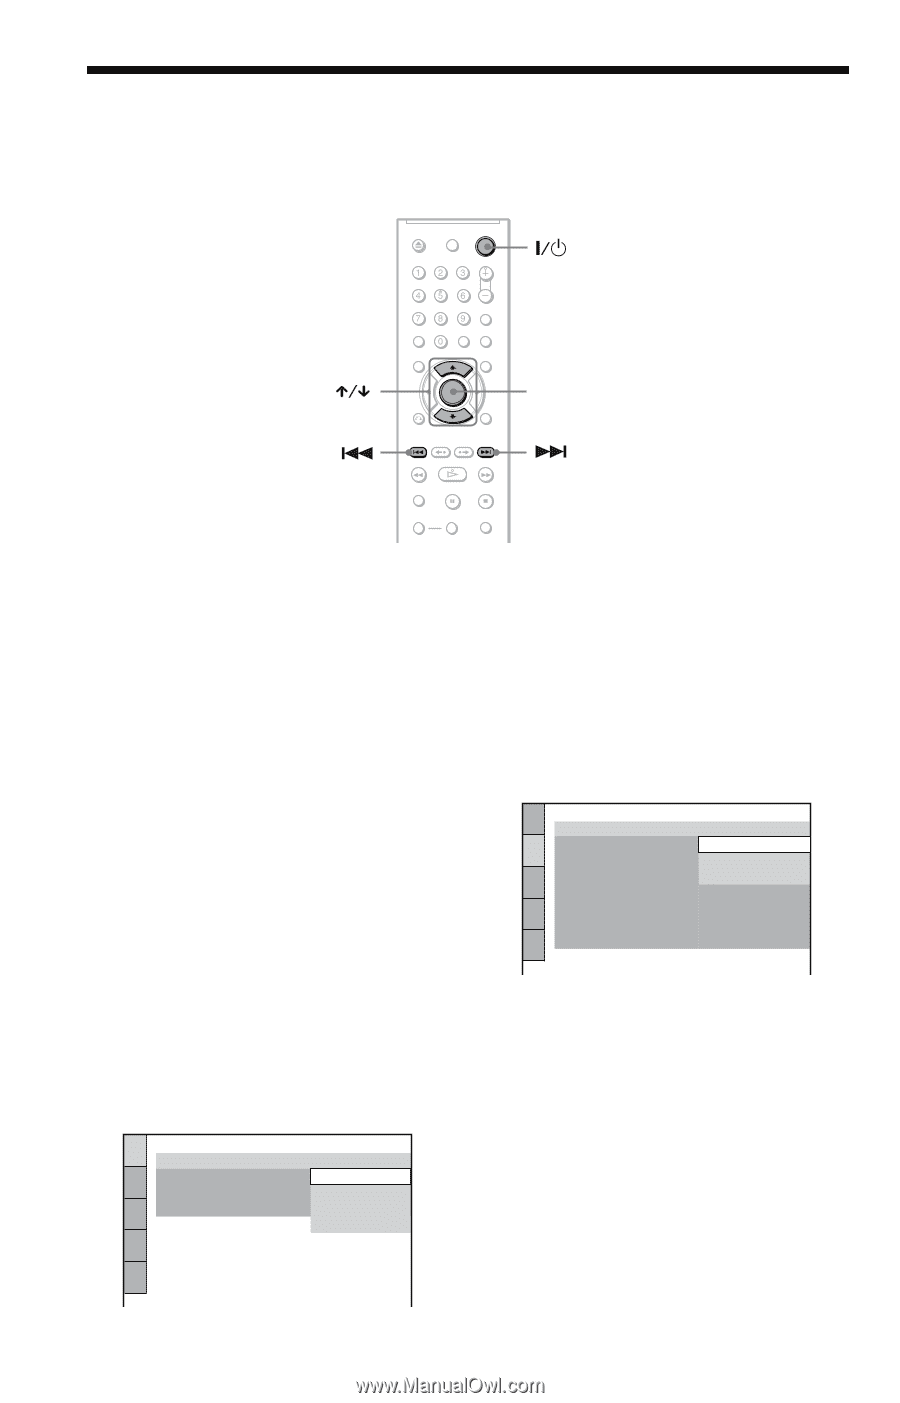
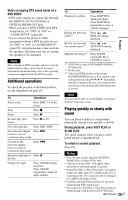
Step 6: Quick Setup Follow the steps below to make the minimum number of basic adjustments for using the player. To skip an adjustment, press >. To return to the previous adjustment, press .. ENTER 1 Turn on the TV. 2 Press [/1. 3 Switch the input selector on your TV so that the signal from the player appears on the TV screen. "Press [ENTER] to run QUICK SETUP" (press enter to run Quick Setup) appears at the bottom of the screen. If this message does not appear, select "QUICK" (quick) under "SETUP" (setup) in the Control Menu to run Quick Setup (page 55). 4 Press ENTER without inserting a disc. The Setup Display for selecting the language used in the on-screen display appears. LANGUAGE SETUP OSD: MENU: AUDIO: SUBTITLE: ENGLISH ENGLISH FRENCH SPANISH PORTUGUESE 5 Press X/x to select a language. The player displays the menu and subtitles in the selected language. 6 Press ENTER. The Setup Display for selecting the aspect ratio of the TV to be connected appears. SCREEN SETUP TV TYPE: 16:9 SCREEN SAVER: 16:9 BACKGROUND: 4:3 LETTER BOX BLACK LEVEL: 4:3 PAN SCAN BLACK LEVEL (COMPONENT OUT): OFF PROGRESSIVE (COMPONENT OUT ONLY): OFF MODE : (PROGRESSIVE) AUTO 4:3 OUTPUT: FULL 7 Press X/x to select the setting that matches your TV type. ◆ If you have a wide-screen TV or a 4:3 standard TV with a wide-screen mode • 16:9 (page 56) ◆ If you have a 4:3 standard TV • 4:3 LETTER BOX or 4:3 PAN SCAN (page 56) 22US
-
 1
1 -
2
-
3
-
4
-
5
-
6
-
7
-
8
-
9
-
10
-
11
-
12
-
13
-
14
-
15
-
16
-
 17
17 -
 18
18 -
 19
19 -
 20
20 -
 21
21 -
 22
22 -
 23
23 -
 24
24 -
 25
25 -
 26
26 -
 27
27 -
28
-
29
-
30
-
31
-
32
-
33
-
34
-
35
-
36
-
37
-
38
-
39
-
40
-
41
-
42
-
43
-
44
-
45
-
46
-
47
-
48
-
49
-
50
-
51
-
52
-
53
-
54
-
55
-
56
-
57
-
58
-
59
-
60
-
61
-
62
-
63
-
64
-
65
-
66
-
67
-
68
-
69
-
70
-
71
-
72
-
73
-
74
-
75
-
76
-
77
-
78
-
79
-
80
-
81
-
82
-
83
-
84
-
85
-
86
-
87
-
88
 |
 |