Sony RDR VXD655 Operating Instructions - Page 53
Recording From Connected Equipment With a Timer (Synchro Rec), Select Setup, and press ENTER.
 |
UPC - 027242708792
View all Sony RDR VXD655 manuals
Add to My Manuals
Save this manual to your list of manuals |
Page 53 highlights
DVD Recording Recording From Connected Equipment With a Timer (Synchro Rec) +RW -RWVR -RWVideo +R -RVR -RVideo You can set the recorder to automatically record programs from connected equipment that has a timer function (such as a satellite tuner). Connect the equipment to the LINE 1 IN jacks on the rear of the recorder (page 18). When the connected equipment turns on, the recorder starts recording a program from the LINE 1 IN jacks. DVD SYSTEM MENU 123 456 789 0 M/m/
-
 1
1 -
2
-
3
-
4
-
5
-
6
-
7
-
8
-
9
-
10
-
11
-
12
-
13
-
14
-
15
-
16
-
17
-
18
-
19
-
20
-
21
-
22
-
23
-
24
-
25
-
26
-
27
-
28
-
29
-
30
-
31
-
32
-
33
-
34
-
35
-
36
-
37
-
38
-
39
-
40
-
41
-
42
-
43
-
44
-
45
-
46
-
47
-
 48
48 -
 49
49 -
 50
50 -
 51
51 -
 52
52 -
 53
53 -
 54
54 -
 55
55 -
 56
56 -
 57
57 -
 58
58 -
59
-
60
-
61
-
62
-
63
-
64
-
65
-
66
-
67
-
68
-
69
-
70
-
71
-
72
-
73
-
74
-
75
-
76
-
77
-
78
-
79
-
80
-
81
-
82
-
83
-
84
-
85
-
86
-
87
-
88
-
89
-
90
-
91
-
92
-
93
-
94
-
95
-
96
-
97
-
98
-
99
-
100
-
101
-
102
-
103
-
104
-
105
-
106
-
107
-
108
-
109
-
110
-
111
-
112
-
113
-
114
-
115
-
116
-
117
-
118
-
119
-
120
-
121
-
122
-
123
-
124
-
125
-
126
-
127
-
128
-
129
-
130
-
131
-
132
-
133
-
134
-
135
-
136
-
137
-
138
-
139
-
140
-
141
-
142
-
143
-
144
-
145
-
146
-
147
-
148
-
149
-
150
-
151
-
152
-
153
-
154
-
155
-
156
-
157
-
158
-
159
-
160
 |
 |
53
DVD Recording
Recording From Connected
Equipment With a Timer
(Synchro Rec)
You can set the recorder to automatically record
programs from connected equipment that has a
timer function (such as a satellite tuner). Connect
the equipment to the LINE 1 IN jacks on the rear
of the recorder (page 18).
When the connected equipment turns on, the
recorder starts recording a program from the LINE
1 IN jacks.
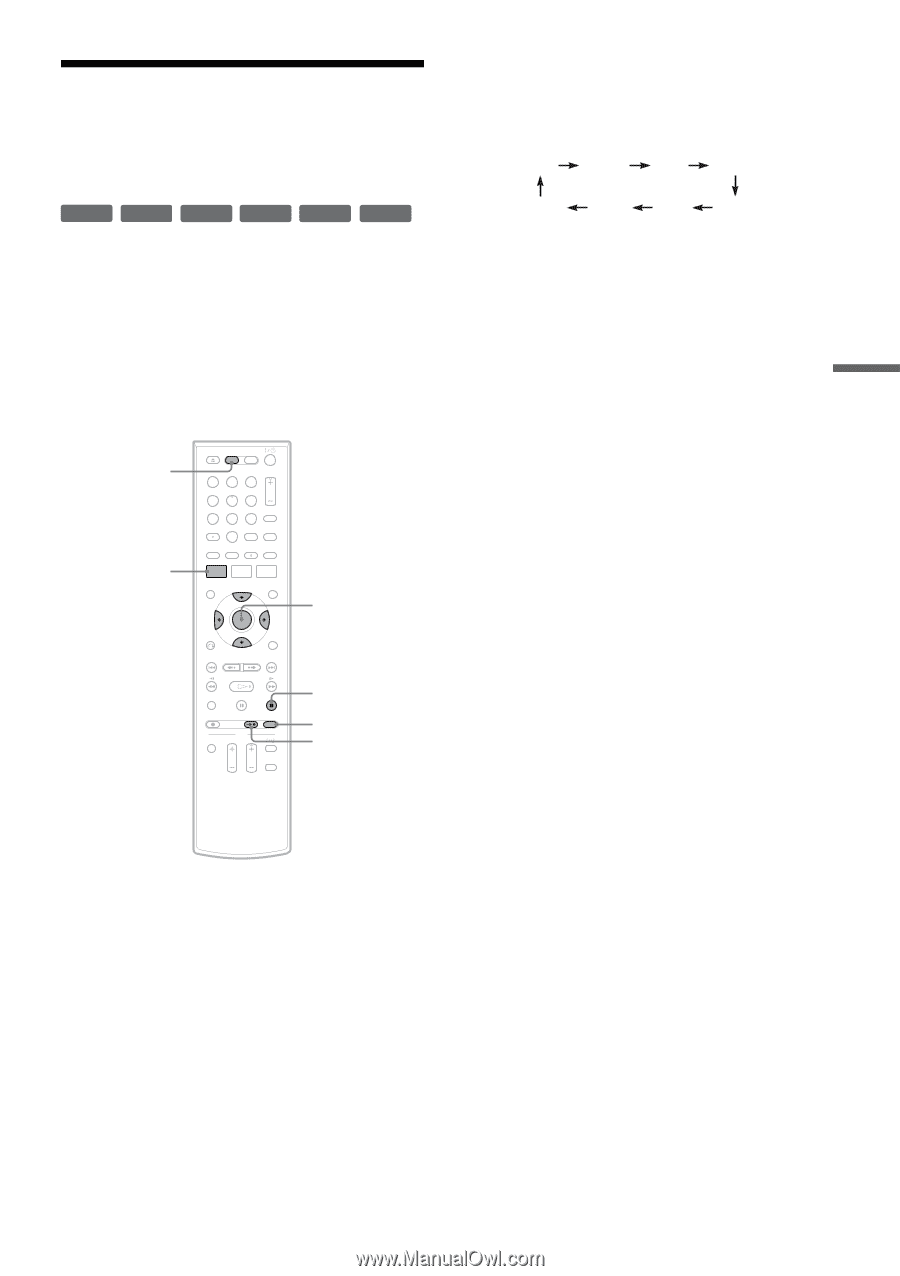
1
Press DVD to operate the DVD recorder.
2
Insert a recordable disc.
3
Select the line input audio.
Set “Line Audio Input” of “Audio” setup to
“Stereo” or “Main/Sub” in the “Setup”
display (page 101).
4
Press REC MODE repeatedly to select the
recording mode.
The display changes on the TV screen as
follows:
For details about the recording mode, see
page 47.
5
Press SYSTEM MENU while the recorder is
in stop mode.
6
Select “Setup,” and press ENTER.
7
Select “Features,” and press ENTER.
The “Features” setup appears.
8
Select “Synchro Recording,” and press
ENTER.
9
Select “to DVD,” and press ENTER.
10
Press SYSTEM MENU to turn off the menu.
11
Set the timer on the connected equipment
to the time you want to record, and turn it
off.
12
Press SYNCHRO REC.
The SYNCHRO REC indicator lights up on
the front panel and the recorder stands by for
Synchro-Rec.
The recorder starts recording when a signal is
received from the connected equipment.
When the connected equipment turns off, the
recording stops and the recorder turns off.
To stop recording
Press
x
STOP twice.
To cancel a Synchro-Rec function
Press SYNCHRO REC before recording starts.
The SYNCHRO REC indicator on the recorder
turns off.
If you press SYNCHRO REC during Synchro-
Rec, the recording stops, the SYNCHRO REC
indicator turns off, and the recorder turns off.
+
RW
+
R
-
RW
VR
-
RW
Video
-
R
VR
-
R
Video
1
2
3
4
5
6
7
8
0
9
M
/
m
/
<
/
,
,
ENTER
SYNCHRO
REC
x
STOP
REC MODE
SYSTEM
MENU
DVD
HQ
SP
HSP
LSP
SLP
LP
EP
ESP
,
continued