Western Digital WDBGMT0010BAL User Manual - Page 60
Using the Drive Erase Function, Start, Programs, Western Digital, WD Apps, WD Drive Utilities
 |
View all Western Digital WDBGMT0010BAL manuals
Add to My Manuals
Save this manual to your list of manuals |
Page 60 highlights
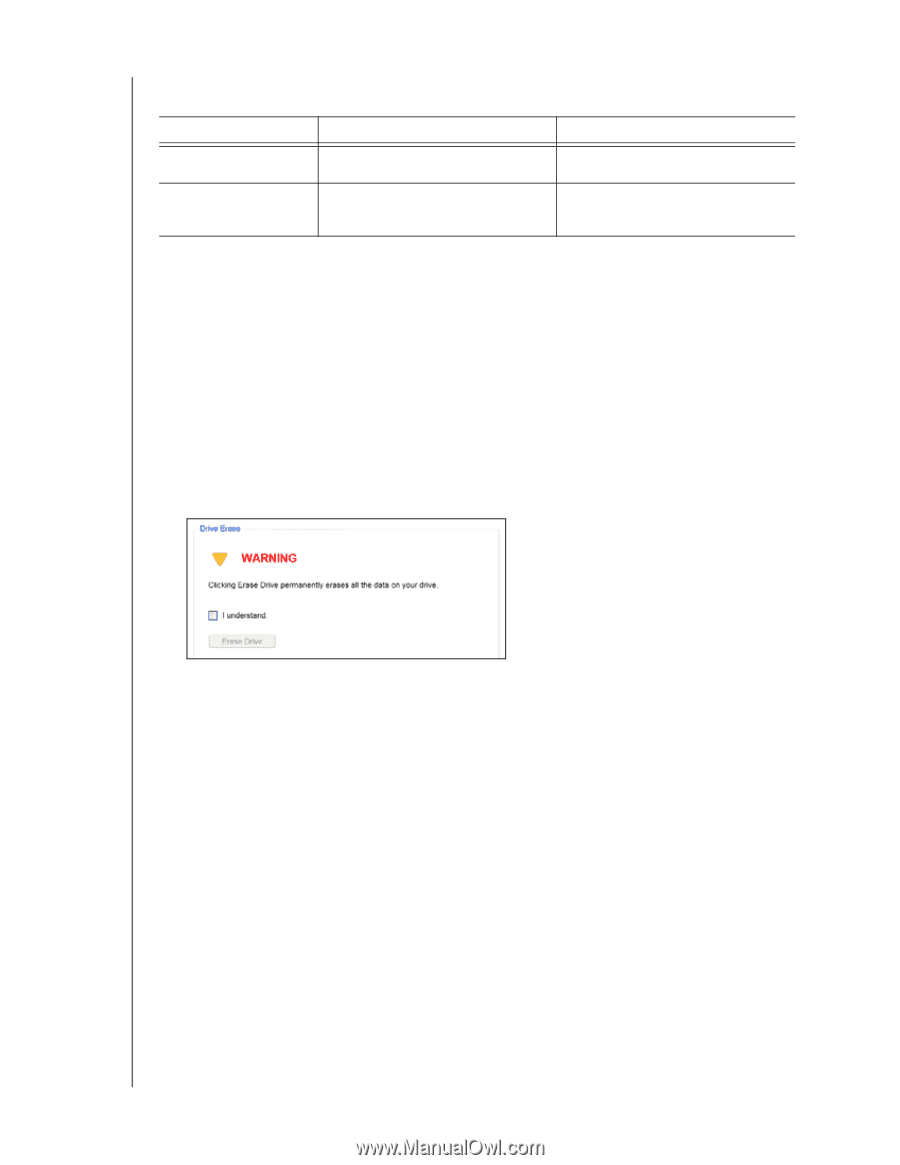
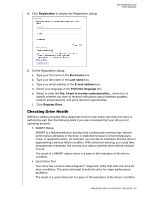
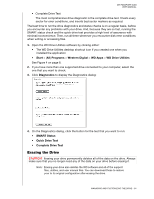
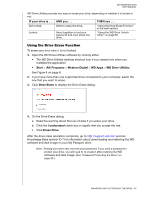
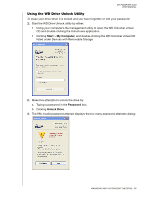
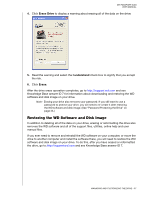
MY PASSPORT SLIM USER MANUAL WD Drive Utilities provides two ways to erase your drive, depending on whether it is locked or not: IF your drive is . . . AND you . . . THEN see . . . Not locked, Locked Want to erase the drive, Have forgotten or lost your password and must erase the drive, "Using the Drive Erase Function" in the next section. "Using the WD Drive Unlock Utility" on page 56 Using the Drive Erase Function To erase your drive when it is not locked: 1. Open the WD Drive Utilities software by clicking either: • The WD Drive Utilities desktop shortcut icon if you created one when you installed the application • Start > (All) Programs > Western Digital > WD Apps > WD Drive Utilities See Figure 4 on page 8. 2. If you have more than one supported drive connected to your computer, select the one that you want to erase. 3. Click Drive Erase to display the Drive Erase dialog: 4. On the Drive Erase dialog: a. Read the warning about the loss of data if you erase your drive. b. Click the I understand check box to signify that you accept the risk. c. Click Erase Drive. After the drive erase operation completes, go to http://support.wd.com and see Knowledge Base answer ID 7 for information about downloading and restoring the WD software and disk image on your My Passport drive. Note: Erasing your drive also removes your password. If you used a password to protect your drive, you will need to re-create it after restoring the WD software and disk image. (See "Password Protecting the Drive" on page 43.) MANAGING AND CUSTOMIZING THE DRIVE - 55
-
 1
1 -
2
-
3
-
4
-
5
-
6
-
7
-
8
-
9
-
10
-
11
-
12
-
13
-
14
-
15
-
16
-
17
-
18
-
19
-
20
-
21
-
22
-
23
-
24
-
25
-
26
-
27
-
28
-
29
-
30
-
31
-
32
-
33
-
34
-
35
-
36
-
37
-
38
-
39
-
40
-
41
-
42
-
43
-
44
-
45
-
46
-
47
-
48
-
49
-
50
-
51
-
52
-
53
-
54
-
 55
55 -
 56
56 -
 57
57 -
 58
58 -
 59
59 -
 60
60 -
 61
61 -
 62
62 -
 63
63 -
 64
64 -
 65
65 -
66
-
67
-
68
-
69
-
70
-
71
-
72
-
73
-
74
-
75
-
76
-
77
-
78
-
79
-
80
-
81
-
82
-
83
-
84
-
85
 |
 |