Xerox 6180MFP Features Setup Guide - Page 6
Macintosh Network Installation - network scan setup
 |
UPC - 095205733839
View all Xerox 6180MFP manuals
Add to My Manuals
Save this manual to your list of manuals |
Page 6 highlights
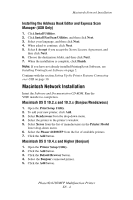
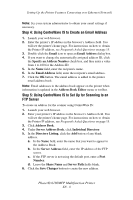
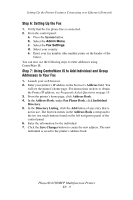
Macintosh Network Installation Installing the Address Book Editor and Express Scan Manager (USB Only) 1. Click Install Utilities. 2. Click Install Fax/Scan Utilities, and then click Next. 3. Select your language, and then click Next. 4. When asked to continue, click Next. 5. Select I Accept if you accept the Xerox License Agreement, and then click Next. 6. Choose the destination folder, and then click Next. 7. When the installation is complete, click Finish. Note: If you have not already installed PrintingScout Software, see Installing PrintingScout Software on page 2. Continue with the section Setting Up the Printer Features Connecting over USB on page 10. Macintosh Network Installation Insert the Software and Documentation CD-ROM. Run the VISE installer to completion. Macintosh OS X 10.2.x and 10.3.x (Bonjour/Rendezvous) 1. Open the Print Setup Utility. 2. To add your new printer, click Add. 3. Select Rendezvous from the drop-down menu. 4. Select the printer in the printer's window. 5. Select Xerox from the list of manufacturers in the Printer Model lower drop-down menu. 6. Select the Phaser 6180MFP from the list of available printers. 7. Click the Add button. Macintosh OS X 10.4.x and Higher (Bonjour) 1. Open the Printer Setup Utility. 2. Click the Add button. 3. Click the Default Browser button. 4. Select the Bonjour connected printer. 5. Click the Add button. Phaser® 6180MFP Multifunction Printer EN - 4
-
 1
1 -
 2
2 -
 3
3 -
 4
4 -
 5
5 -
 6
6 -
 7
7 -
 8
8 -
 9
9 -
 10
10 -
 11
11 -
 12
12 -
13
-
14
-
15
-
16
-
17
-
18
-
19
-
20
-
21
-
22
-
23
-
24
-
25
-
26
-
27
-
28
-
29
-
30
-
31
-
32
-
33
-
34
-
35
-
36
-
37
-
38
-
39
-
40
-
41
-
42
-
43
-
44
-
45
-
46
-
47
-
48
-
49
-
50
-
51
-
52
-
53
-
54
-
55
-
56
-
57
-
58
-
59
-
60
-
61
-
62
-
63
-
64
-
65
-
66
-
67
-
68
-
69
-
70
-
71
-
72
-
73
-
74
-
75
-
76
-
77
-
78
-
79
-
80
-
81
-
82
-
83
-
84
-
85
-
86
-
87
-
88
-
89
-
90
-
91
-
92
-
93
-
94
-
95
-
96
-
97
-
98
-
99
-
100
-
101
-
102
-
103
 |
 |
