Asus M1A M1 Series Manual - Page 40
Floppy Disk Drive External Connection optional, Traveler's Drawer
 |
View all Asus M1A manuals
Add to My Manuals
Save this manual to your list of manuals |
Page 40 highlights
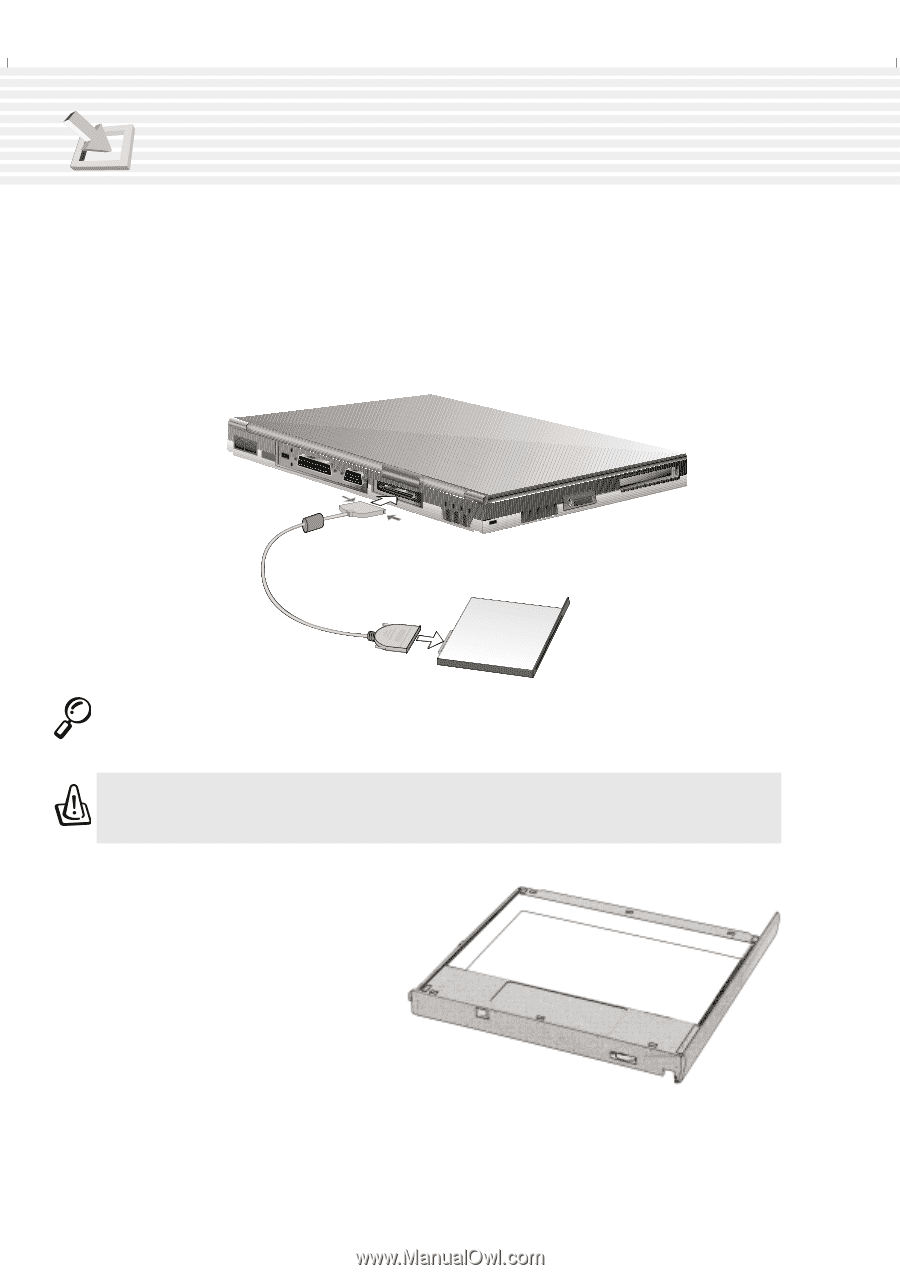
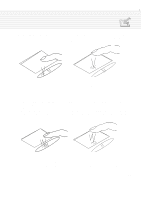
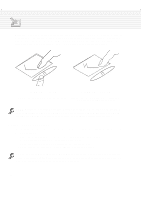
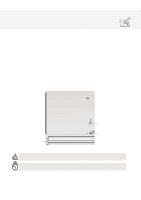
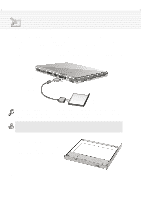
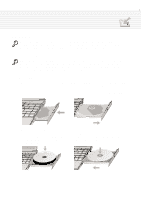
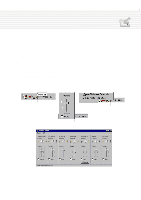
4. Using the Notebook PC Floppy Disk Drive External Connection (optional) For simultaneous CD-ROM and floppy disk drive use without the PortDock, an external floppy disk drive cable is provided. When installing Windows or anti-virus software, simultaneous CD-ROM and floppy disk drive is required to create a rescue disk during installation. Of course you can skip this step and create a rescue disk later after inserting the floppy disk drive but the time required to turn OFF the Notebook PC and back ON makes it inconvenient. Connect the included floppy disk drive external cable to the docking connector and connect the floppy disk drive to the end with screws as shown. Press both sides in to release Floppy disk drive cable (optional) Turn screws to secure connector Floppy disk drive module (optional) NOTE: The floppy disk drive icon on the connector represents the end that connects to the floppy disk drive and the triangular icon or brand name represents the end that connects to the Notebook PC. All icons must be faced upwards. WARNING! Because the eject button protrudes out when a floppy diskette is inserted, you must remove the floppy diskette during transport to prevent breakage of the eject button. Traveler's Drawer To decrease the weight of the Notebook PC and decrease power consumption when traveling, the traveler's drawer can be used in place of a drive module within the Notebook PC. 40
-
 1
1 -
2
-
3
-
4
-
5
-
6
-
7
-
8
-
9
-
10
-
11
-
12
-
13
-
14
-
15
-
16
-
17
-
18
-
19
-
20
-
21
-
22
-
23
-
24
-
25
-
26
-
27
-
28
-
29
-
30
-
31
-
32
-
33
-
34
-
 35
35 -
 36
36 -
 37
37 -
 38
38 -
 39
39 -
 40
40 -
 41
41 -
 42
42 -
 43
43 -
 44
44 -
 45
45 -
46
-
47
-
48
-
49
-
50
-
51
-
52
-
53
-
54
-
55
-
56
-
57
-
58
-
59
-
60
-
61
-
62
-
63
-
64
-
65
-
66
-
67
-
68
-
69
-
70
-
71
-
72
-
73
-
74
-
75
-
76
-
77
-
78
-
79
-
80
-
81
-
82
-
83
-
84
-
85
-
86
-
87
-
88
-
89
-
90
-
91
-
92
-
93
-
94
-
95
-
96
-
97
-
98
 |
 |