Asus P5VDC-MX V2.0 Motherboard DIY Troubleshooting Guide - Page 90
Installing Serial ATA SATA hard disks, Entering VIA Tech RAID BIOS Utility
 |
View all Asus P5VDC-MX V2.0 manuals
Add to My Manuals
Save this manual to your list of manuals |
Page 90 highlights
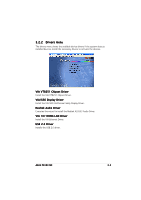
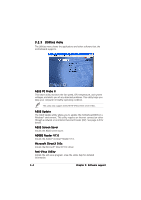
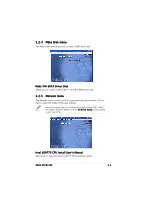
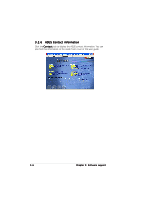
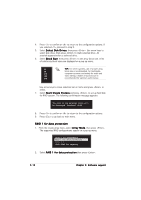
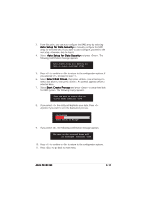
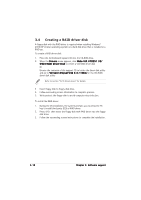
If you want to boot the system from a hard disk drive included in a RAID set, copy first the RAID driver from the support CD to a floppy disk before you install an operating system to a selected hard disk drive. Refer to section "3.4 Creating a RAID driver disk" for details. 3.3.1 Installing hard disks The motherboard supports RAID function on Serial ATA hard disk drives. For optimal performance, install identical drives of the same model and capacity when creating a disk array. Installing Serial ATA (SATA) hard disks To install the SATA hard disks for a RAID configuration: 1. Install the SATA hard disks into the drive bays. 2. Connect the SATA signal cables. 3. Connect a SATA power cable to the power connector on each drive. Refer to the RAID controllers user manual in the motherboard support CD for detailed information on RAID configurations. See section "3.2.4 Manuals menu". Entering VIA Tech RAID BIOS Utility 1. Boot-up your computer. 2. During POST, press to enter VIA RAID configuration utility. The following menu options will appear. The RAID BIOS information on the setup screen shown below is for reference only. What you see on your screen may not exactly match what is shown here. 3-8 Chapter 3: Software support
-
 1
1 -
2
-
3
-
4
-
5
-
6
-
7
-
8
-
9
-
10
-
11
-
12
-
13
-
14
-
15
-
16
-
17
-
18
-
19
-
20
-
21
-
22
-
23
-
24
-
25
-
26
-
27
-
28
-
29
-
30
-
31
-
32
-
33
-
34
-
35
-
36
-
37
-
38
-
39
-
40
-
41
-
42
-
43
-
44
-
45
-
46
-
47
-
48
-
49
-
50
-
51
-
52
-
53
-
54
-
55
-
56
-
57
-
58
-
59
-
60
-
61
-
62
-
63
-
64
-
65
-
66
-
67
-
68
-
69
-
70
-
71
-
72
-
73
-
74
-
75
-
76
-
77
-
78
-
79
-
80
-
81
-
82
-
83
-
84
-
 85
85 -
 86
86 -
 87
87 -
 88
88 -
 89
89 -
 90
90 -
 91
91 -
 92
92 -
 93
93 -
 94
94
 |
 |