Beko BDVG693 User Manual - Page 17
conversion
 |
View all Beko BDVG693 manuals
Add to My Manuals
Save this manual to your list of manuals |
Page 17 highlights
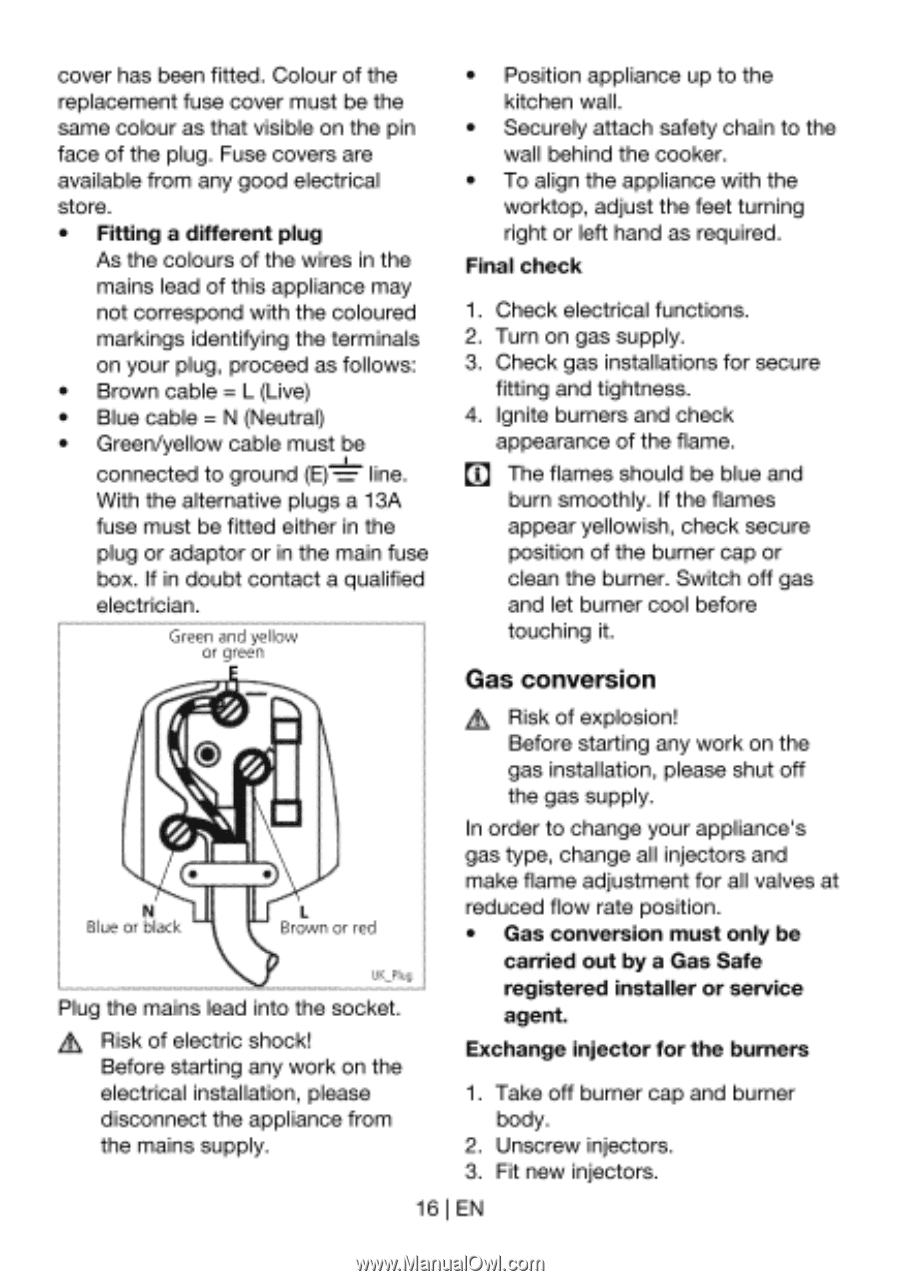
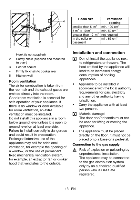
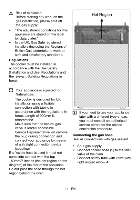
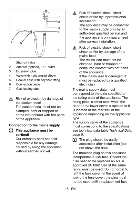
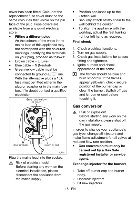
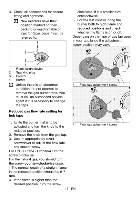
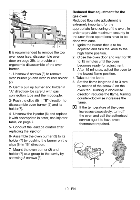
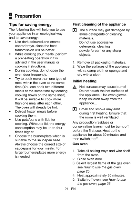
cover has been fitted. Colour of the replacement fuse cover must be the same colour as that visible on the pin face of the plug. Fuse covers are available from any good electrical store. • Fitting a different plug As the colours of the wires in the mains lead of this appliance may not correspond with the coloured markings identifying the terminals on your plug, proceed as follows: • Brown cable = L (Live) • Blue cable = N (Neutral) • Green/yellow cable must be connected to ground (E) = line. With the alternative plugs a 13A fuse must be fitted either in the plug or adaptor or in the main fuse box. If in doubt contact a qualified electrician. Green and yellow or green • Position appliance up to the kitchen wall. • Securely attach safety chain to the wall behind the cooker. • To align the appliance with the worktop, adjust the feet turning right or left hand as required. Final check 1. Check electrical functions. 2. Turn on gas supply. 3. Check gas installations for secure fitting and tightness. 4. Ignite burners and check appearance of the flame. ID The flames should be blue and burn smoothly. If the flames appear yellowish, check secure position of the burner cap or clean the burner. Switch off gas and let burner cool before touching it. Gas conversion N Blue or black Brown or red UK_Plug Plug the mains lead into the socket. At Risk of electric shock! Before starting any work on the electrical installation, please disconnect the appliance from the mains supply. Ads, Risk of explosion! Before starting any work on the gas installation, please shut off the gas supply. In order to change your appliance's gas type, change all injectors and make flame adjustment for all valves at reduced flow rate position. • Gas conversion must only be carried out by a Gas Safe registered installer or service agent. Exchange injector for the burners 1. Take off burner cap and burner body. 2. Unscrew injectors. 3. Fit new injectors. 161 EN
-
 1
1 -
2
-
3
-
4
-
5
-
6
-
7
-
8
-
9
-
10
-
11
-
 12
12 -
 13
13 -
 14
14 -
 15
15 -
 16
16 -
 17
17 -
 18
18 -
 19
19 -
 20
20 -
 21
21 -
 22
22 -
23
-
24
-
25
-
26
-
27
-
28
-
29
-
30
-
31
-
32
-
33
-
34
-
35
-
36
-
37
-
38
-
39
-
40
 |
 |