Beko BDVG693 User Manual - Page 20
connection
 |
View all Beko BDVG693 manuals
Add to My Manuals
Save this manual to your list of manuals |
Page 20 highlights
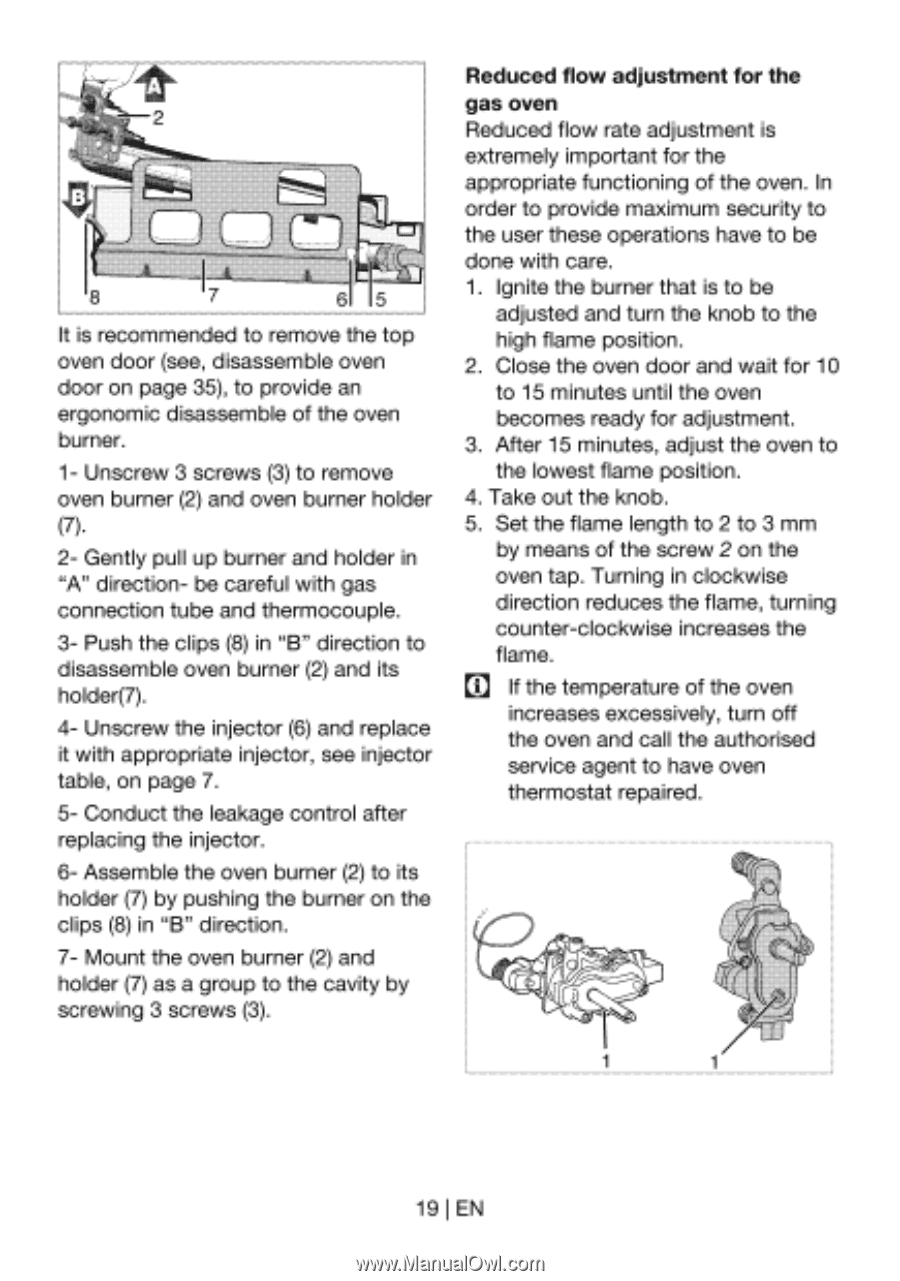
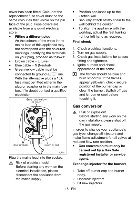
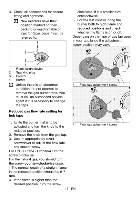
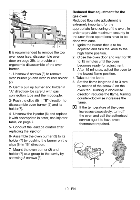
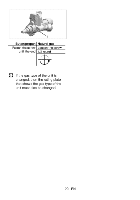
2 8 7 6I I5 It is recommended to remove the top oven door (see, disassemble oven door on page 35), to provide an ergonomic disassemble of the oven burner. 1- Unscrew 3 screws (3) to remove oven burner (2) and oven burner holder (7). 2- Gently pull up burner and holder in "A" direction- be careful with gas connection tube and thermocouple. 3- Push the clips (8) in "B" direction to disassemble oven burner (2) and its holder(7). 4- Unscrew the injector (6) and replace it with appropriate injector, see injector table, on page 7. 5- Conduct the leakage control after replacing the injector. 6- Assemble the oven burner (2) to its holder (7) by pushing the burner on the clips (8) in "B" direction. 7- Mount the oven burner (2) and holder (7) as a group to the cavity by screwing 3 screws (3). Reduced flow adjustment for the gas oven Reduced flow rate adjustment is extremely important for the appropriate functioning of the oven. In order to provide maximum security to the user these operations have to be done with care. 1. Ignite the burner that is to be adjusted and turn the knob to the high flame position. 2. Close the oven door and wait for 10 to 15 minutes until the oven becomes ready for adjustment. 3. After 15 minutes, adjust the oven to the lowest flame position. 4. Take out the knob. 5. Set the flame length to 2 to 3 mm by means of the screw 2 on the oven tap. Turning in clockwise direction reduces the flame, turning counter-clockwise increases the flame. ID If the temperature of the oven increases excessively, turn off the oven and call the authorised service agent to have oven thermostat repaired. 19I EN
-
 1
1 -
2
-
3
-
4
-
5
-
6
-
7
-
8
-
9
-
10
-
11
-
12
-
13
-
14
-
 15
15 -
 16
16 -
 17
17 -
 18
18 -
 19
19 -
 20
20 -
 21
21 -
 22
22 -
 23
23 -
 24
24 -
 25
25 -
26
-
27
-
28
-
29
-
30
-
31
-
32
-
33
-
34
-
35
-
36
-
37
-
38
-
39
-
40
 |
 |