Belkin F1PI241ENau User Manual - Page 10
Advanced Setup Method - password
 |
View all Belkin F1PI241ENau manuals
Add to My Manuals
Save this manual to your list of manuals |
Page 10 highlights
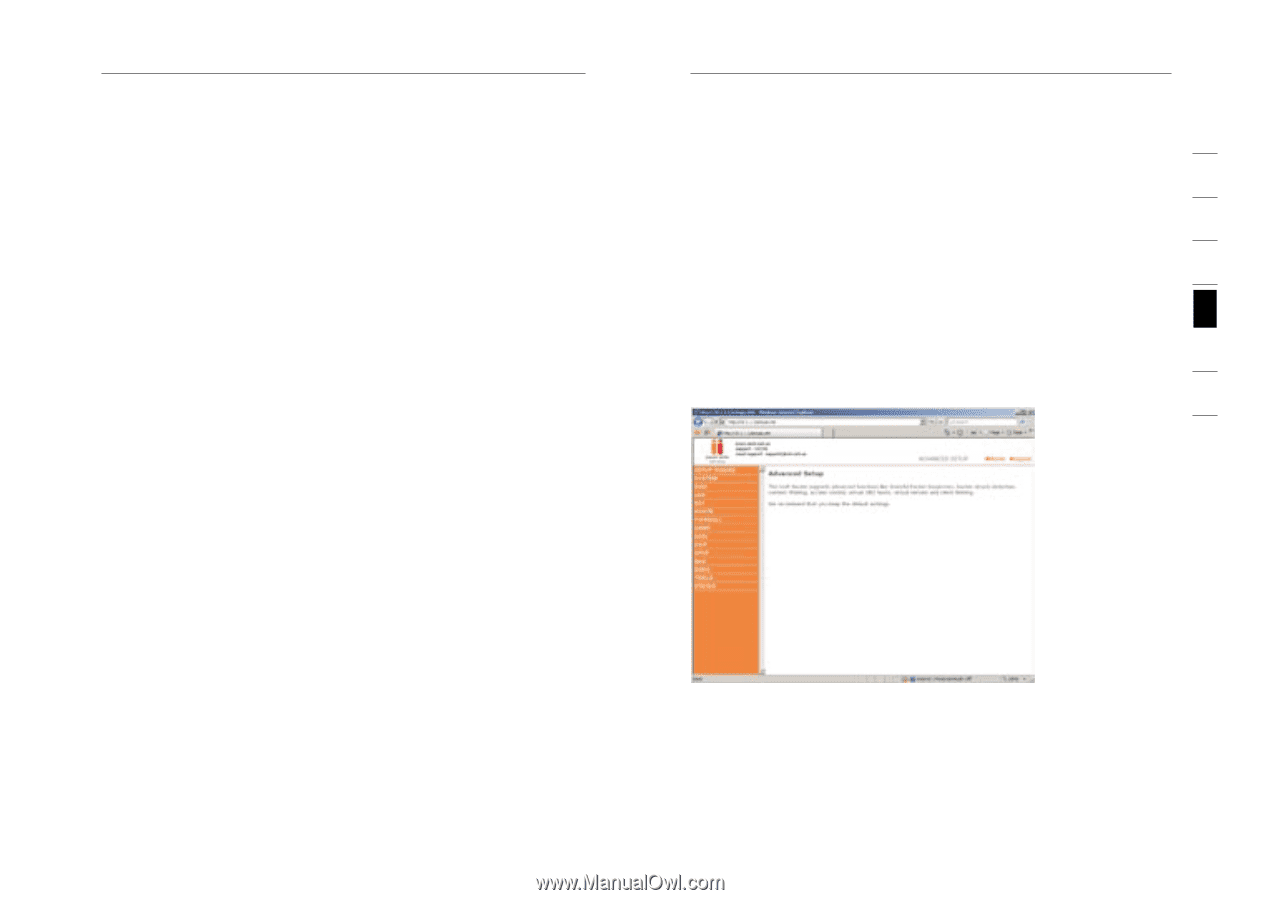
Connecting and Configuring your Router ADSL Parameter Setting Firstly you need to tick one of the VoIP account boxes. For instance if you wish to use VoIP port 1 on the back of the modem then tick the box for VoIP account 1. Then you must enter your VoIP account details and click on save settings. Phone Number: Enter your VoIP account phone number from your ISP. Password: Enter your VoIP account password from your ISP. Register: Click to register your VoIP account to be ready for use. Unregister: Un-register your VoIP account, so that you can use it on another VoIP port or device. Advanced Setup Method 1 Clicking the Home icon returns you to the home page. The Main Menu links are used to navigate to other menus that display configuration parameters and statistics. 2 Making configuration changes 3 Configurable parameters have a dialog box or a drop-down list. Once a configuration change has been made on a page, click the "SAVE SETTINGS" button at the bottom of the page to make the new 4 settings active. Note: To ensure proper screen refresh after a command entry, check 5 that Internet Explorer 5.0 is configured as follows: Under the menu Tools/Internet Options/General/Temporary Internet Files/Settings, the 6 setting for "Check for newer versions of stored pages" should be "Every visit to the page." 7 section The VoIP Router's advanced management interface contains 15 main menu items as described in the following list. Commonly requested features Noted in this section is a quick reference guide to the most commonly requested advanced features and should save you the time of needing to read the entire section for the necessary features you are interested in. 16 17
-
 1
1 -
2
-
3
-
4
-
 5
5 -
 6
6 -
 7
7 -
 8
8 -
 9
9 -
 10
10 -
 11
11 -
 12
12 -
 13
13 -
 14
14 -
 15
15 -
16
-
17
-
18
-
19
-
20
-
21
-
22
-
23
-
24
-
25
-
26
-
27
-
28
-
29
-
30
-
31
-
32
-
33
-
34
-
35
-
36
-
37
-
38
-
39
-
40
-
41
-
42
-
43
-
44
-
45
-
46
-
47
-
48
-
49
-
50
-
51
-
52
 |
 |