Brother International CS-8060 Users Manual - English - Page 33
After adjusting the stitch width, slowly, or the machine may be damaged. - sewing machine n foot
 |
View all Brother International CS-8060 manuals
Add to My Manuals
Save this manual to your list of manuals |
Page 33 highlights
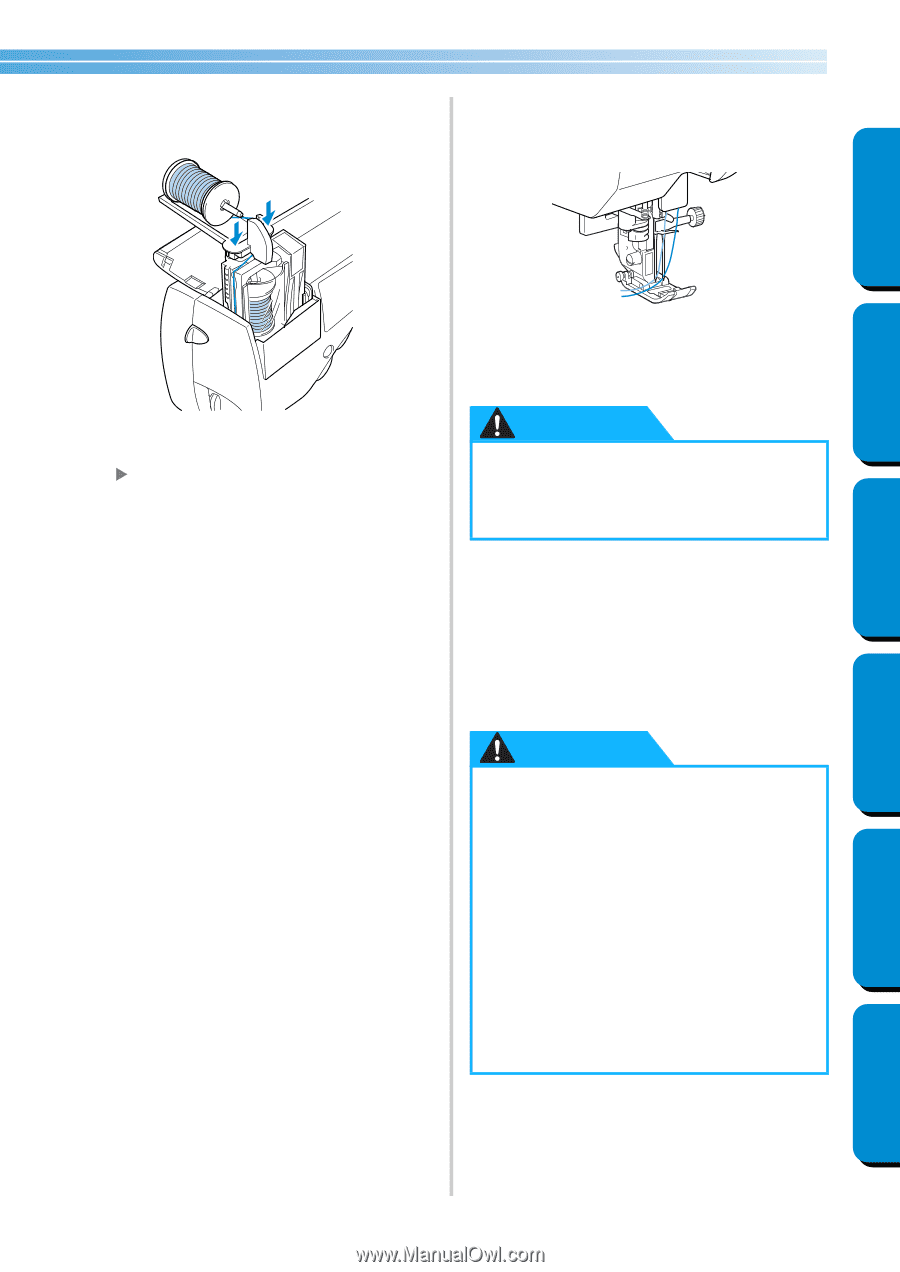
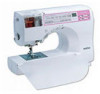
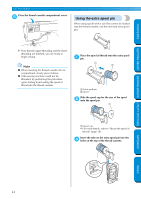
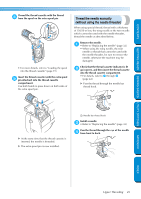
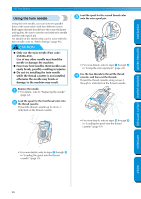
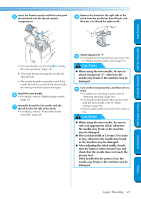
Insert the thread cassette (with the extra spool 5 pin attached) into the thread cassette compartment. Remove the thread for the right side of the 8 stitch from the needle bar thread hook, and then use it to thread the right needle. CONTENTS GETTING READY SEWING BASICS UTILITY STITCHES • For more details, refer to step 5 in "Using the extra spool pin" (page 24). X Pass both threads through the needle bar thread hook. • The needle threader cannot be used. If the needle threader is used with the twin needle, the sewing machine may be damaged. Install the twin needle. 6 • For details, refer to "Replacing the needle" (page 32). Manually thread the left needle with the 7 thread for the left side of the stitch. • For details, refer to "Thread the needle manually" (page 25). Attach zigzag foot "J". 9 • For details on changing the presser foot, refer to "Replacing the presser foot" (page 35). CAUTION ● When using the twin needle, be sure to attach zigzag foot "J", otherwise the needle may break or the machine may be damaged. Turn on the sewing machine, and then select a 0 stitch. • For details on selecting a stitch, refer to "Selecting stitching" (page 58). • For details on the stitches that can be sewn with the twin needle, refer to "Stitch Settings" (page 96). • Select a stitch width of 5,0 mm (3/16 inch) or less. CAUTION ● When using the twin needle, be sure to select an appropriate stitch, otherwise the needle may break or the machine may be damaged. ● Slect a stitch width of 5,0 mm (3/16 inch) or less, otherwise the needle may break or the machine may be damaged. ● After adjusting the stitch width, slowly turn the balance wheel toward you and check that the needle dose not touch the presser foot. If the needle hits the presser foot, the needle may break or the machine may be damaged. Upper Threading 27 APPENDIX INDEX
-
 1
1 -
2
-
3
-
4
-
5
-
6
-
7
-
8
-
9
-
10
-
11
-
12
-
13
-
14
-
15
-
16
-
17
-
18
-
19
-
20
-
21
-
22
-
23
-
24
-
25
-
26
-
27
-
 28
28 -
 29
29 -
 30
30 -
 31
31 -
 32
32 -
 33
33 -
 34
34 -
 35
35 -
 36
36 -
 37
37 -
 38
38 -
39
-
40
-
41
-
42
-
43
-
44
-
45
-
46
-
47
-
48
-
49
-
50
-
51
-
52
-
53
-
54
-
55
-
56
-
57
-
58
-
59
-
60
-
61
-
62
-
63
-
64
-
65
-
66
-
67
-
68
-
69
-
70
-
71
-
72
-
73
-
74
-
75
-
76
-
77
-
78
-
79
-
80
-
81
-
82
-
83
-
84
-
85
-
86
-
87
-
88
-
89
-
90
-
91
-
92
-
93
-
94
-
95
-
96
-
97
-
98
-
99
-
100
-
101
-
102
-
103
-
104
-
105
-
106
-
107
-
108
-
109
-
110
-
111
-
112
-
113
-
114
-
115
-
116
 |
 |