Brother International E-100 Users Manual - English - Page 24
Embroidering the appliqué
 |
View all Brother International E-100 manuals
Add to My Manuals
Save this manual to your list of manuals |
Page 24 highlights
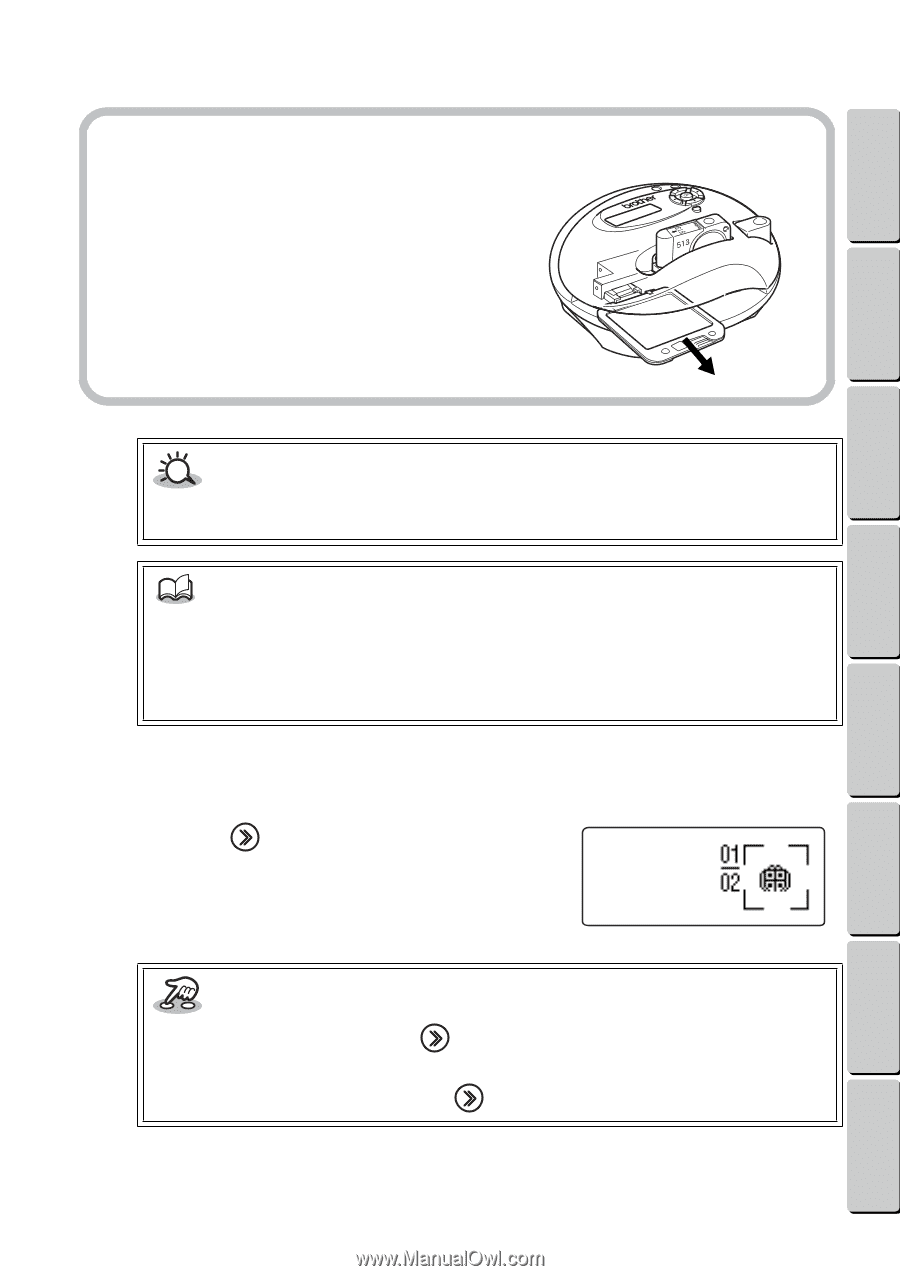
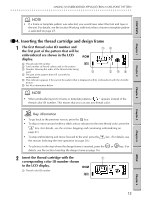
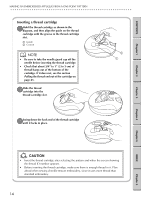
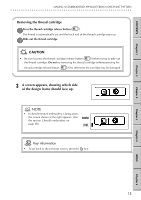
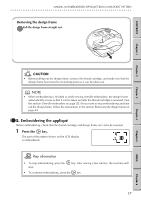
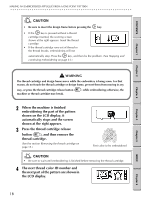
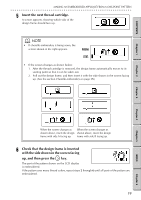
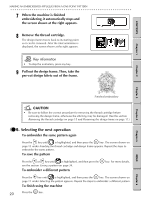
MAKING AN EMBROIDERED APPLIQUÉ FROM A ONE-POINT PATTERN G G G G G G G G G G G G G G G G G G G G G G G G G G G G G G G G G G G G G G G G G G G G G G G G G G G G G G G G G Removing the design frame 1Pull the design frame straight out. CONTENTS Chapter 1 Chapter 2 Chapter 3 Chapter 4 Chapter 5 CAUTION • Before pulling out the design frame, remove the thread cartridge, and make sure that the design frame has moved to its starting point so it can be taken out. NOTE • When embroidering is finished or while sewing chenille embroidery, the design frame automatically moves so that it can be taken out after the thread cartridge is removed. (See the section Chenille embroidery on page 25.) If you want to stop embroidering and take out the design frame, follow the instructions in the section Removing the design frame on page 44. GG 5. Embroidering the appliqué Before embroidering, check that the thread cartridge and design frame are correctly inserted. 1 Press the key. The part of the pattern shown on the LCD display is embroidered. Key information • To stop embroidering, press the stop. key. After sewing a few stitches, the machine will • To continue embroidering, press the key. 17 INDEX Chapter 6
-
 1
1 -
2
-
3
-
4
-
5
-
6
-
7
-
8
-
9
-
10
-
11
-
12
-
13
-
14
-
15
-
16
-
17
-
18
-
 19
19 -
 20
20 -
 21
21 -
 22
22 -
 23
23 -
 24
24 -
 25
25 -
 26
26 -
 27
27 -
 28
28 -
 29
29 -
30
-
31
-
32
-
33
-
34
-
35
-
36
-
37
-
38
-
39
-
40
-
41
-
42
-
43
-
44
-
45
-
46
-
47
-
48
-
49
-
50
-
51
-
52
-
53
-
54
-
55
-
56
-
57
-
58
-
59
-
60
-
61
-
62
-
63
-
64
-
65
-
66
 |
 |