Brother International E-100 Users Manual - English - Page 26
Insert the next thread cartridge., Check that the design frame is inserted
 |
View all Brother International E-100 manuals
Add to My Manuals
Save this manual to your list of manuals |
Page 26 highlights
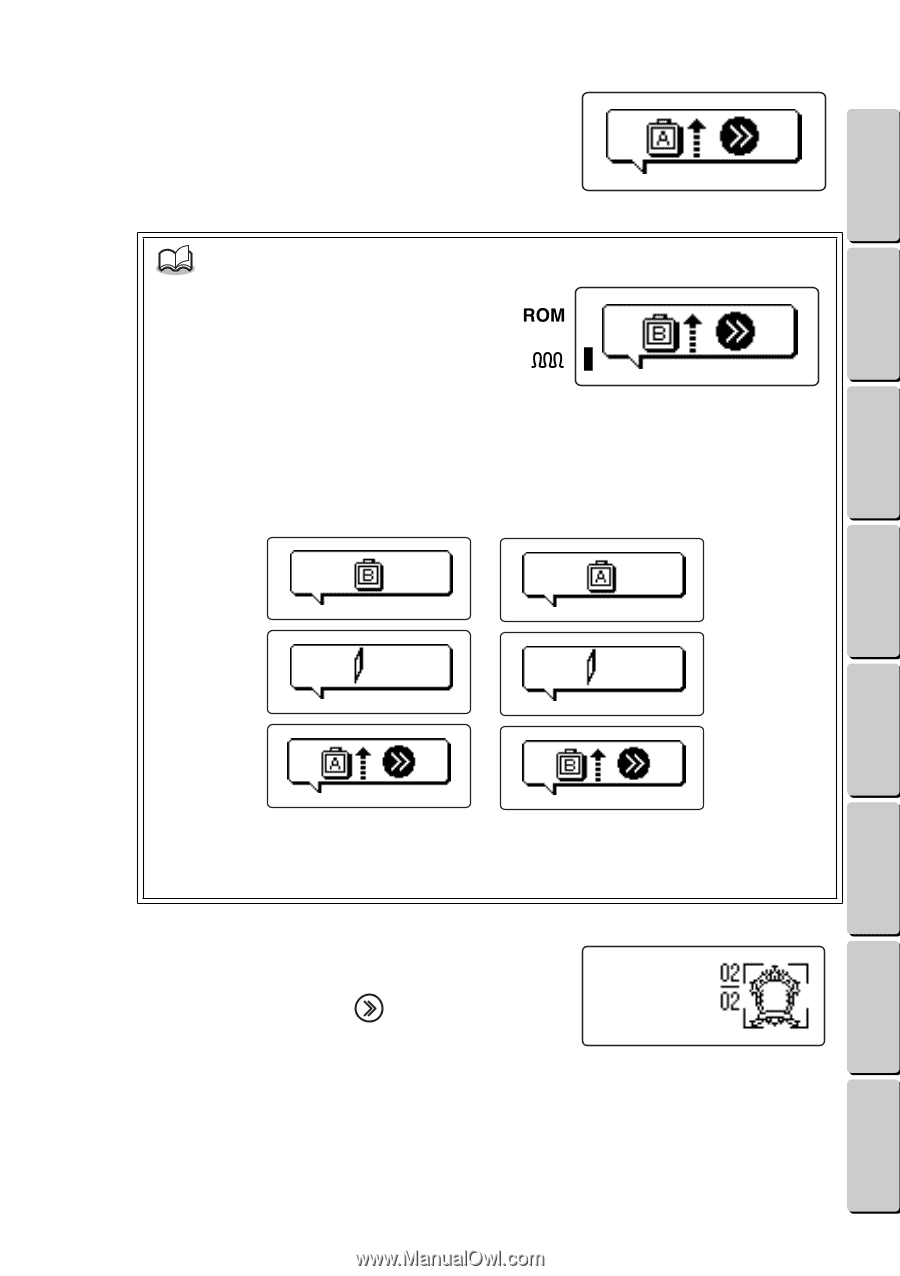
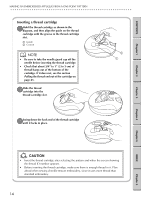
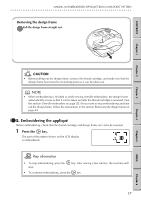
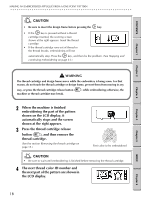
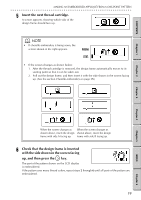
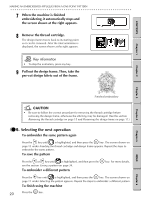
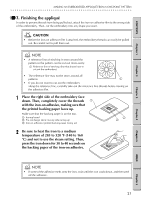
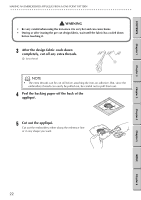
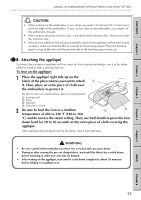
CONTENTS Chapter 1 Chapter 2 Chapter 3 MAKING AN EMBROIDERED APPLIQUÉ FROM A ONE-POINT PATTERN G G G G G G G G G G G G G G G G G G G G G G G G G G G G G G G G G G G G G G G G G G G G G G G G G G G G G G G G G 5 Insert the next thread cartridge. A screen appears, showing which side of the design frame should face up. NOTE • If chenille embroidery is being sewn, the screen shown at the right appears. • If the screen changes as shown below: 1. After the thread cartridge is removed, the design frame automatically moves to its starting point so that it can be taken out. 2. Pull out the design frame, and then insert it with the side shown in the screen facing up. (See the section Chenille embroidery on page 25.) When the screen changes as When the screen changes as shown above, insert the design shown above, insert the design frame with side A facing up. frame with side B facing up. 6 Check that the design frame is inserted with the side shown in the screen facing up, and then press the key. The part of the pattern shown on the LCD display is embroidered. If the pattern uses many thread colors, repeat steps 2 through 6 until all parts of the pattern are embroidered. 19 Chapter 4 Chapter 5 INDEX Chapter 6
-
 1
1 -
2
-
3
-
4
-
5
-
6
-
7
-
8
-
9
-
10
-
11
-
12
-
13
-
14
-
15
-
16
-
17
-
18
-
19
-
20
-
 21
21 -
 22
22 -
 23
23 -
 24
24 -
 25
25 -
 26
26 -
 27
27 -
 28
28 -
 29
29 -
 30
30 -
 31
31 -
32
-
33
-
34
-
35
-
36
-
37
-
38
-
39
-
40
-
41
-
42
-
43
-
44
-
45
-
46
-
47
-
48
-
49
-
50
-
51
-
52
-
53
-
54
-
55
-
56
-
57
-
58
-
59
-
60
-
61
-
62
-
63
-
64
-
65
-
66
 |
 |