Brother International PC-8500 Users Manual - English - Page 120
Embroidering, Refer to the table below and the RELATED CHART OF SEWING FABRICS, THREADS AND NEEDLES
 |
View all Brother International PC-8500 manuals
Add to My Manuals
Save this manual to your list of manuals |
Page 120 highlights
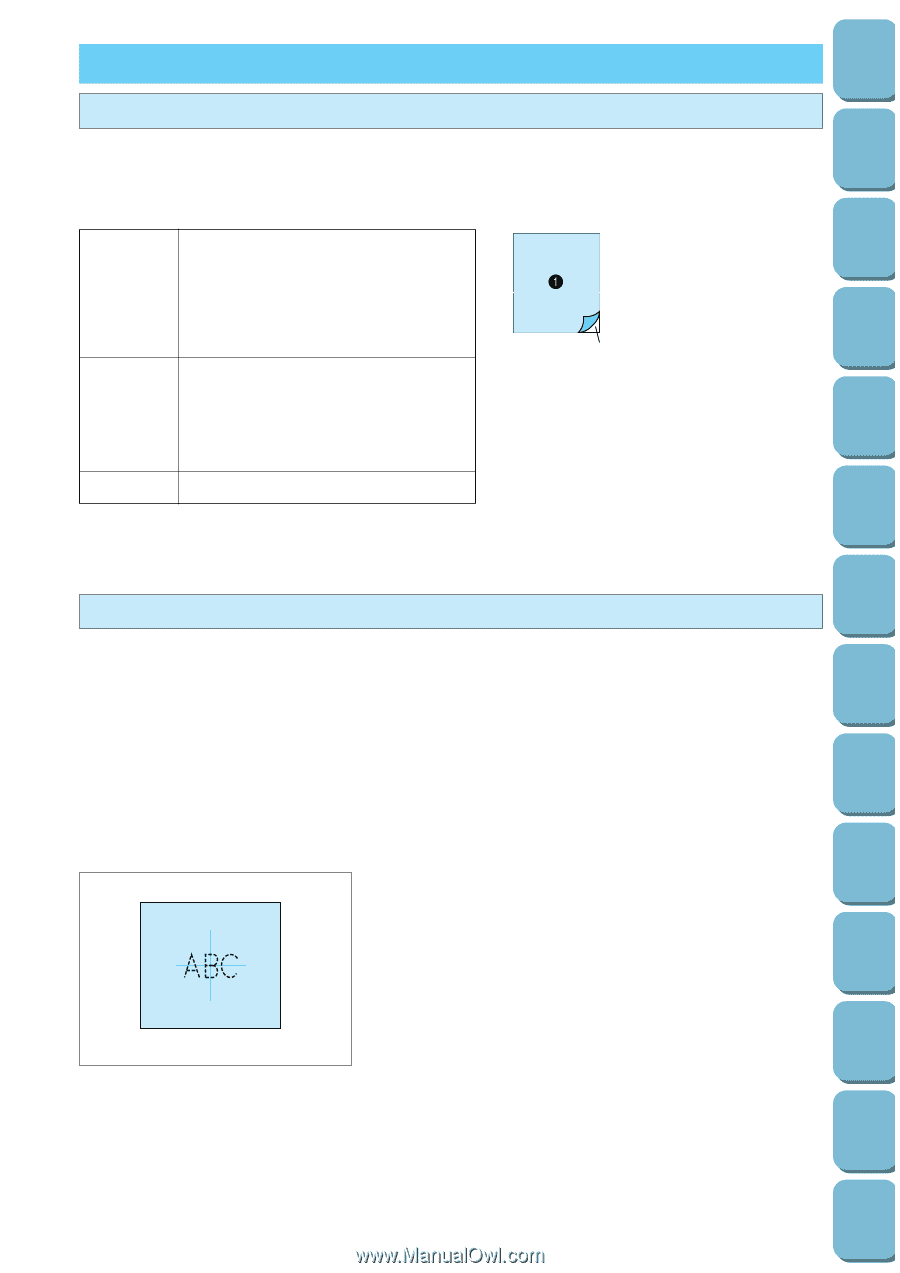
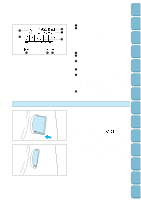
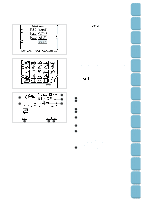
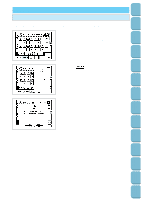
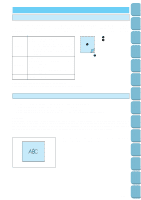
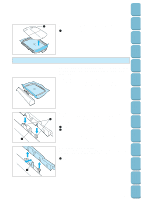
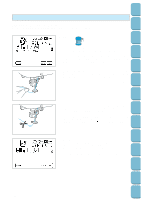
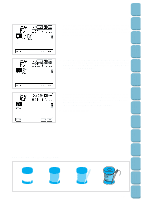
Setting Up Sewing Utility Stitches Characters and Decorative Stitches Embroidering Editing Embroidery Patterns EMBROIDERING Embroidering attractive finishes Refer to the table below and the "RELATED CHART OF SEWING FABRICS, THREADS AND NEEDLES" to use in order to obtain attractive sewing and embroidery finishes. Pattern slippages may occur when using different fabric thicknesses or types of stabilizers. Be sure to carry out a test sewing beforehand to check. FABRIC THREAD When embroidering fabrics, attach a non-woven type of stabilizer fabric. * It is recommended that you use a special stabilizer fabric for embroidering which can be torn off around the design when the project is finished. Upper thread Brother poly 40 color thread set (#50) Refer to page 8. Bobbin thread Brother embroidery bobbin thread Refer to page 8. 1 Fabric 2 Stabilizer 2 NEEDLE 75/11 (Embroidery) Always use Brother embroidery bobbin thread. Adjust thread tension when thread quality is not compatible. Setting the fabric into the embroidery frame Three types of embroidery frames are available: Large, medium and small Embroidering area for large frame: 18 cm (H) × 13 cm (W) Embroidering area for medium frame: 10 cm (H) × 10 cm (W) Embroidering area for small frame: 2 cm (H) × 6 cm (W) (for embroidering initials) CAUTION Depending on the size of the pattern and the position of the pattern to be embroidered, it may not be possible to use the medium and small frames. When using these frames, be sure to check the layout screen display (refer to page 123) before starting to embroider any patterns. If the frames are used by mistake, the presser foot may strike the frames, which could cause injury. 1. Mark the fabric using a chalk pen or fabric marking pen to indicate the embroidering position. Retrieving My Custom Stitch TM Error Maintenance Messages Trouble shooting Sewing Chart Patterns (Programmed in Machine) Patterns (Memory Card) 117
-
 1
1 -
2
-
3
-
4
-
5
-
6
-
7
-
8
-
9
-
10
-
11
-
12
-
13
-
14
-
15
-
16
-
17
-
18
-
19
-
20
-
21
-
22
-
23
-
24
-
25
-
26
-
27
-
28
-
29
-
30
-
31
-
32
-
33
-
34
-
35
-
36
-
37
-
38
-
39
-
40
-
41
-
42
-
43
-
44
-
45
-
46
-
47
-
48
-
49
-
50
-
51
-
52
-
53
-
54
-
55
-
56
-
57
-
58
-
59
-
60
-
61
-
62
-
63
-
64
-
65
-
66
-
67
-
68
-
69
-
70
-
71
-
72
-
73
-
74
-
75
-
76
-
77
-
78
-
79
-
80
-
81
-
82
-
83
-
84
-
85
-
86
-
87
-
88
-
89
-
90
-
91
-
92
-
93
-
94
-
95
-
96
-
97
-
98
-
99
-
100
-
101
-
102
-
103
-
104
-
105
-
106
-
107
-
108
-
109
-
110
-
111
-
112
-
113
-
114
-
 115
115 -
 116
116 -
 117
117 -
 118
118 -
 119
119 -
 120
120 -
 121
121 -
 122
122 -
 123
123 -
 124
124 -
 125
125 -
126
-
127
-
128
-
129
-
130
-
131
-
132
-
133
-
134
-
135
-
136
-
137
-
138
-
139
-
140
-
141
-
142
-
143
-
144
-
145
-
146
-
147
-
148
-
149
-
150
-
151
-
152
-
153
-
154
-
155
-
156
-
157
-
158
-
159
-
160
-
161
-
162
-
163
-
164
-
165
-
166
-
167
-
168
-
169
-
170
-
171
-
172
-
173
-
174
-
175
-
176
-
177
-
178
-
179
-
180
-
181
-
182
-
183
-
184
-
185
-
186
-
187
-
188
-
189
-
190
-
191
-
192
-
193
-
194
-
195
-
196
 |
 |