Brother International PC-8500 Users Manual - English - Page 125
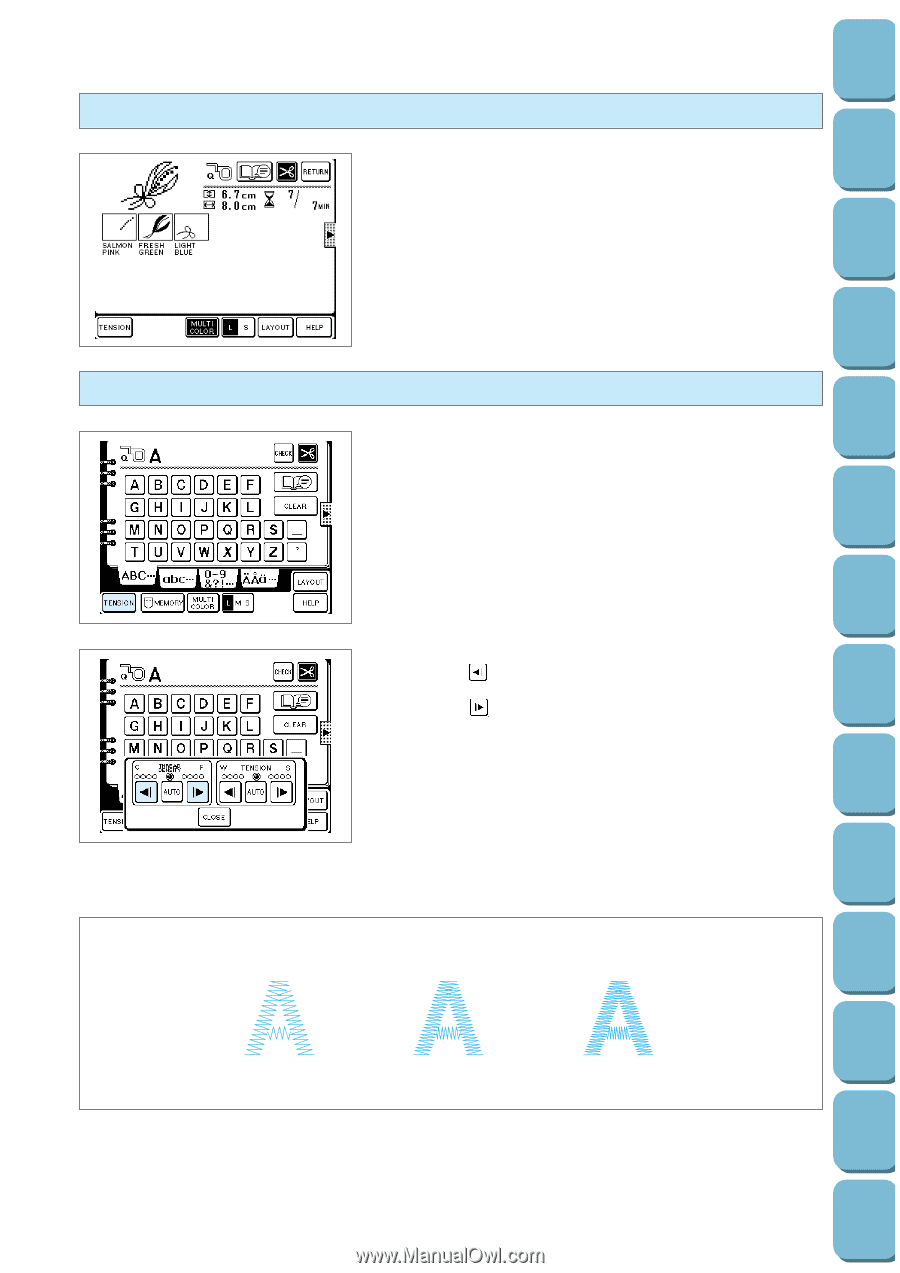
Embroidering a single color pattern when MULTI COLOR is displayed
 |
View all Brother International PC-8500 manuals
Add to My Manuals
Save this manual to your list of manuals |
Page 125 highlights
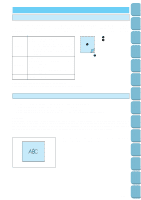
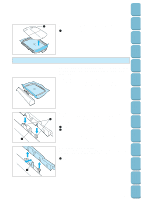
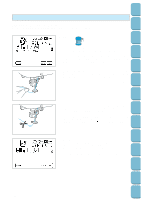
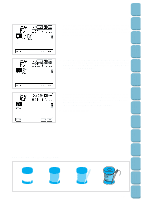
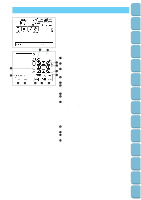
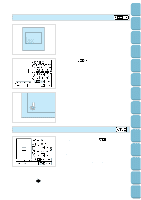
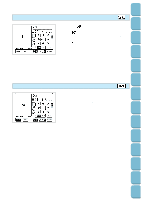
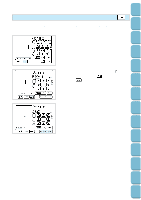
Setting Up Sewing Utility Stitches Characters and Decorative Stitches Embroidering Editing Embroidery Patterns Embroidering a single color pattern when "MULTI COLOR" is displayed 1. Touch the "MULTI COLOR" key to change to the single color mode. If the "START/STOP" button is pressed, a single color of the pattern will be embroidered and then the machine will stop automatically. 2. Trim any excess thread. * This pattern is the No. 2 FLOWER pattern from the option card. Changing the stitch density for characters and some frame patterns The stitch density adjustment is not available for all patterns. Patterns other than the characters and some frame patterns are not adjustable. 1. Touch the "TENSION" key. 2. The stitch density will become further apart (coarser) each time the " " key is touched. The stitch density will become closer together (finer) each time the " " key is touched. 1 AUTO 2 Fine (stitches closer together) 3 Coarse (stitches farther apart) * The normal setting is standard. 3 1 2 Retrieving My Custom Stitch TM Error Maintenance Messages Trouble shooting Sewing Chart Patterns (Programmed in Machine) Patterns (Memory Card) 122
-
 1
1 -
2
-
3
-
4
-
5
-
6
-
7
-
8
-
9
-
10
-
11
-
12
-
13
-
14
-
15
-
16
-
17
-
18
-
19
-
20
-
21
-
22
-
23
-
24
-
25
-
26
-
27
-
28
-
29
-
30
-
31
-
32
-
33
-
34
-
35
-
36
-
37
-
38
-
39
-
40
-
41
-
42
-
43
-
44
-
45
-
46
-
47
-
48
-
49
-
50
-
51
-
52
-
53
-
54
-
55
-
56
-
57
-
58
-
59
-
60
-
61
-
62
-
63
-
64
-
65
-
66
-
67
-
68
-
69
-
70
-
71
-
72
-
73
-
74
-
75
-
76
-
77
-
78
-
79
-
80
-
81
-
82
-
83
-
84
-
85
-
86
-
87
-
88
-
89
-
90
-
91
-
92
-
93
-
94
-
95
-
96
-
97
-
98
-
99
-
100
-
101
-
102
-
103
-
104
-
105
-
106
-
107
-
108
-
109
-
110
-
111
-
112
-
113
-
114
-
115
-
116
-
117
-
118
-
119
-
 120
120 -
 121
121 -
 122
122 -
 123
123 -
 124
124 -
 125
125 -
 126
126 -
 127
127 -
 128
128 -
 129
129 -
 130
130 -
131
-
132
-
133
-
134
-
135
-
136
-
137
-
138
-
139
-
140
-
141
-
142
-
143
-
144
-
145
-
146
-
147
-
148
-
149
-
150
-
151
-
152
-
153
-
154
-
155
-
156
-
157
-
158
-
159
-
160
-
161
-
162
-
163
-
164
-
165
-
166
-
167
-
168
-
169
-
170
-
171
-
172
-
173
-
174
-
175
-
176
-
177
-
178
-
179
-
180
-
181
-
182
-
183
-
184
-
185
-
186
-
187
-
188
-
189
-
190
-
191
-
192
-
193
-
194
-
195
-
196
 |
 |