Canon SELPHY CP780 SELPHY CP780 Printer User Guide - Page 18
Printing a Variety of Images
 |
View all Canon SELPHY CP780 manuals
Add to My Manuals
Save this manual to your list of manuals |
Page 18 highlights
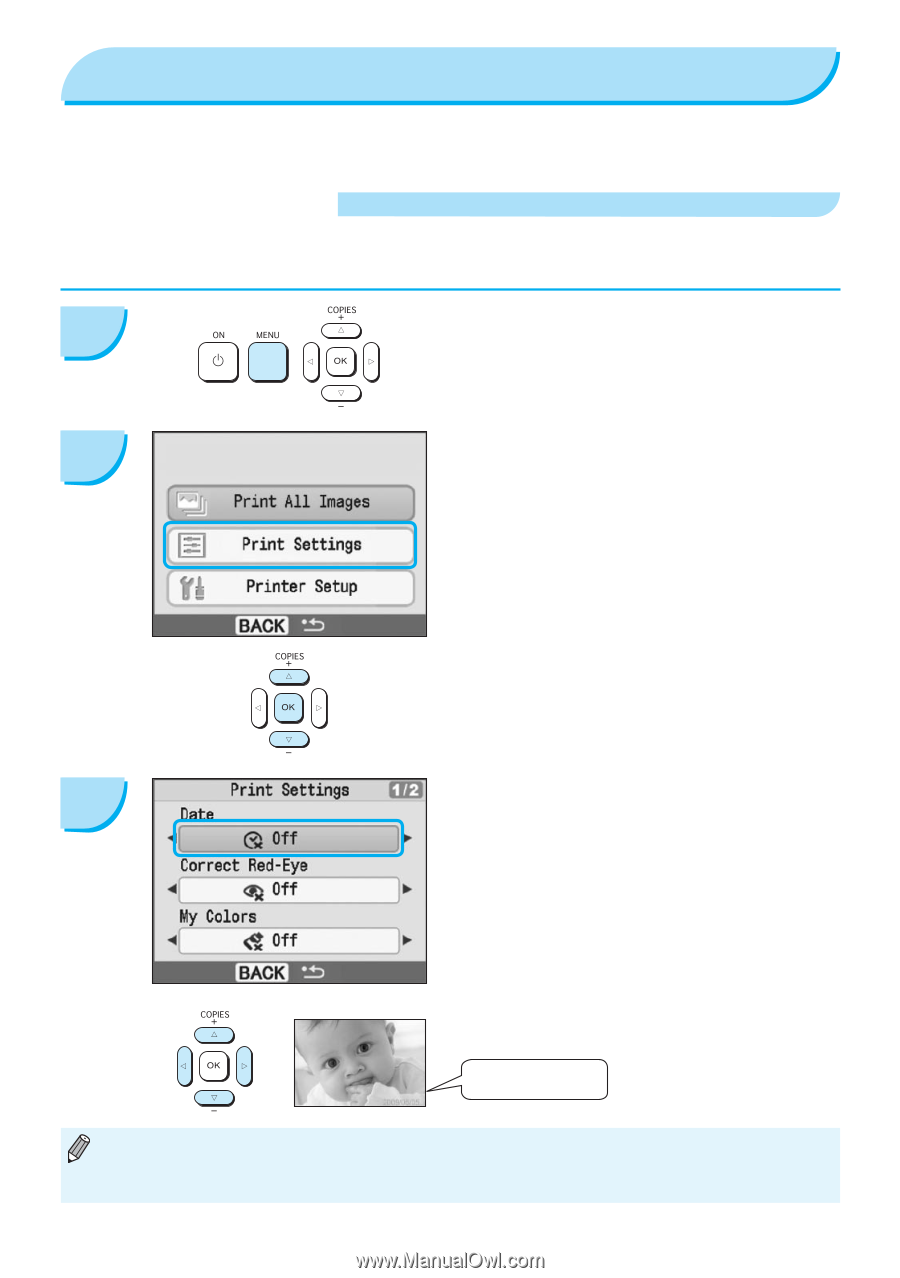
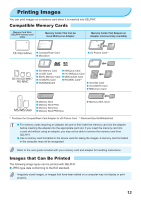
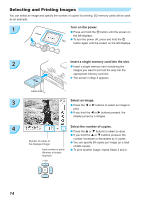
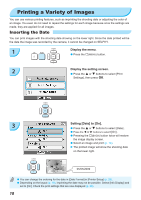
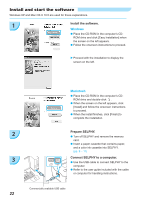
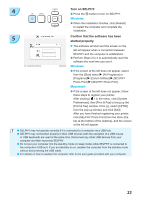
Printing a Variety of Images You can use various printing features, such as imprinting the shooting date or adjusting the color of an image. You even do not need to repeat the settings for each image because once the settings are made, they are applied for all images. Inserting the Date You can print images with the shooting date showing on the lower right. Since the date printed will be the date the image was recorded by the camera, it cannot be changed on SELPHY. 1 Display the menu. Press the m(MENU) button. 2 Display the setting screen. Press the u or d buttons to select [Print Settings], then press o. 3 Setting [Date] to [On]. Press the u or d buttons to select [Date] . Press the l or r buttons to select [On] . Pressing the m(BACK) button twice will restore the image display screen. Select an image and print (p. 14). The printed image will show the shooting date on the lower right. 05/05/2009 You can change the ordering for the date in [Date Format] in [Printer Setup] (p. 28). Depending on the layout (p. 19), imprinting the date may not be possible. Select [Info Display] and set to [On]. Check the print settings that are now displayed (p. 28). 18
-
 1
1 -
2
-
3
-
4
-
5
-
6
-
7
-
8
-
9
-
10
-
11
-
12
-
 13
13 -
 14
14 -
 15
15 -
 16
16 -
 17
17 -
 18
18 -
 19
19 -
 20
20 -
 21
21 -
 22
22 -
 23
23 -
24
-
25
-
26
-
27
-
28
-
29
-
30
-
31
-
32
-
33
-
34
-
35
-
36
 |
 |