Canon imagePROGRAF iPF6450 Calibration Guide - Page 18
Head Height, Vacuum Strength, Step 6: Confirm the settings, Confirm Update, Execute
 |
View all Canon imagePROGRAF iPF6450 manuals
Add to My Manuals
Save this manual to your list of manuals |
Page 18 highlights
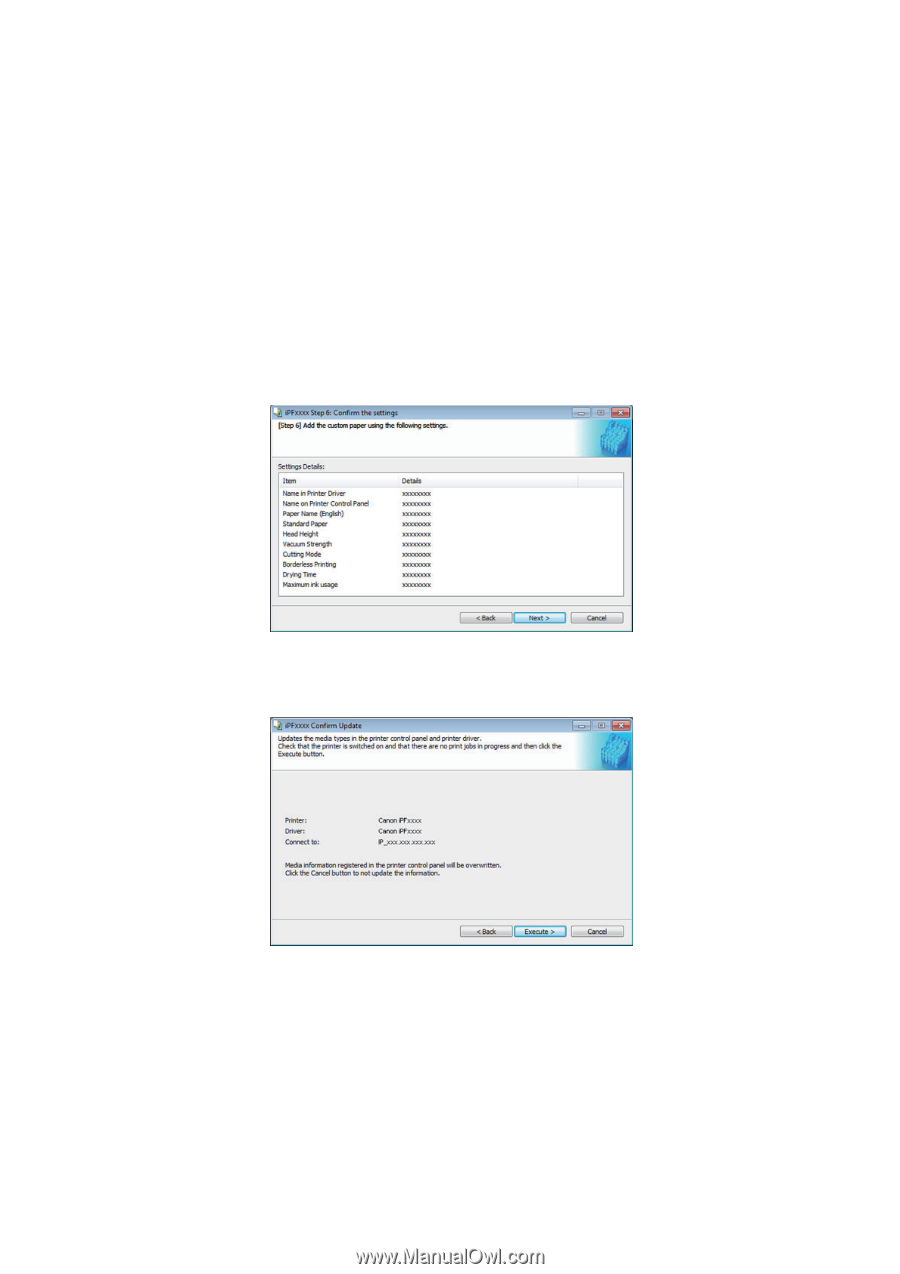
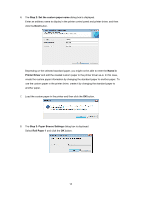
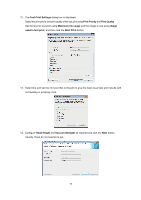
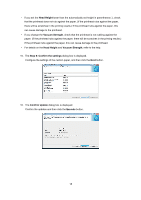
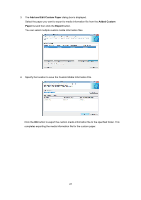
・ If you set the Head Height lower than the automatically set height in parentheses ( ), check that the printhead does not rub against the paper. (If the printhead rubs against the paper, there will be scratches in the printing results.) If the printhead rubs against the paper, this can cause damage to the printhead. ・ If you change the Vacuum Strength, check that the printhead is not rubbing against the paper. (If the printhead rubs against the paper, there will be scratches in the printing results.) If the printhead rubs against the paper, this can cause damage to the printhead. ・ For details on the Head Height and Vacuum Strength, refer to the help. 15. The Step 6: Confirm the settings dialog box is displayed. Configure the settings of the custom paper, and then click the Next button. 16. The Confirm Update dialog box is displayed. Confirm the updates and then click the Execute button. 18
-
 1
1 -
2
-
3
-
4
-
5
-
6
-
7
-
8
-
9
-
10
-
11
-
12
-
 13
13 -
 14
14 -
 15
15 -
 16
16 -
 17
17 -
 18
18 -
 19
19 -
 20
20 -
 21
21 -
 22
22 -
 23
23 -
24
-
25
-
26
-
27
-
28
-
29
-
30
-
31
-
32
-
33
-
34
-
35
 |
 |