Canon imagePROGRAF iPF6450 Calibration Guide - Page 27
Set./Adj. Menu, Adjust Printer, Feed Priority, Adj. Quality, AutoOtherPaper, Tab Selection screen,
 |
View all Canon imagePROGRAF iPF6450 manuals
Add to My Manuals
Save this manual to your list of manuals |
Page 27 highlights
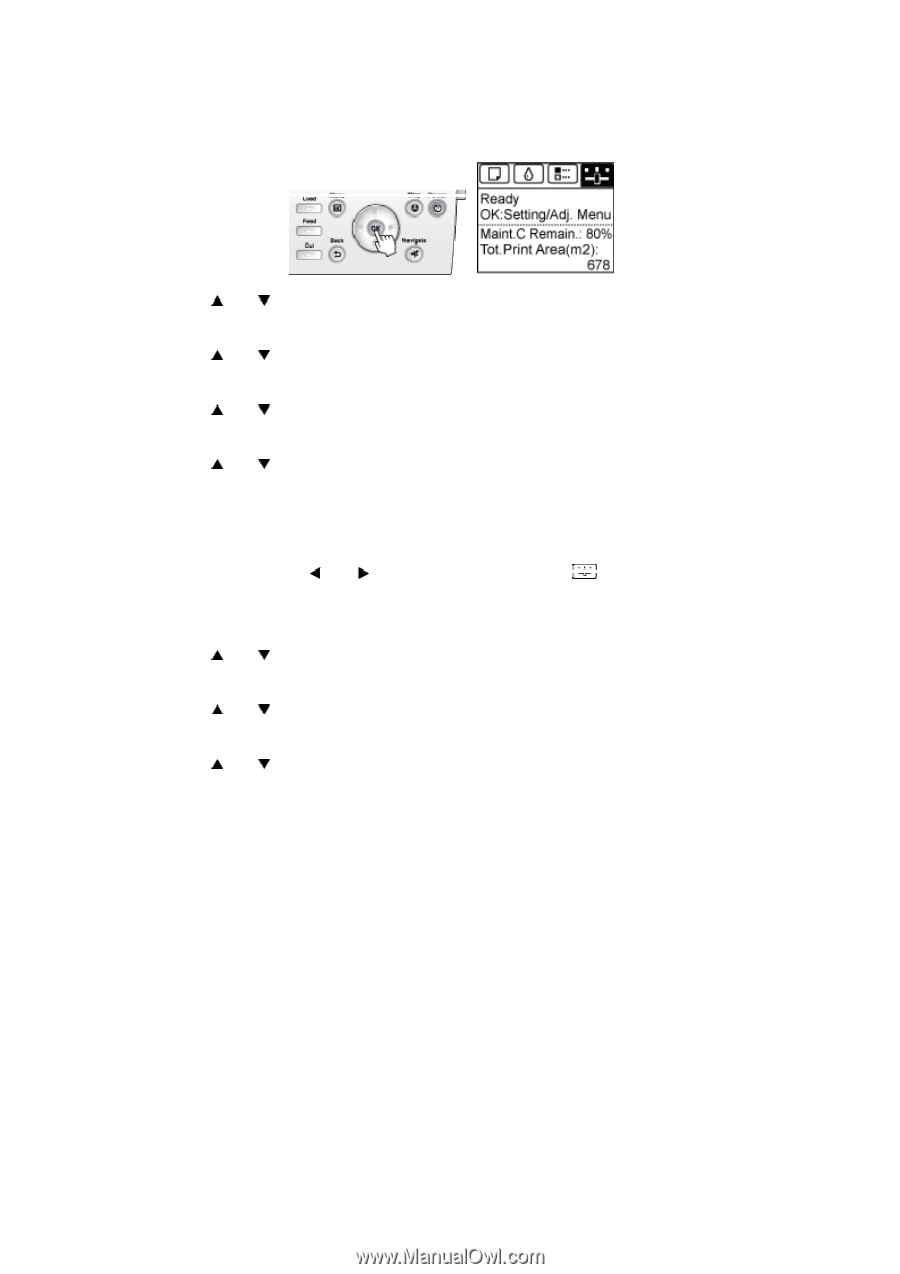
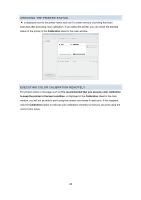
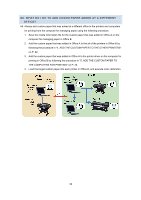
3. Press the OK button. The Set./Adj. Menu is displayed. 4. Press or to select Adjust Printer, and then press the OK button. 5. Press or to select Feed Priority, and then press the OK button. 6. Press or to select Adj. Quality, and then press the OK button. 7. Press or to select Auto(OtherPaper), and then press the OK button to execute the paper feed adjustment. 8. Once the paper feed adjustment has finished, on the Tab Selection screen of the printer control panel, press or to select Settings/Adj. tab ( ) and then press the OK button. 9. Press or to select Adjust Printer, and then press the OK button. 10. Press or to select Calibration, and then press the OK button. 11. Press or to select Auto Adjust, and then press the OK button to execute color calibration. Note that although AutoAdjst(HiPrc) is also displayed for printers that have a spectrophotometer unit mounted, you should select Auto Adjust. If you are using multiple paper types for printing, execute paper feed adjustment and color calibration for each paper type. If you have multiple printers, perform steps 1 to 11 for each of the printers. This completes setting up calibration link. 27
-
 1
1 -
2
-
3
-
4
-
5
-
6
-
7
-
8
-
9
-
10
-
11
-
12
-
13
-
14
-
15
-
16
-
17
-
18
-
19
-
20
-
21
-
 22
22 -
 23
23 -
 24
24 -
 25
25 -
 26
26 -
 27
27 -
 28
28 -
 29
29 -
 30
30 -
 31
31 -
 32
32 -
33
-
34
-
35
 |
 |