Casio PX330 User Guide - Page 11
Using Built-in Tones - demo
 |
View all Casio PX330 manuals
Add to My Manuals
Save this manual to your list of manuals |
Page 11 highlights
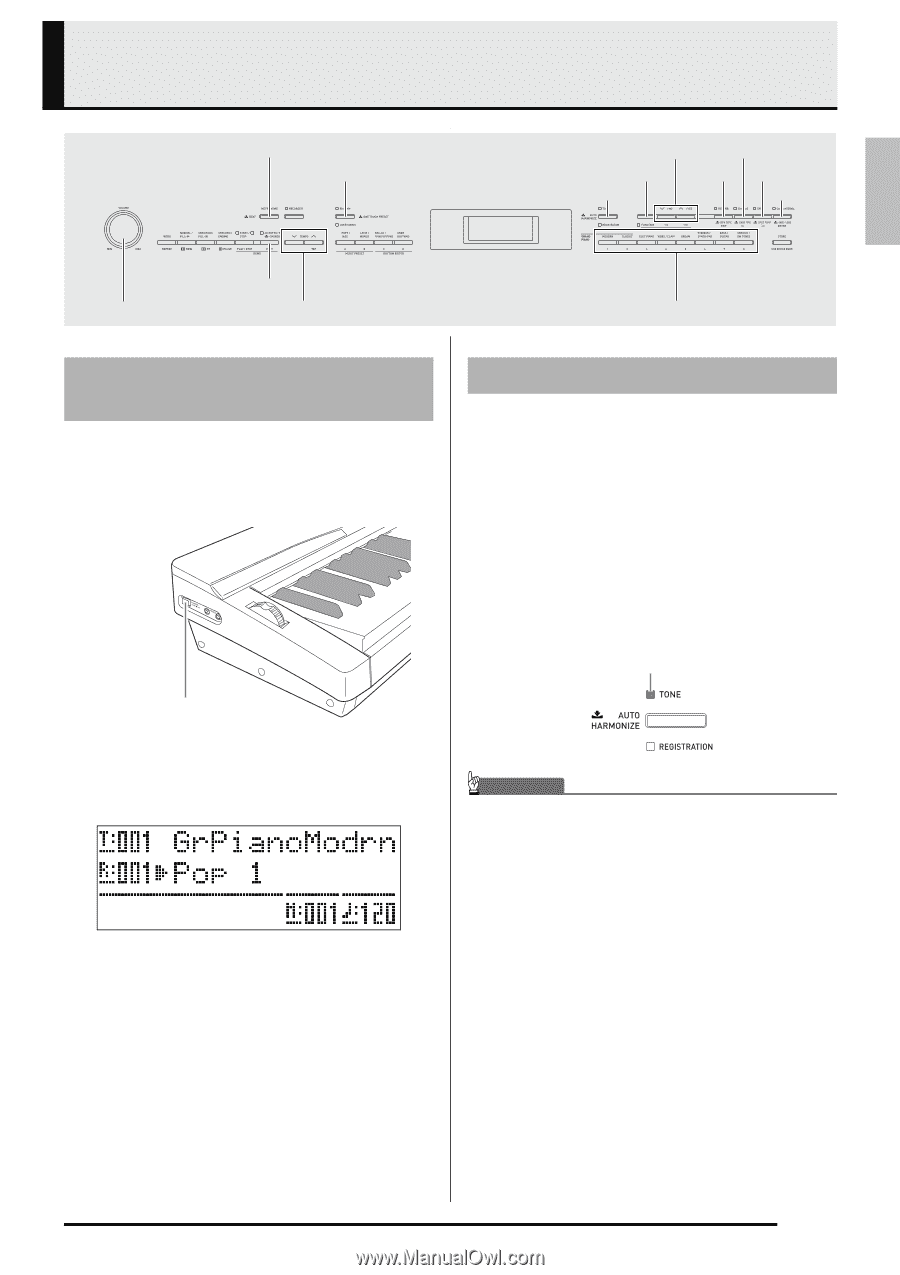
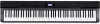
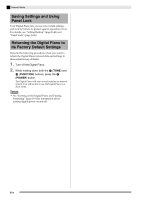
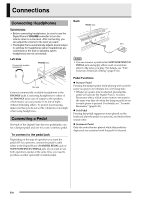
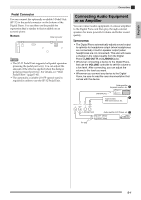
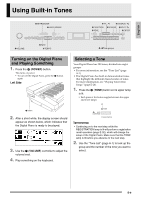
English Using Built-in Tones 8METRONOME blUSER SONGS btw, q ctCHORUS, u bsFUNCTION csREVERB dkSPLIT, i brTONE dlENTER 1VOLUME 7PART bkTEMPO ck-crTone groups Turning on the Digital Piano and Playing Something 1. Press the el (POWER) button. This turns on power. • To turn off the Digital Piano, press the el button again. Left Side el button 2. After a short while, the display screen should appear as shown below, which indicates that the Digital Piano is ready to be played. 3. Use the 1 (VOLUME) controller to adjust the volume level. 4. Play something on the keyboard. Selecting a Tone Your Digital Piano has 250 tones, divided into eight groups. • For more information, see the "Tone List" (page A-1). • The Digital Piano has built-in demonstration tunes that highlight the different characteristics of tones. For more information, see "Playing Tone Demo Songs" (page E-24). 1. Press the br (TONE) button so its upper lamp is lit. • Each press of the button toggles between the upper and lower lamps. Lit IMPORTANT! • Continuing on to the next step while the REGISTRATION lamp is lit will perform a registration recall operation (page E-32), which will change the setup of the Digital Piano. Make sure that the TONE lamp is lit before you advance to the next step. 2. Use the "Tone List" (page A-1) to look up the group and the number of the tone you want to select. E-9
-
 1
1 -
2
-
3
-
4
-
5
-
 6
6 -
 7
7 -
 8
8 -
 9
9 -
 10
10 -
 11
11 -
 12
12 -
 13
13 -
 14
14 -
 15
15 -
 16
16 -
17
-
18
-
19
-
20
-
21
-
22
-
23
-
24
-
25
-
26
-
27
-
28
-
29
-
30
-
31
-
32
-
33
-
34
-
35
-
36
-
37
-
38
-
39
-
40
-
41
-
42
-
43
-
44
-
45
-
46
-
47
-
48
-
49
-
50
-
51
-
52
-
53
-
54
-
55
-
56
-
57
-
58
-
59
-
60
-
61
-
62
-
63
-
64
-
65
-
66
-
67
-
68
-
69
-
70
-
71
-
72
 |
 |