Dell 1110 User Guide - Page 69
Toner smear, Vertical repetitive, defects, Background scatter, Misformed, characters, skew
 |
UPC - 708562765657
View all Dell 1110 manuals
Add to My Manuals
Save this manual to your list of manuals |
Page 69 highlights
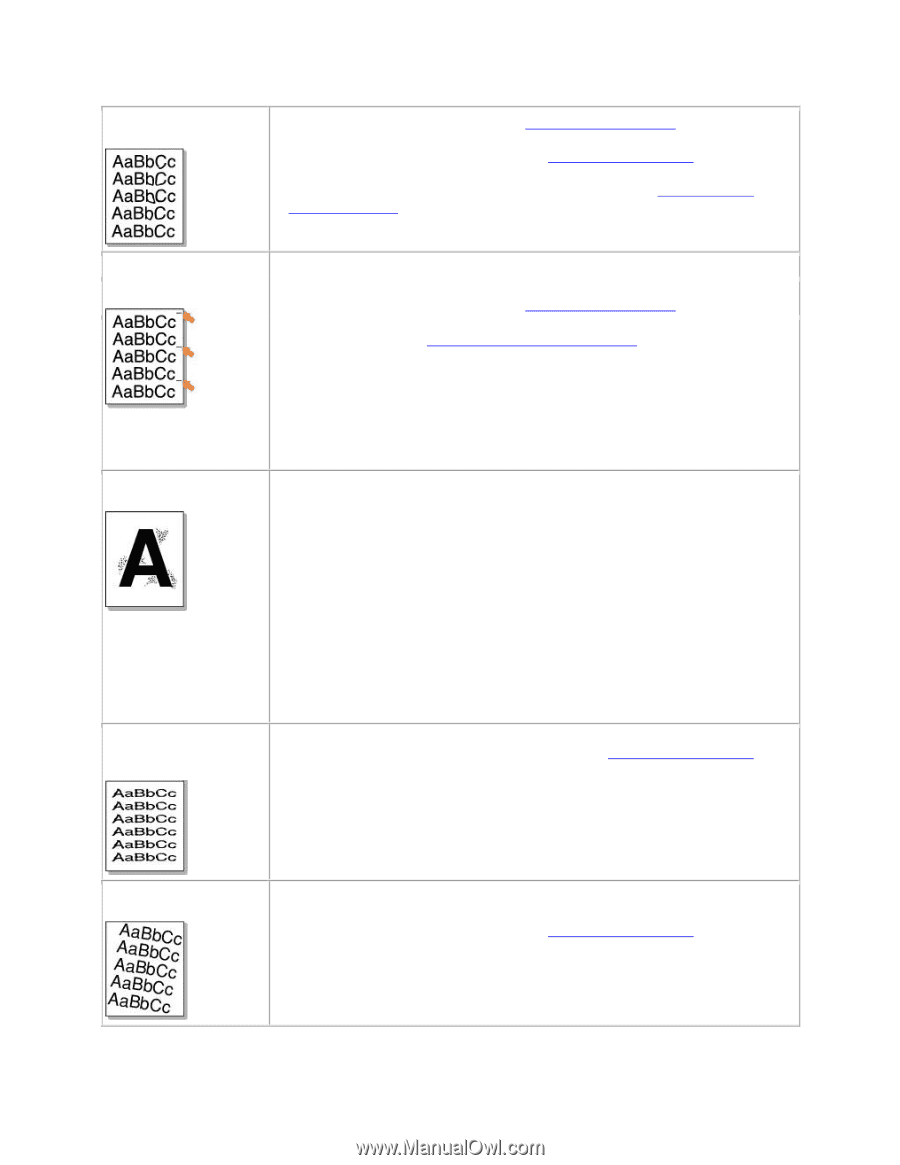
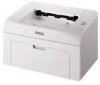
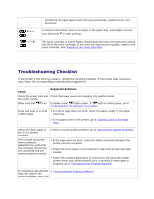
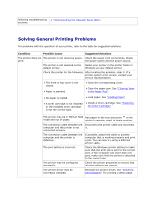
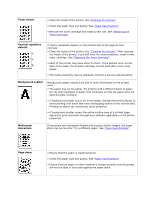
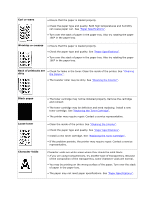
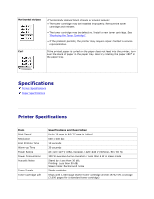
Toner smear • Clean the inside of the printer. See "Cleaning the Interior". • Check the paper type and quality. See "Paper Specifications". • Remove the toner cartridge and install a new one. See "Replacing the Toner Cartridge". Vertical repetitive defects If marks repeatedly appear on the printed side of the page at even intervals: • Clean the inside of the printer. See "Cleaning the Interior". After cleaning the inside of the printer, if you still have the same problems, install a new toner cartridge. See "Replacing the Toner Cartridge". • Parts of the printer may have toner on them. If the defects occur on the back of the page, the problem will likely correct itself after a few more pages. • The fusing assembly may be damaged. Contact a service representative. Background scatter Background scatter results from bits of toner distributed on the printed page. • The paper may be too damp. Try printing with a different batch of paper. Do not open packages of paper until necessary so that the paper does not absorb excess moisture. • If background scatter occurs on an envelope, change the printing layout to avoid printing over areas that have overlapping seams on the reverse side. Printing on seams can sometimes cause problems. • If background scatter covers the entire surface area of a printed page, adjust the print resolution through your software application or the printer properties. Misformed characters If characters are improperly formed and produce hollow images, the paper stock may be too slick. Try a different paper. See "Paper Specifications". Page skew • Ensure that the paper is loaded properly. • Check the paper type and quality. See "Paper Specifications". • Ensure that the paper or other material is loaded correctly and the guides are not too tight or too loose against the paper stack.
-
 1
1 -
2
-
3
-
4
-
5
-
6
-
7
-
8
-
9
-
10
-
11
-
12
-
13
-
14
-
15
-
16
-
17
-
18
-
19
-
20
-
21
-
22
-
23
-
24
-
25
-
26
-
27
-
28
-
29
-
30
-
31
-
32
-
33
-
34
-
35
-
36
-
37
-
38
-
39
-
40
-
41
-
42
-
43
-
44
-
45
-
46
-
47
-
48
-
49
-
50
-
51
-
52
-
53
-
54
-
55
-
56
-
57
-
58
-
59
-
60
-
61
-
62
-
63
-
 64
64 -
 65
65 -
 66
66 -
 67
67 -
 68
68 -
 69
69 -
 70
70 -
 71
71 -
 72
72 -
 73
73 -
 74
74 -
75
-
76
 |
 |