Dell OptiPlex FX160 Dell™ OptiPlex™ FX160 Re-Imaging Guide - Page 10
USBDiskImageTool.exe, USB Disk Image Tool, Browse, Choose a USB device, Write Disk Image, Write, - hard drive
 |
View all Dell OptiPlex FX160 manuals
Add to My Manuals
Save this manual to your list of manuals |
Page 10 highlights
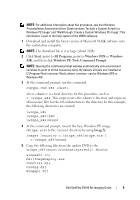
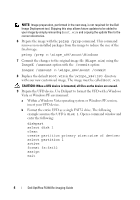
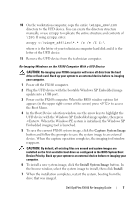
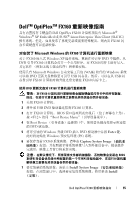
To create the bootable USB flash drive with WIndows, use the program USBDiskImageTool.exe to write the SLETC file to the USB flash drive: NOTE: The Windows operating system used to build the bootable USB flash drive must include Microsoft .NET Framework v2.0 or later. CAUTION: This procedure formats the USB flash drive used to load the system image. All files on the drive are erased. 1 On a system running Windows XP or Windows Vista, insert the SLETC update CD into a CD-ROM drive, and the USB flash drive into a USB port. 2 Open an Explorer window that shows the contents of the update CD. 3 Find and open USBDiskImageTool.exe. If using Windows Vista, respond appropriately to User Access Control messages to continue. 4 In the USB Disk Image Tool window, click the Browse button and select the SLETC update file on the update CD. 5 In the field Choose a USB device, use the pull-down menu to select the USB flash drive. 6 Click Write Disk Image to initiate the write operation. Allow the Write... and Verify... operations to complete fully before removing the USB flash drive. 7 When the message Disk was imaged successfully message appears, click Close. 8 Remove the USB flash drive and the update CD from the Windows system. Re-Imaging SLETC on an FX160 Computer With a USB Flash Drive CAUTION: Re-imaging your FX160 computer will erase all data from the hard drive or flash card. Back up your system to an external device before re-imaging your computer. 1 Shut down the operating system and power off the computer. 2 Insert the bootable flash drive with the SLETC image into a USB port. 3 Power on the FX160 computer. 4 When the BIOS window options list appears (in the upper right-corner of the screen) press to access the Boot Device menu. 10 Dell OptiPlex FX160 Re-Imaging Guide
-
 1
1 -
2
-
3
-
4
-
 5
5 -
 6
6 -
 7
7 -
 8
8 -
 9
9 -
 10
10 -
 11
11 -
 12
12 -
 13
13 -
 14
14 -
 15
15 -
16
-
17
-
18
-
19
-
20
-
21
-
22
-
23
-
24
-
25
-
26
-
27
-
28
-
29
-
30
-
31
-
32
-
33
-
34
-
35
-
36
-
37
-
38
-
39
-
40
-
41
-
42
-
43
-
44
-
45
-
46
-
47
-
48
-
49
-
50
-
51
-
52
-
53
-
54
-
55
-
56
-
57
-
58
-
59
-
60
-
61
-
62
-
63
-
64
-
65
-
66
-
67
-
68
-
69
-
70
-
71
-
72
-
73
-
74
-
75
-
76
-
77
-
78
-
79
-
80
-
81
-
82
-
83
-
84
-
85
-
86
-
87
-
88
-
89
-
90
-
91
-
92
-
93
-
94
-
95
-
96
-
97
-
98
-
99
-
100
-
101
-
102
-
103
-
104
-
105
-
106
-
107
-
108
-
109
-
110
-
111
-
112
-
113
-
114
-
115
-
116
-
117
-
118
-
119
-
120
-
121
-
122
-
123
-
124
-
125
-
126
-
127
-
128
-
129
-
130
-
131
-
132
 |
 |